Is your Windows PC suddenly stops producing sound no matter what you do, especially after a recent Windows update? If that’s the case, this guide will show you some workarounds you can try to fix the audio issue on Windows 11 or Windows 10.
These solutions should work for both laptops and desktops from brands like HP, Dell, Lenovo, Asus, Acer, and Toshiba.
Page Contents
Check the Playback device settings
The first step is to make that your playback device (speaker or headset) is properly enabled in the Sound settings. Follow the steps below to check it:
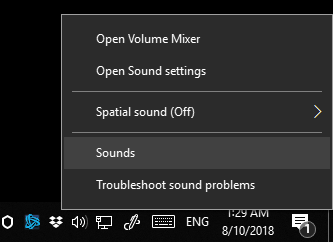
- Right-click on the speaker icon in your taskbar and select “Sounds.”
- In the Sound window, go to the Playback tab.
- Right-click on your primary speaker or audio device and click on “Enable.”

The Playback tab in the Sound window will show a list of all connected speakers and audio devices on your computer. In some cases, the primary speaker you’ve been using all along may become disabled suddenly after a major Windows Update. Enabling it again should solve the issue.
If your primary audio output device is already enabled, check its sound volume to confirm that it’s not muted or too low to be heard.
If you see multiple devices on the list and you’re unsure which one is your primary audio device, try enabling each one (and disabling the rest) until you find one that produces sound.
If you don’t see any playback devices at all on the list, or if none of them work even after enabling them one by one, it may indicate a problem with your audio driver. Proceed to the next solution or refer to: Playback Devices Not Showing in Windows 11 or 10.
Update your sound and audio driver
If the audio driver is missing or incorrectly installed (e.g. incorrect version), it won’t appear in the Playback devices list because there is no driver to handle the sound device. Follow the steps below to update your sound driver:
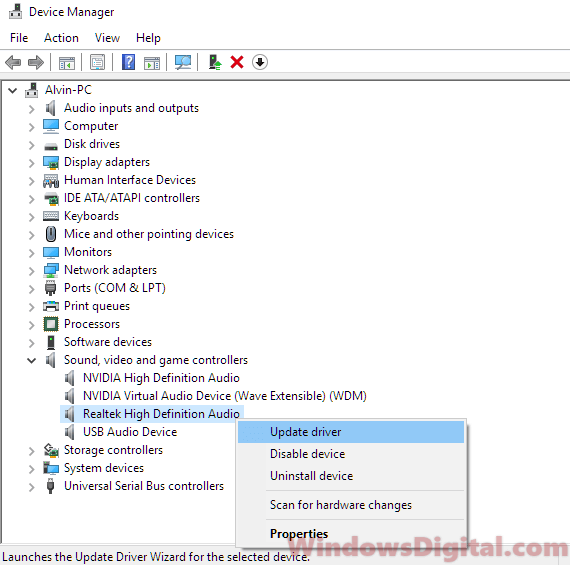
- Go to the start menu, search for “Device Manager,” and open it.
- Expand the “Sound, video, and game controllers” category.
- Right-click on your primary audio output device (usually Realtek High Definition Audio or USB Audio Device), and select “Update driver.”
- Click on “Search automatically for updated driver software.”
If the automatic search doesn’t work, try uninstalling the driver by right-clicking on the audio device, selecting “Uninstall,” and then restarting your PC. Windows will then automatically find and install the best-matched driver for your audio device during the next restart.
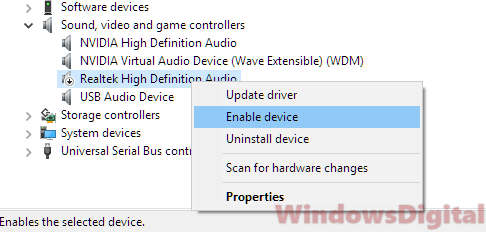
When you right-click your audio device in the Device Manager and see that the “Enable device” option is selectable, it means that your audio device may have been inadvertently disabled. If this is the case, just click on “Enable device” and the issue should be resolved.
Manually select the audio driver
If the automatic driver search doesn’t find any driver that is suitable for your speaker, try manually selecting the sound driver:
- Choose “Browse my computer for driver software” after the automatic search fails to find a driver.
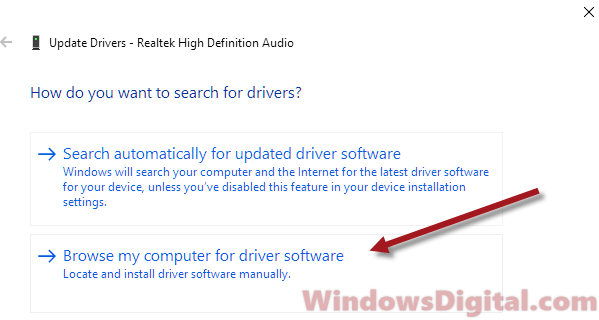
- Select “Let me pick from a list of available drivers on my computer.”
- Choose “Realtek High Definition Audio” from the list of available compatible hardware drivers.
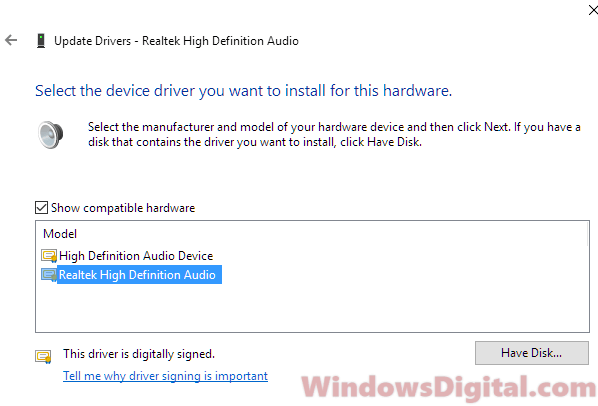
- If the issue persists, try choosing “High Definition Audio Device” instead.
Check Windows audio services
In some cases, the Windows Audio services might be disabled or stop working after a big Windows Update, which can result in sound problems on Windows 11 or 10. Follow the steps below to check the Windows audio services:
- Press Windows + R to open the Run dialog box.
- Type “services.msc” and press Enter to open the Services window.
- Scroll down and locate “Windows Audio” and “Windows Audio Endpoint Builder” services.
- Right-click on each service and select “Restart“.
After restarting the services, check if the sound is working again.
Check external speakers and cables
If you’re using external speakers or headphones, check if they’re properly connected to your computer and if they’re actually functioning correctly. You might also want to try connecting the speakers to another device to check if they’re working fine. Also, try using a different cable to connect them to rule out a cable problem.
Use System Restore
If none of the above solutions work, you can try restoring your system to a previous state when the sound was still working fine using the System Restore feature.
- Press Windows + R to open the Run dialog box.
- Type “rstrui” and press Enter to open the System Restore window.
- Select a restore point from the list when your sound was working fine and click “Next“.
- Follow the on-screen instructions to complete the restoration process.
Note that restoring your system to an earlier point will delete any changes made after that point.