Solid-state drives (SSDs) are now more common than the older hard disk drives (HDDs) because of how fast they are compared to the old HDDs. But, when it comes to permanently and cleanly delete files from an SSD, it isn’t as easy as just pressing the Del key due to how they’re built.
Even after you’ve selected to delete a file permanently from the recycle bin, the file in most cases will still be in your SSD and can be easily recovered with some recovery tools. This guide will explain why files is hard to be deleted on an SSD and show you some ways to delete them properly if you don’t want the data to be ever recovered.

Page Contents
How SSD actually works
Unlike HDD, SSD doesn’t just overwrite old files with new ones. They have this thing called “wear leveling” to make them last longer. This means when you overwrite data, it doesn’t actually overwrite the old data in the same location. The old data will still be there and it’ll be very hard to confirm that it’s completely deleted and gone, which also means that these data can still be recovered using some recovery software.
Also see: Partition New, Existing or External SSD in Windows 11/10
How to really delete files permanently from an SSD
Tools to wipe the SSD clean
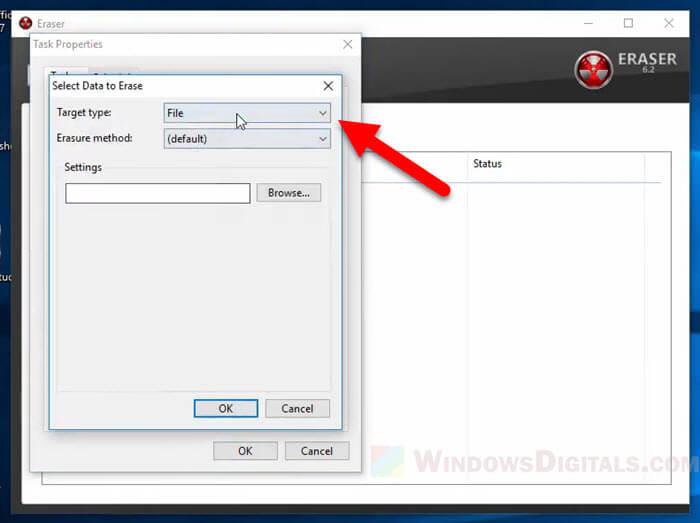
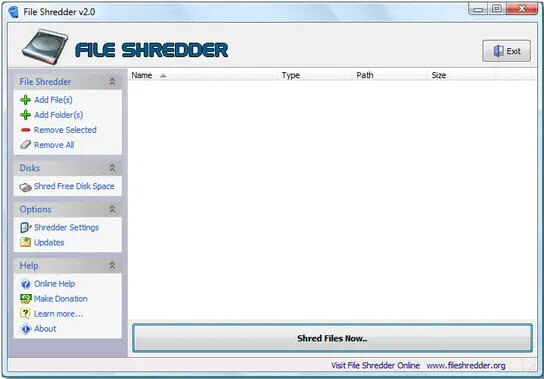
There are programs like Eraser (https://eraser.heidi.ie/download/) and File Shredder (https://www.fileshredder.org/) that try to make data disappear by writing over it many times. They use fancy methods to make it tough for anyone to get the data back.
These tools are usually good for HDDs, but SSDs are a challenge because of the wear leveling feature. Even if a file is overwritten, it might not really be gone because the SSD spreads out the wear over different parts of the drive. So, though these tools help, they’re not perfect, especially for SSDs.
Relevant guide: How to Password Protect a Folder in Windows 11 or 10
Use the TRIM command
The TRIM command is important for SSDs. It helps the drive work better by telling it which parts of the data it can get rid of. But TRIM doesn’t delete files right away. It just marks the space where files were as okay to overwrite later. This means sometimes deleted files can still be brought back.
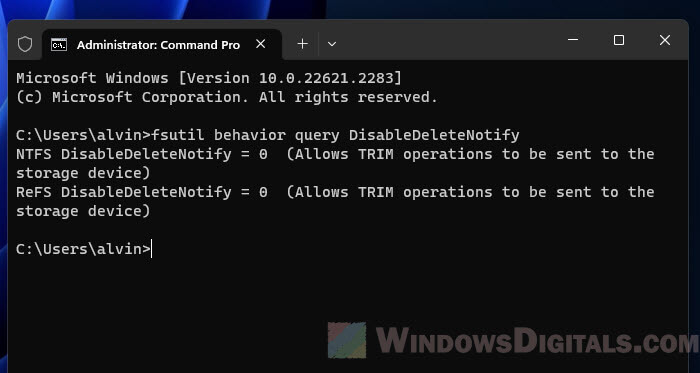
TRIM happens automatically on modern systems like Windows 11 and others. But not all SSDs can use TRIM, especially older ones. Below is how to check if TRIM is working on your Windows computer.
- Open the “Command Prompt” as an administrator.
- Type “fsutil behavior query DisableDeleteNotify” and press Enter.
- If the result is “0”, TRIM is enabled. If it’s “1”, TRIM is disabled.
Even though TRIM helps keep your SSD in good shape, it doesn’t make sure that your deleted data is gone right away.
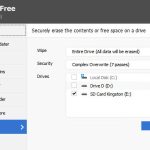
Encrypt the entire drive
Encrypting your whole drive is a strong way to keep your data safe. This means that even if someone gets to the data, they can’t read it without the key.
The following is what will happen with encryption.
- Even if data is left on the SSD, it’s scrambled. Without the key, it just looks like random nonsense.
- If you lose your key, you lose access to your data. It’s as simple as that.
Here’s how to set it up depending on your operating system.
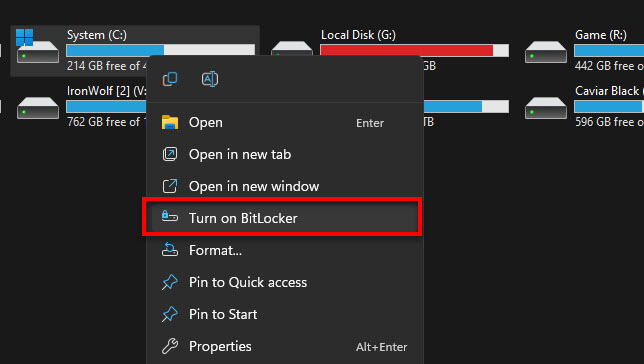
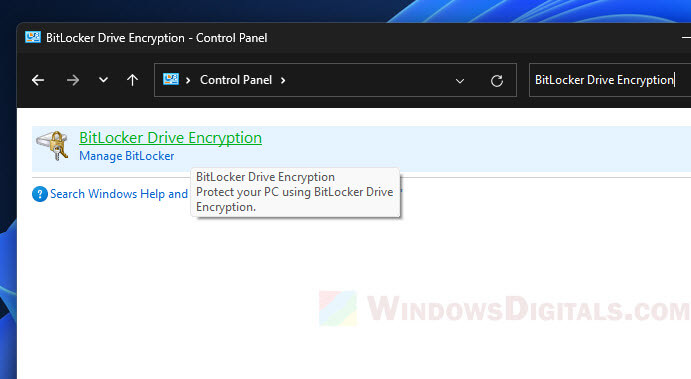
- Windows: Go to “Control Panel”, find “BitLocker Drive Encryption” and turn it on. Make sure to save your recovery key in a safe place.
- macOS: Open “System Preferences” and go to “Security & Privacy.” Click the lock to make changes, then turn on “FileVault.” Keep your recovery key safe.
- Linux: It varies, but many use LUKS. You can choose to encrypt during installation, or use
cryptsetupif you’re setting it up later.
Encryption is tough, but not unbeatable. If you forget your password or lose the key, you could lose your data as well (be mindful of that). Also, very skilled hackers might still crack it in certain cases.
Related resource: How to Lock Drive in Windows 11 Without BitLocker
Use the SSD “Secure Erase” feature
Sometimes you need to wipe everything to keep your data safe. That’s where “Secure Erase” comes in. It tells the SSD to reset everything, which really wipes the slate clean.
The following are what you need to know about “Secure Erase”.
- It gets rid of all the data, even bits you can’t usually reach.
- It’s quicker than other methods because it’s a basic command that the SSD knows how to do on its own.
- Make sure to save anything important somewhere else first. Once you run “Secure Erase,” there’s no going back.
To do a Secure Erase, follow the steps below.
- Find a program that can send the “Secure Erase” command. SSD makers usually have their own, like Samsung’s “Magician Software” or you could use a third-party one like “Parted Magic.”
- Start the program and look for the “Secure Erase” option.
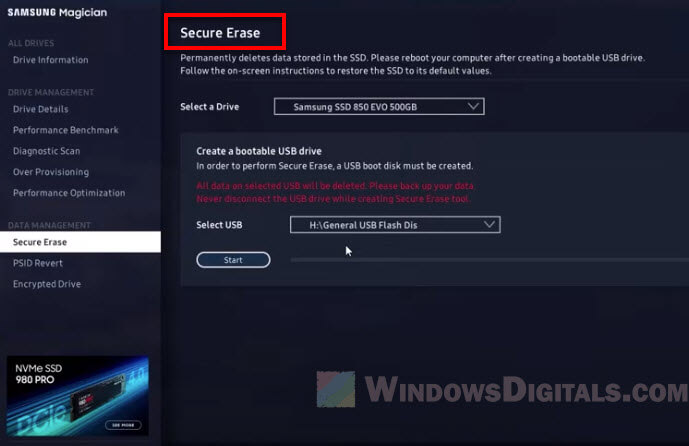
- Pick the SSD you want to clean. You might need to make a bootable USB or CD because you can’t erase a drive while it’s being used.
- Restart your computer from the USB or CD, and start the erase. Your SSD will be totally clean after this.
Be careful with “Secure Erase.” It’s good for making sure files are permanently removed, but it will truly wipe everything off the SSD, so it’s not good if you just want to get rid of a few files or if you need other data to stay.
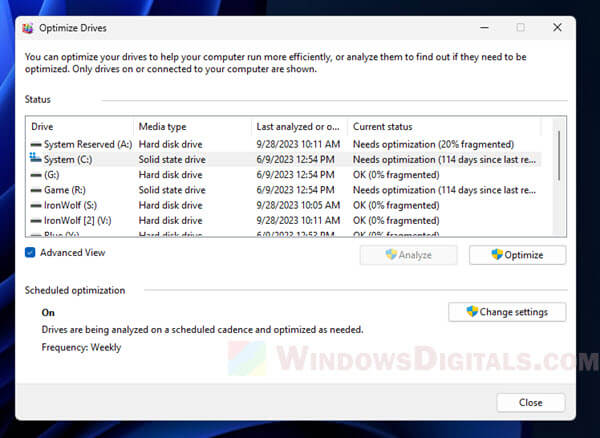
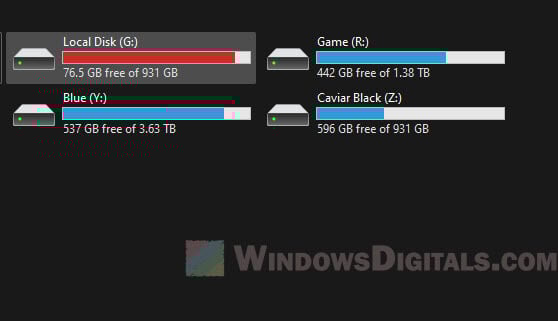
Try to always keep the SSD full
It might sound weird, but filling up your SSD can help get rid of old data. Here’s why:
- With less space free, new data might overwrite old data, which helps make sure deleted files are really gone.
- But don’t keep it too full all the time. That can make your SSD slow down and wear out faster.
The following are a few tips to keep your SSD full.
- Move big files that aren’t too important to your SSD to keep it full. Check the free space now and then to make sure it’s still full.
- You can also use programs that make dummy data to fill up space, and delete them when you need space for other stuff.
Useful tip: How to Create Large Test Files in Windows 11 or 10
While keeping your SSD full can help in some cases, it’s not a foolproof plan, especially for very private data.
Limit who can write data on the SSD and use hardware encryption
Better to stop problems before they start by controlling who can put data on the SSD and encrypting it at the hardware level.
Limiting write access
- Set strict rules on who can add data to the SSD. This helps keep sensitive data safe.
- Some programs can watch over and manage how data is written, making sure only the right stuff gets saved.
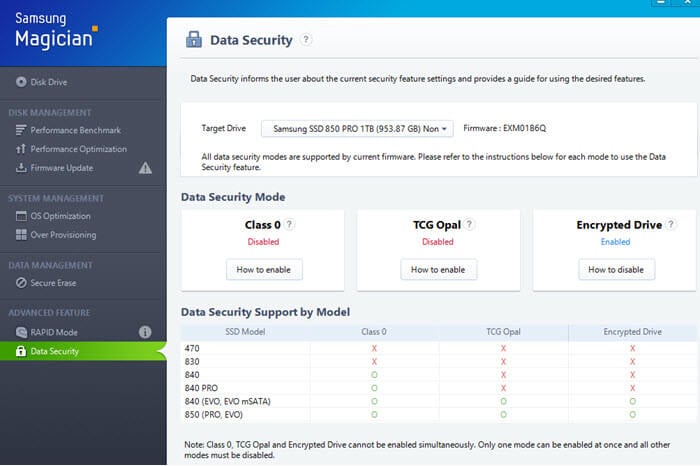
Hardware encryption
- Some SSDs have encryption right in the hardware, which is faster and more secure than doing it with software.
- Use AES encryption – a strong type of encryption used by many SSDs.
- You might need to turn on this feature through your SSD’s settings. Once it’s on, you’ll need a password or key to get to your data.
Below is how to set it up.
- See if your SSD has hardware encryption. Check the specs or the maker’s website.
- Get into the SSD’s settings or management software. Look for “Hardware Encryption” or similar options.
- Turn on the encryption and set up a password. Keep it safe because losing it means losing access to your data.
- To restrict who can write data, go to your computer’s settings and adjust the permissions.
These methods are strong, but not unbeatable. Always use more than one way to protect your data, especially if it’s very important.