If you delete a photo the normal way in Windows 11, the photo will be moved to the Recycle Bin with a retention period of 30 days (default) before it gets permanently deleted. In addition, if you Shift + Delete a photo, it will get permanently deleted instantly without going to the Recycle Bin first. Either way, the photo will be gone from sight and no where to be found.
However, files including photos deleted from Windows does not mean that they are gone forever. The permanently deleted files can still be recovered if it’s not deleted too long ago (if the data on the disk is not overwritten yet).
How to recover permanently deleted photos in Windows 11
In this guide, we will show you how to recover permanently deleted photos in Windows 11 using two of the most popular free file recovery software – PhotoRec and Recuva. While Recuva is relatively easier to use, PhotoRec tends to be able to recover more photos and files. If you encounter more corrupted photos when recovering using Recuva, try to use PhotoRec instead.
Page Contents
Recover deleted photos using PhotoRec
PhotoRec is a a companion app to TestDisk – a free and open source multi-platform app. PhotoRec is also called Digital Picture and File Recovery. It is a software that is able to recover permanently deleted pictures and files. You can get TestDisk from the following page.
https://www.cgsecurity.org/wiki/TestDisk_Download
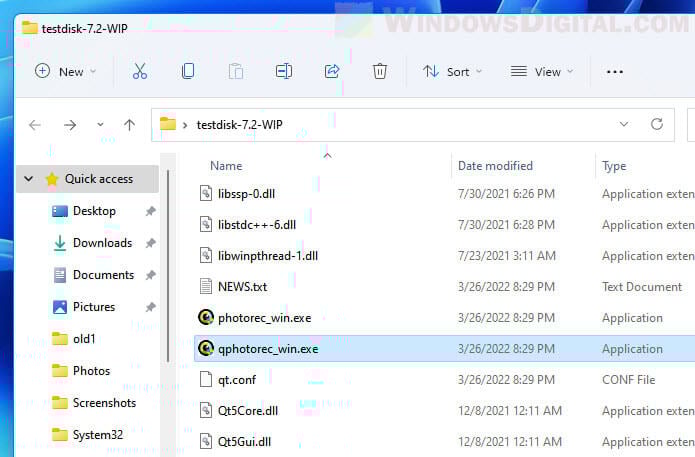
Once downloaded, unzip the folder to anywhere you want. Open the folder and launch the file called qphotorec_win.exe (with interface).
In the QPhotoRec window, follow the steps below to configure the required settings in order to find and recover permanently deleted photos or images in Windows 11.
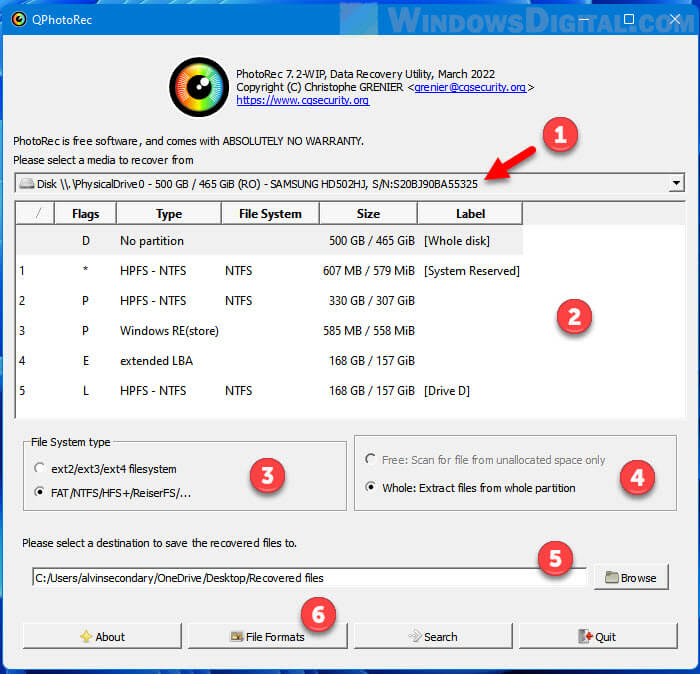
- First, select the drive where the photos you want to recover were deleted from.
- Select the partition you want the software to search. If you are not sure, select “Whole disk” – It means to scan the entire disk drive.
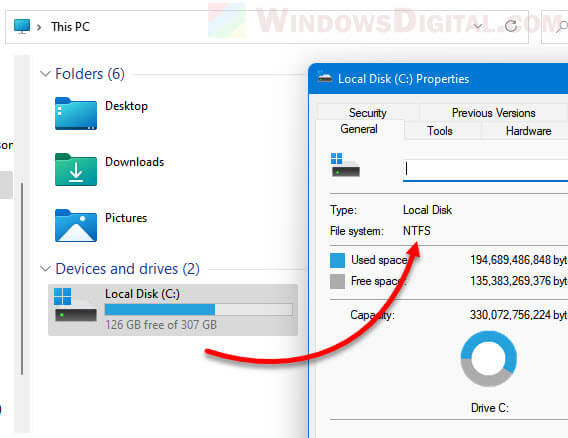
- Next, select the File System type of the drive you have selected. If you do not know the File System of your drive, go to This PC, right-click the drive you want to check and select Properties. The file system of the selected drive will be shown in the General tab.
- Select “Whole: Extract files from whole partition“.
- Then, click Browse and browse to where you want the recovered photos and files to be saved to.
Optionally, click File Formats and select the file formats you would like the app to search for and recover. Otherwise, the app will search for all file types by default.
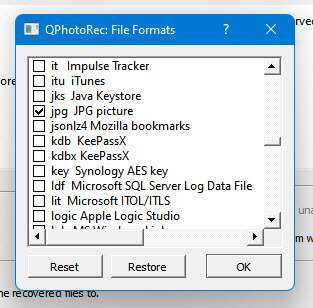
It is recommended to choose only the file types you want to search for and recover to avoid having to sort a massive number of recovered files later. For example, if your permanently deleted photos are in JPG format, select only the “JPG picture” option. You can also select all image related formats such as JPG, GIF, PNG and BMP image formats if you are not sure what formats your deleted photos were.
When everything is set, click Search to begin the search and recovery.
Depending on the size of the partition the app has to search for and the amount of data that can be recovered, the time required to complete the search and recover may take a couple of hours. As it searches, it will show the number of files recovered for each file type.

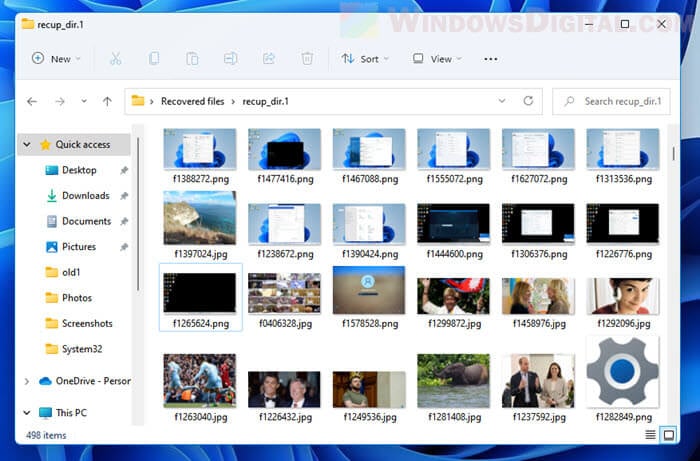
Once the recovery is completed, go to the directory you set earlier – the folder location you want the app to save the recovered files to. All recovered photos, images or other files will be saved in the folder.
Recover deleted pictures using Recuva
Recuva is part of a popular cleaner software called CCleaner. Recuva is an app that is able to search and recover permanently deleted photos or files in Windows 11. It is free to use and has a better user interface and a much simpler wizard. You can get Recuva from the following page.
https://www.ccleaner.com/recuva/download
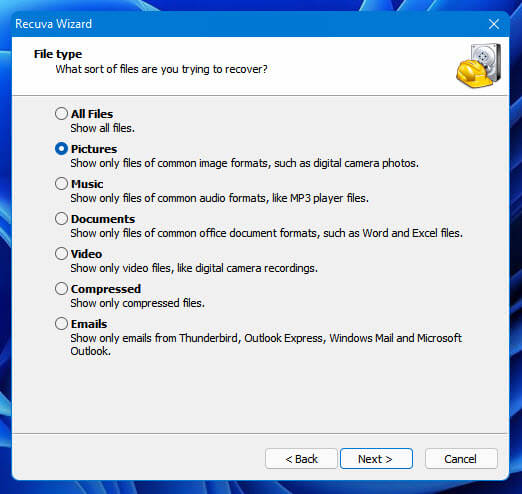
1. Once installed, open Recuva. If the app doesn’t have a desktop shortcut, search for “Recuva” via Start. In the wizard, when asked what sort of files you are trying to recover, select Pictures to search for all common image formats only.
2. Next, choose where the app should search and recover the files from – where the photos and pictures were deleted. If you are not sure, select “I’m not sure“, which will allow the app to search everywhere on your computer.
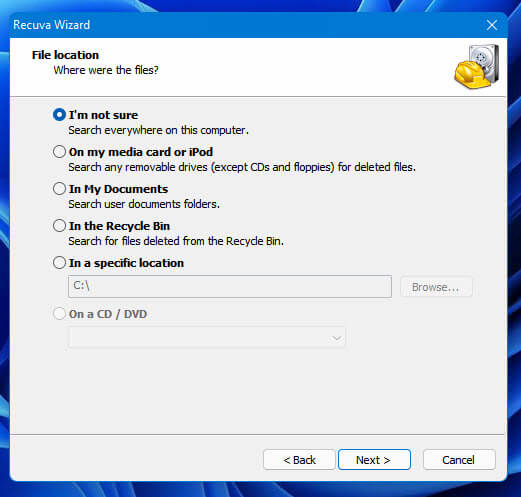
If you know exactly where the deleted photos were, select “In a specific location” and browse to the exact location instead (can significantly shorten the search time).
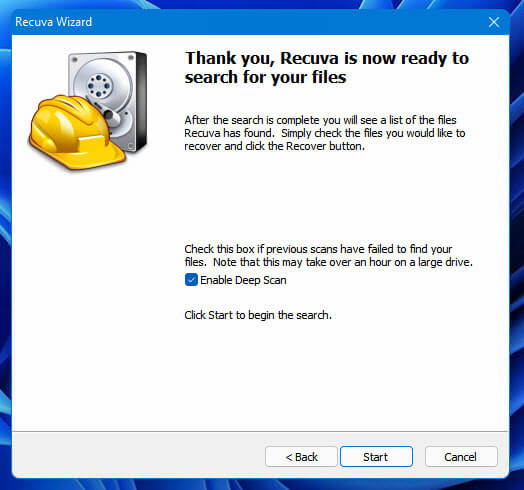
3. On the next screen, when prompted for if you want to enable Deep Scan, we recommend to enable it as it will scan the drive more thoroughly for the deleted photos.
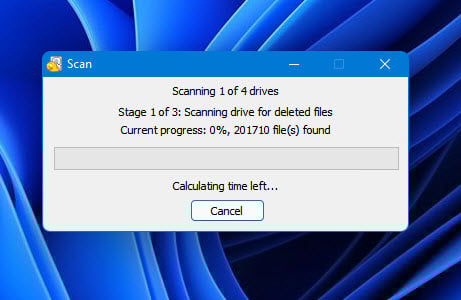
4. Wait for the scanning process to complete. It may take a couple of hours if you have a large drive.
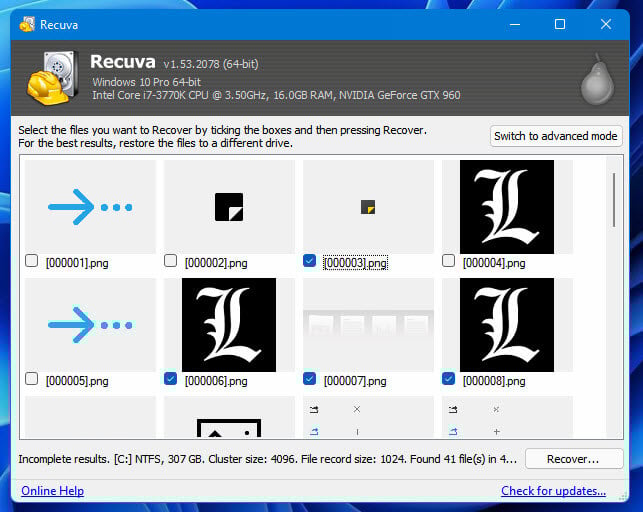
5. Once the scan is completed, the app will show you a long list of photos and images it found during the search. Select the photos and pictures you want to recover and click Recover. You can also select “Switch to advanced mode” to better sort the pictures if the app found a massive number of deleted photos.
Conclusion
When it comes to recovering permanently deleted photos or files in Windows 11, there is no guarantee that you can recover the specific photos you want. In most cases, if the photos weren’t deleted too long ago, you should be able to recover them.
However, if the photos were deleted too long ago or if your disk is always full and actively deleting and writing new files, the chance to recover the files are much slimmer because the data on the disk may have already been overwritten.