The Remote Desktop Protocol (RDP) is something Microsoft made since years ago. It lets you see and use another computer from yours over a network. Most people use the Remote Desktop Connection app (mstsc.exe) that comes with Windows. But, if you like doing things with command lines, because you want more control or to write scripts (for example, to automate stuffs), there’s a way for that too.
In this guide, we’re going to look at how to use the command line to make an RDP connection, turn on remote access, and handle Remote Desktop sessions on Windows 11.
Page Contents
How to start an RDP connection with Command Prompt
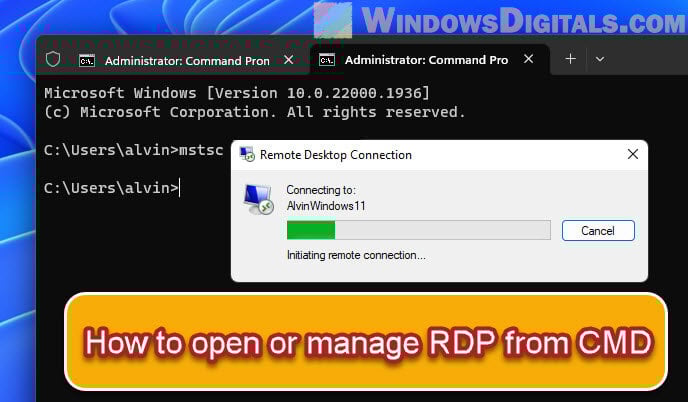
The command prompt in Windows is a speedy way to start an RDP connection. You’ll use the mstsc command, which stands for Microsoft Terminal Services Client, to do this.
After opening the command prompt, type this to begin a remote connection:
mstsc /v:yourRemoteComputer
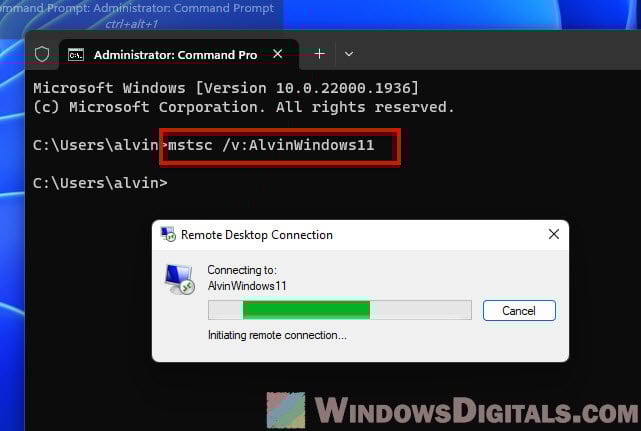
Replace “yourRemoteComputer” with the IP address or computer name you’re connecting to. This way is quick because you don’t have to click through lots of menus.
Also see: How to Remote Desktop Over The Internet in Windows 11
Using the command line for remote desktop
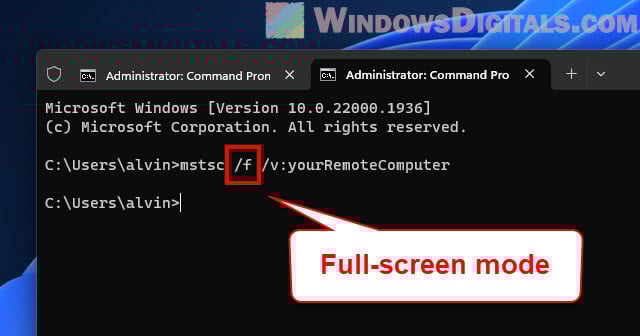
The mstsc command has many options to change how your Remote Desktop sessions work. For instance, /f makes it full screen, and /admin gives you admin rights.
mstsc /f /v:yourRemoteComputer
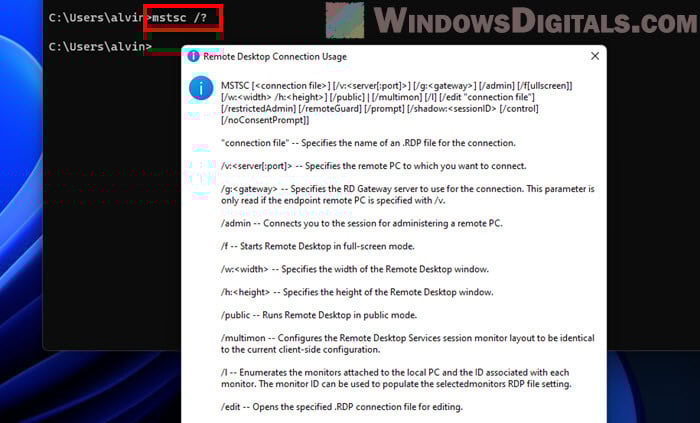
To see all options, type this:
mstsc /?
Handy tip: Windows 11: Check Who is Logged in Remotely or Locally
How to join the main session of a remote computer
The mstsc /console or mstsc /admin command in newer Windows versions helps you join the main session of a remote computer. This is great for certain apps or admin tasks that need the main session.
Here’s how to do it:
- Open the command prompt.
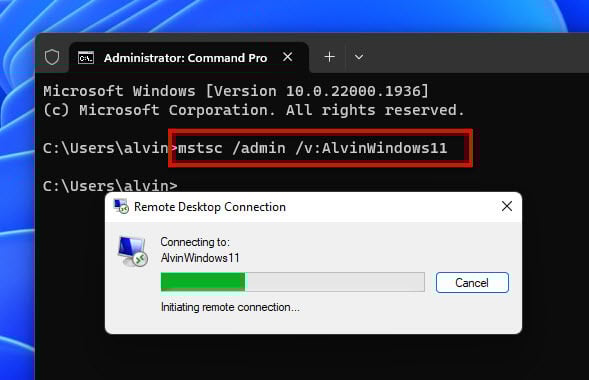
- Type this command and press Enter:
mstsc /admin /v:yourRemoteComputer
Change “yourRemoteComputer” to the computer’s name or IP you want to connect to.
This starts a session to the remote computer’s main session. But be careful, because this session might already be in use, and you don’t want to interrupt someone’s work.
Linked issue: Windows 11 Remote Desktop “An authentication error has occurred”
How to begin and end a remote desktop session
Handling Remote Desktop sessions is key for remote system care. The mstsc command starts a session. To end it, just close the Remote Desktop window. Or, for more control, use command line ways to finish it.
The logoff command ends a session. You need the session ID, which you find by typing query session.
logoff SessionID
Useful resource: How to Install Telnet via CMD or PowerShell in Windows 11
Using a RDP file for remote desktop
.rdp files are Microsoft Remote Desktop config files that save settings for sessions. They’re handy for connecting to a computer with specific settings without entering them each time.
Here’s how to make a .rdp file:
- Open Remote Desktop Connection by typing mstsc in the command prompt or search bar and press Enter.
- In the window, put the remote computer’s name or IP in the “Computer” field.
- Click “Show Options” for more settings, like your username, display options, and more.
- After setting things up, click “Save As” under Connection settings.
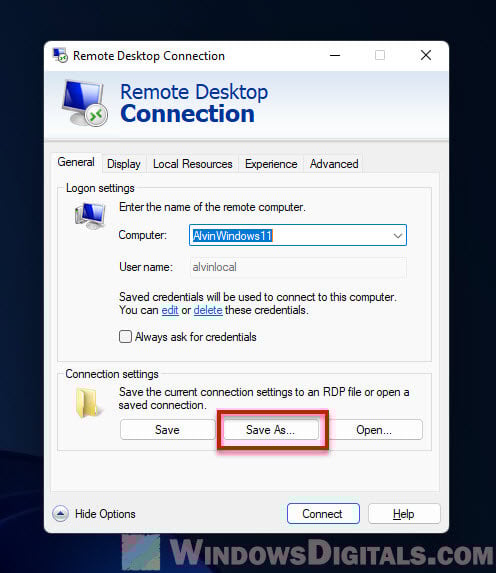
- Save the .rdp file where you want, with a name you choose.
To use the .rdp file, type this command, swapping “C:\file.rdp” with your .rdp file’s location and name:
mstsc C:\file.rdp
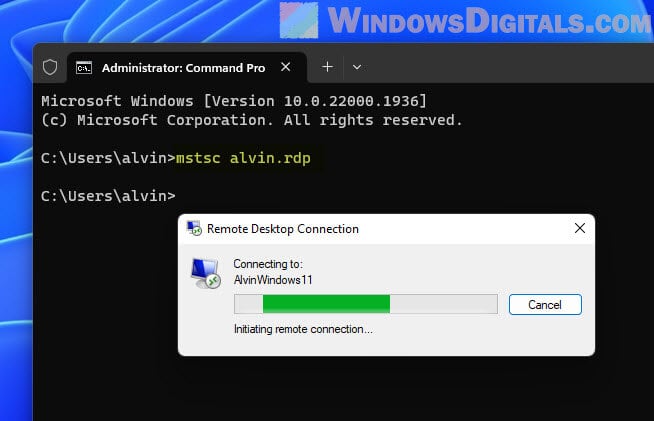
This opens a Remote Desktop session with your saved settings. If you saved your login info in the .rdp file, it’ll log you in automatically; otherwise, you’ll need to type your password.
Turning on remote access in Windows 11
Before making a remote connection, the computer you want to connect to must have Remote Desktop turned on. While you can easily do this in Windows 11 settings, you can also use the command line with PowerShell for more direct control.
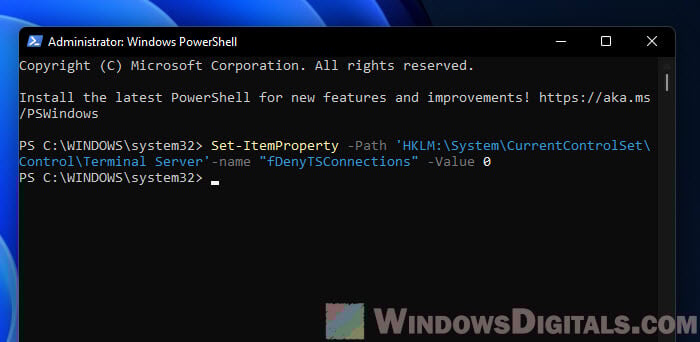
To turn on Remote Desktop with PowerShell, first open PowerShell as an admin. Type “PowerShell” in the Windows search bar, right-click the Windows PowerShell app, and choose “Run as administrator.”
Then, enable Remote Desktop with this command:
Set-ItemProperty -Path 'HKLM:\System\CurrentControlSet\Control\Terminal Server'-name "fDenyTSConnections" -Value 0
How to run commands on a remote system
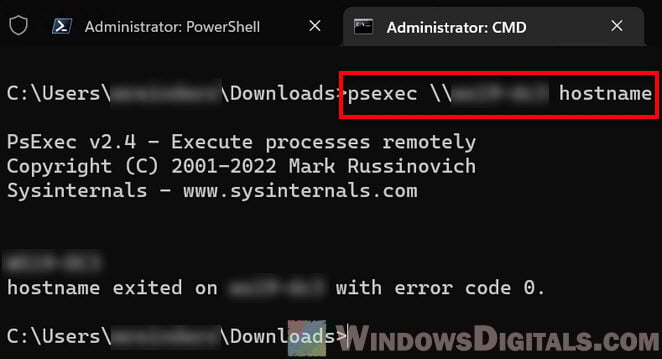
For system management, sometimes you need to run commands on another computer. Windows has a tool called PsExec in the Sysinternals suite for this. After installing PsExec, you can use it to run commands remotely like this:
psexec \\remoteComputer command
Replace “remoteComputer” with the remote computer’s name, and “command” with what you want to do.
To sum up
We’ve covered how to use the command prompt for Remote Desktop stuff in Windows 11. From basic connections to more detailed tasks like joining a computer’s main session, using the command line gives you lots of flexibility and efficiency for managing remote connections (especially useful if you’re a network admin).
Command lines are great for when you need to automate things, do lots of tasks at once, or work on computers without using the graphical interface. .rdp files help save session settings for later, and tools like PsExec and the mstsc /admin command give you more control over remote computers.
But, always use these commands wisely and correctly to avoid messing up someone else’s work or making the system less secure. Make sure your RDP connections are safe and only let trusted people access them.