In Windows 11, the Remote Desktop Connection app allows you to connect to other Windows computer from a different location as if you were sitting in front of it. Remote Desktop is usually used in a local network such as home or work network where multiple computers are connected to a same network.
If the client and host computers are connected to the same network, you only need to enter the name of the PC you want to remote into to remote access it. However, if the computer you want to remote access is not in the same network as the computer you are connecting from, entering only the PC name in the Remote Desktop app will not work.
There are two methods you can achieve using remote desktop to connect to another computer over the internet (outside your local network): Connect to the public IP address of the computer you want to remote connect to, or connect both computers to a same VPN (Virtual Private Network).
Also see: Windows 11 Remote Desktop “An authentication error has occurred”
Page Contents
Method 1: Remote Desktop over internet using public IP address
If your computer and the computer you want to remote access are not in the same local network, you can’t connect to the remote computer by using only the PC name. To remote desktop over the internet, you need to enter the public IP address of the remote computer in order to connect to it.
However, as most computers today are connected to the internet through a router and most routers would block ports for security reasons, you also need to port forward the default Windows Remote Desktop listening port 3389 in the router (where the computer you want to remote into is connecting to) to allow incoming traffic using that port.
Since the interface of each router differs vastly, it is impossible to give instructions specific to you. However, it is not a difficult task and you can easily find out how to do so by doing a quick search on Google for “how to port forward [your router’s model]”. In most routers, the port forward section is called “Port Forwarding”, “Port Triggering” or “Virtual Server”.
To port forward port 3389 to the computer you want to remote to, the first step is to find out the local IP address of the computer in the local network. Read: How to check local IP address of your computer in Windows 11.
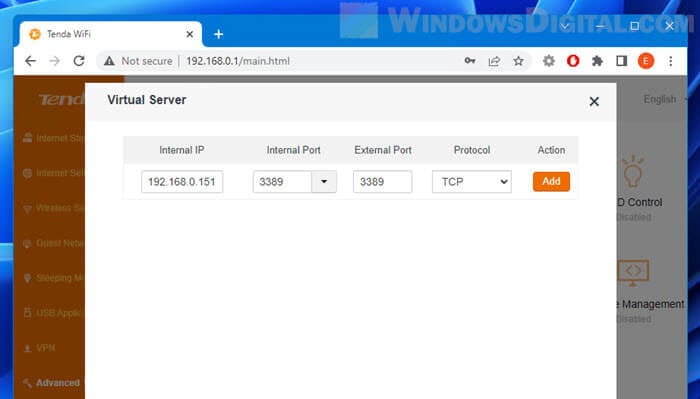
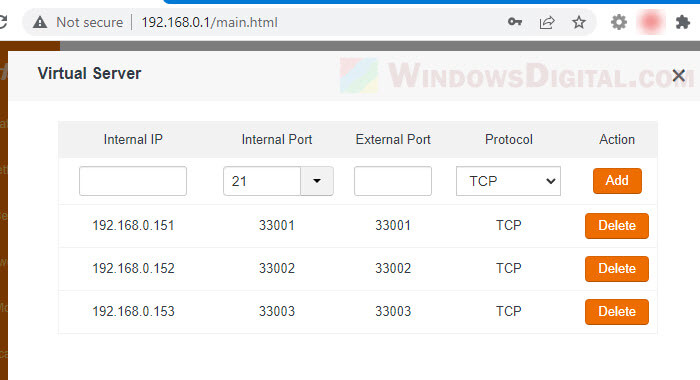
Next, login to your router and look for a section called “port forwarding” or “virtual server“. In that section, enter the local IP address you identified previously as the “Internal IP address”. Then, enter 3389 as the “Internal Port” and “External Port”, and select TCP as the “Protocol”. Click Add to add the port forwarding rule you’ve set.
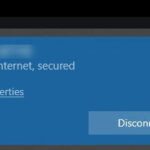
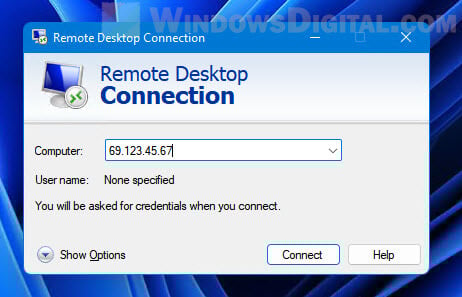
Once the port forwarding is successfully configured, you should then be able to connect to the remote computer by entering its public IP address in the Remote Desktop Connection app. To check the public IP address of the remote computer, read: How to check your IP address on the Internet.
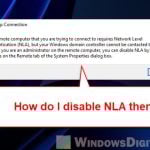
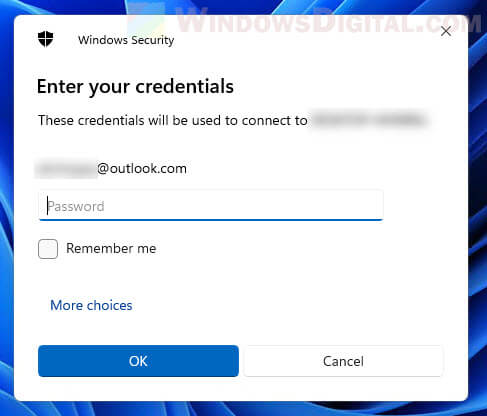
If Remote Desktop successfully detects the remote computer, it will prompt you to enter the login credentials. Otherwise, if it fails to detect the remote computer by the IP address, it will show you an error message that says “Remote Desktop can’t connect to the remote computer for one of these reasons” (after loading the “Initiate remote connection” for a while).
Remote Desktop multiple computers on a same IP address
If you have multiple computers on a local network which you wish to remote connect to from outside of the local network, since the default Remote Desktop listening port can only be used by one computer, you can do the following:
- Change the default TCP port Remote Desktop uses to a different port for each computer.
- After that, port forward the ports to the computers respectively on the router.
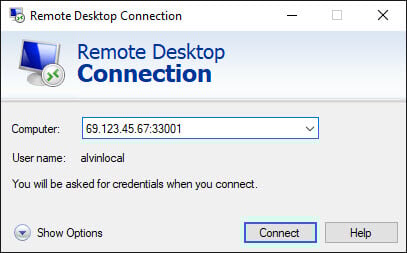
- Then, remote connect to any of the computers in the same network using the public IP address along with the remote desktop listening port you have changed to previously, e.g. 69.123.45.67:33001.
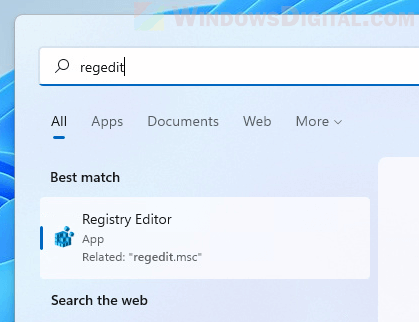
To change the Remote desktop default listening port, search for and open Registry Edit or simply “regedit” via Start.
In the Registry Editor window, navigate to the following registry key. Alternatively, you can copy and paste the following path to the registry editor’s address bar to go directly to the key.
HKEY_LOCAL_MACHINE\System\CurrentControlSet\Control\Terminal Server\WinStations\RDP-Tcp
When RDP-Tcp is selected on the left pane, look for and select (double-click) “PortNumber” on the right pane.
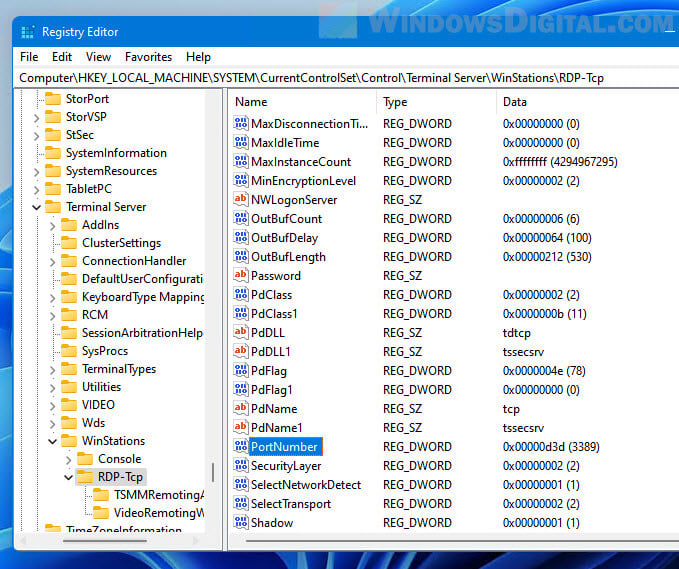
Next, select Decimal as the “Base” and then enter a new port number in the “Value data” field. You can use any port number up to 65536, but be aware not to use a port number that is already in use. I like to use 33001-33003 for the three computers I want to remote access on the same IP.
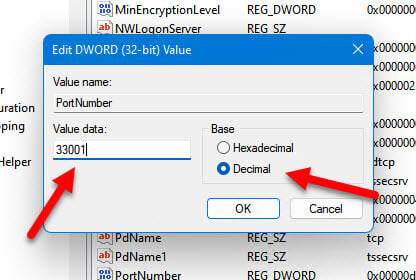
Click OK to save the changes and close Registry Editor. Restart your computer for the changes to take effect.
After changing the Remote Desktop listening port for each of your computers, login to your router and port forward these ports to the respective local IP address of the computers (refer to the instructions we outlined previously).
Once you have done the steps above, to use Remote Desktop to connect to one of the computers on a same public IP address, in the Remote Desktop Connection app, enter the public IP address where your computers resides, followed by a colon (:), and then the port number for the PC you have set earlier. For example: 69.123.45.67:33001.
Remote Desktop not working after port change
If Remote Desktop can’t connect to the remote computer using the new port after changing the Remote Desktop listening port (as outlined above), it may be because a firewall is blocking the port. Most firewalls block most ports for security reasons. Since port 3389 is the default listening port for Windows Remote Desktop, most firewall programs allow the port by default.
If you use a different port for Remote Desktop, you need to set a rule to allow the port on whatever firewall program you are using. If you are not using any third party firewall program, Windows Firewall will be the default firewall to protect your PC.
To set an inbound rule to allow incoming traffic through a TCP or UDP port in Windows Firewall, follow the steps below.
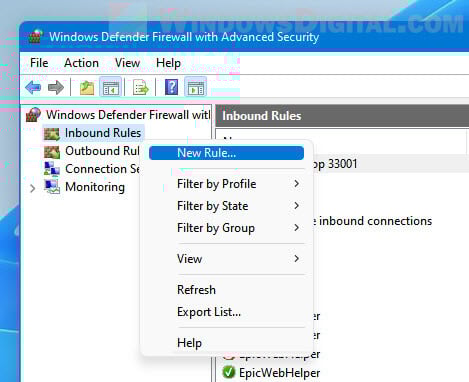
In Windows 11 or Windows 10, search for and open “Windows Defender Firewall with Advanced Security“. Click the Inbound Rules once on the left pane, then right-click Inbound Rules again and select New Rule.
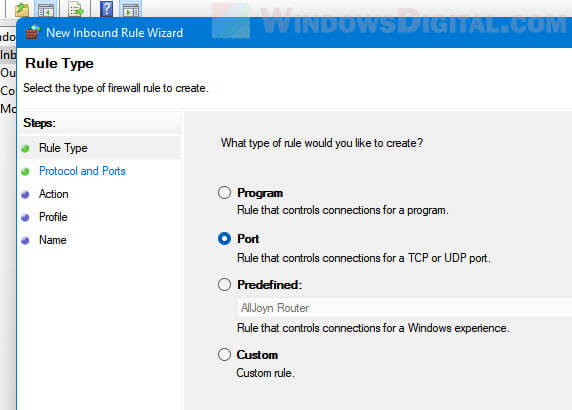
In the New Inbound Rule Wizard window, when prompted for what type of rule you would like to create, select Port.
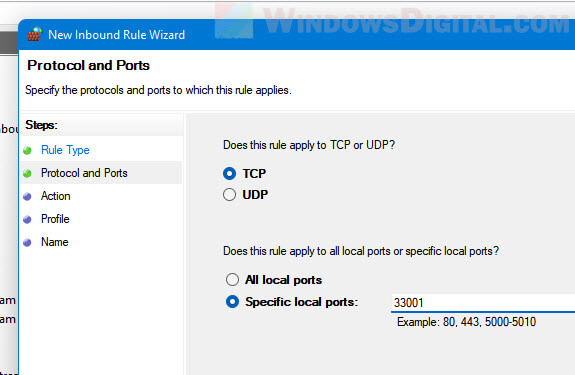
Next, select TCP as the protocol (Remote Desktop uses TCP port), then select Specific local port and enter the port you want to allow incoming connection from.
On the next screen, select Allow the connection, then follow the rest of the wizard to complete setting up the rule. After doing so, retry connect to this computer again using Remote Desktop from another computer. It should work now.
Method 2: Remote Desktop outside network via VPN
VPN, shorts for Virtual Private Network, is a type of network that imitates a private network on a public internet connection. When two computers are connecting to a same VPN over the internet, the two computers will be as if they are in a same local network.
Therefore, if the client and host computers are connected to a same VPN, you can use Remote Desktop to connect to each other by using only the PC name. It works as if the two computers are in a same local network because they are virtually connected to the same private network.
There are plenty of VPN services available out there, but they are not free. If you are looking for a free solution, you may want to look up how to set up your own home VPN server (which is not an easy task), or just use the first method outlined above.