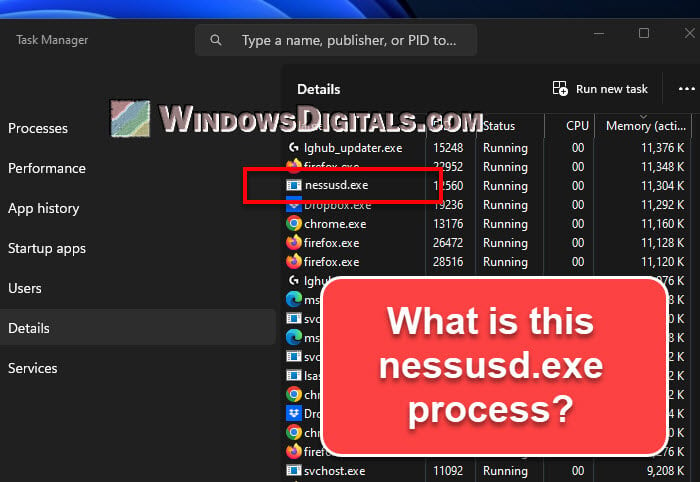
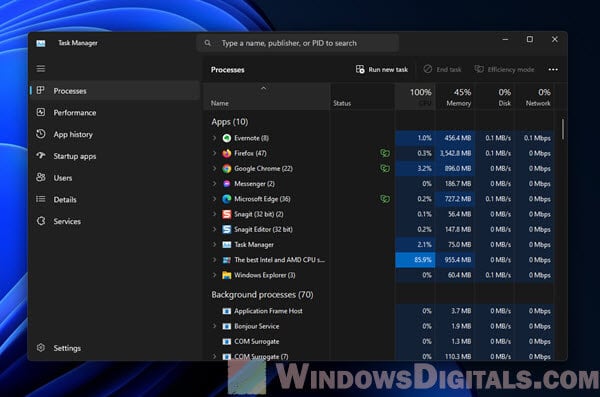
When you’re checking out the Task Manager on your Windows PC, you might spot a process called nessusd.exe. It’s natural to wonder about what it actually is, what it does, and if it’s a safe process. Sometimes, it might be eating up a lot of your computer’s resources. Should you turn it off, and how do you do that? This guide will talk about what the nessusd.exe process does and how to disable or get rid of it if you need to.
Also see: High CPU Usage After Windows 11/10 Update (Fix)
Page Contents
What is nessusd.exe?
The nessusd.exe is an executable file used by the Nessus Vulnerability Scanner, a popular security tool by Tenable. This file is the server part of Nessus, managing and coordinating vulnerability scans. It works with the Nessus client or web interface to do scans and create reports. Usually, the file is in the C:\Program Files\Tenable\Nessus\ or C:\Program Files\Tenable\Nessus Agent\ directories.
How does nessusd.exe work?
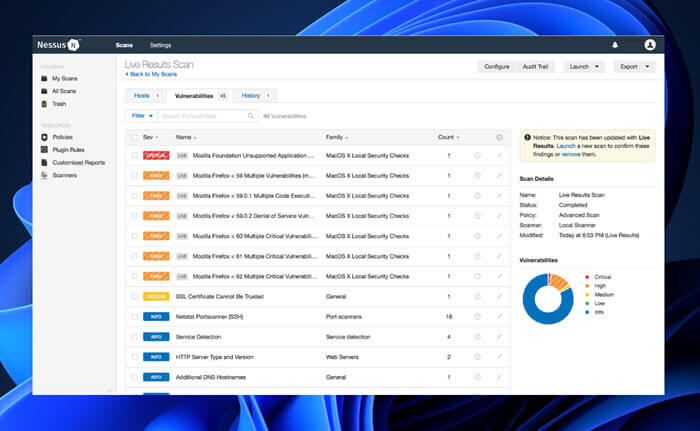
The “nessusd.exe” runs quietly in the background as a service. It uses a database of known vulnerabilities to run various scans, like network scans, web application scans, and compliance checks. It checks both local and remote systems to see how secure they are.
Useful guide: How to Know Which App is Using The Internet in Windows 11
Why does nessusd.exe use so much CPU, disk, and memory?
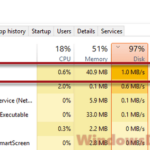
Many users on forums like Reddit have reported high CPU usage by nessusd.exe. This has been seen on both Windows 11 and Windows 10 systems. Sometimes, high disk and memory usage have also been noticed.
The high resource use is mainly because vulnerability scanning is resource-intensive. But, if you see that nessusd.exe is using too many resources and slowing down your system, try restarting the nessusd.exe service. Restarting can often free up system resources and fix temporary issues.
To do this, follow the instructions in the next section on how to disable the nessusd.exe service. Instead of disabling it, choose the option to “Restart” the service. If high resource usage continues after a restart, you may need to look into it further.
Pro tip: How to Limit CPU Usage of a Process in Windows 11
How to disable nessusd.exe
If nessusd.exe is causing big performance issues, you might want to disable it. Here’s how to do it:
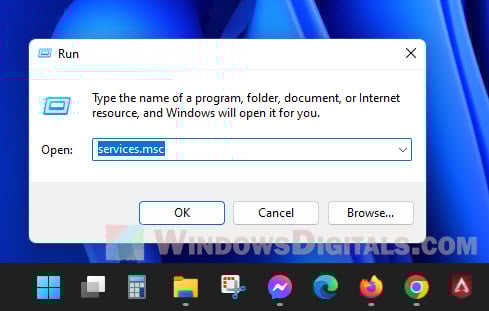
- Hit “Windows + R” to pop open the Run box.
- Write “services.msc” and hit enter to bring up the Services window.
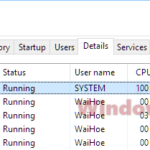
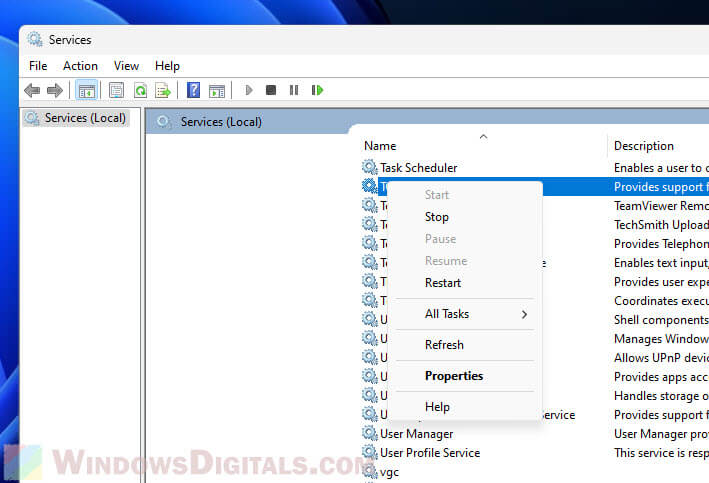
- Look for the “Tenable Nessus” service in the list.
- Right-click on “Tenable Nessus” and pick “Properties”.
- There’s a “Startup type” menu in the properties window. Change it to “Disabled”.
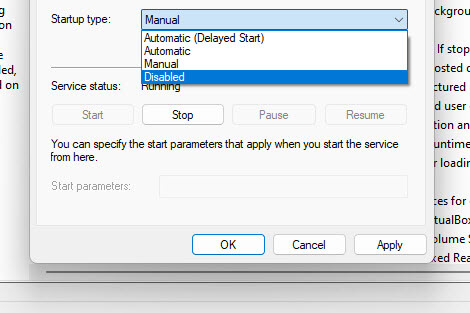
- Hit the “Stop” button to stop the service right now.
- Click “OK” to save your changes.
Disabling nessusd.exe will stop your Nessus Vulnerability Scanner from working, so only do this if it’s causing major issues.
Related resource: How to Delete a Service in Windows 11 or 10 Using CMD
How to remove nessusd.exe
If you decide you don’t need the Nessus Vulnerability Scanner anymore, you can get rid of the nessusd.exe file by uninstalling the software. Just follow the steps below:
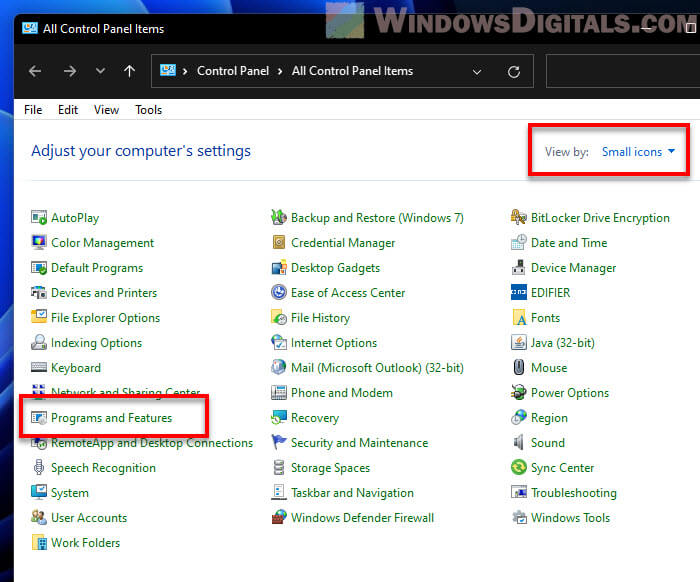
- Go to “Control Panel” by searching for it in the Windows search bar.
- Click on “Programs and Features” in the Control Panel.
- Find “Tenable Nessus” or “Nessus” in the list of installed programs.
- Click on the software, then hit “Uninstall” at the top of the window.

- Follow the on-screen instructions to remove the software.
Doing this will completely remove the software and all its files, including nessusd.exe. But know that the Nessus Vulnerability Scanner might be the only security tool your PC is using. Make sure you have another security solution ready so your system isn’t left exposed.
To put it simply
The nessusd.exe process is an important part of the Nessus Vulnerability Scanner by Tenable. While it’s known to use a lot of resources because of its important job, it usually doesn’t cause big performance problems.
If you keep running into issues with high CPU, disk, or memory use because of nessusd.exe, giving the service a quick restart can be a great first step. This simple action can often fix short-term problems and help your system run smoother.
Lastly, if you no longer use the Nessus Vulnerability Scanner software or you’re switching to another security solution instead, you can uninstall it so the process won’t run anymore.