You can find USB ports pretty much everywhere, like your PCs, laptops, phones, game controllers or even in some cars. But when they are used too often for too many years, they can eventually become loose. When this happens, things might start acting weird, like the port having issues trying to detect your USB devices, or it can’t even charge them properly.
In this tutorial, we will show you some pretty simple DIY ways to quickly fix loose USB ports yourself.
Page Contents
Figure out the problem
You should first make sure the USB port is really the issue. This can save you from fixing something that’s not even broken.
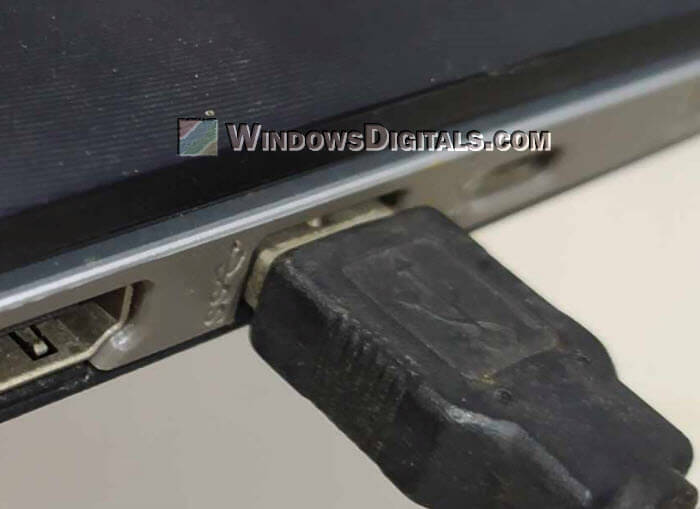
- Look at the USB plug (the part you plug in) and see if it’s bent or damaged. Sometimes, the plug is the problem, not the port.
- Plug in different USB devices to see if they all fit loosely. If it’s just one, then the issue might be with that device’s plug.
- Turn off your device and unplug it. Shine a light inside the USB port and check for any visible damage or dirt. Sometimes, something as small as lint can mess up the connection.
- Sometimes, the problem is with the computer’s software, not the port. Connect your device, open “Device Manager” on your computer, and look under “Universal Serial Bus controllers” for any errors.
If after these checks you find the USB port is truly loose or damaged, below is how you can fix it.
Also see: How to Connect Wireless Keyboard Without USB Receiver
Repair a loose USB port (DIY)
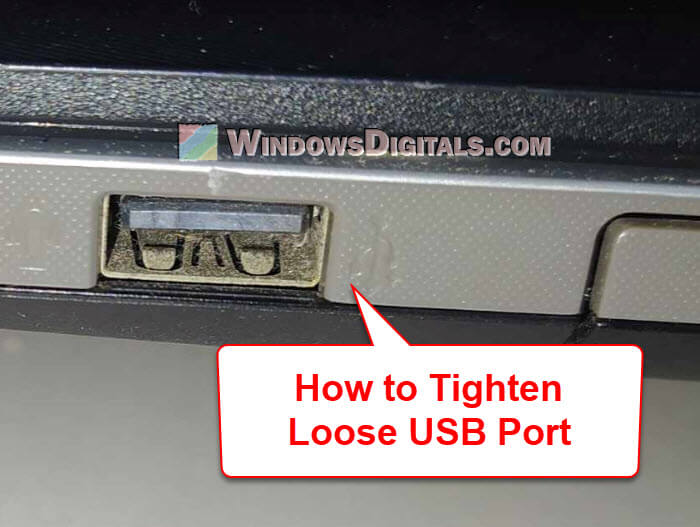
Adjust the retention pins on a loose USB port
In a regular Type-A USB port, there are tiny metal clips on the top and bottom of the port that keep the USB plug in place. These can get flat or bend over time, making the connection loose.
- You’ll need a small flathead screwdriver or something sharp and flat, and a flashlight.
- First, make sure your device is off and unplugged. Look inside the USB port with a flashlight. You’ll see small metal tabs.
- Put the screwdriver next to a metal tab.
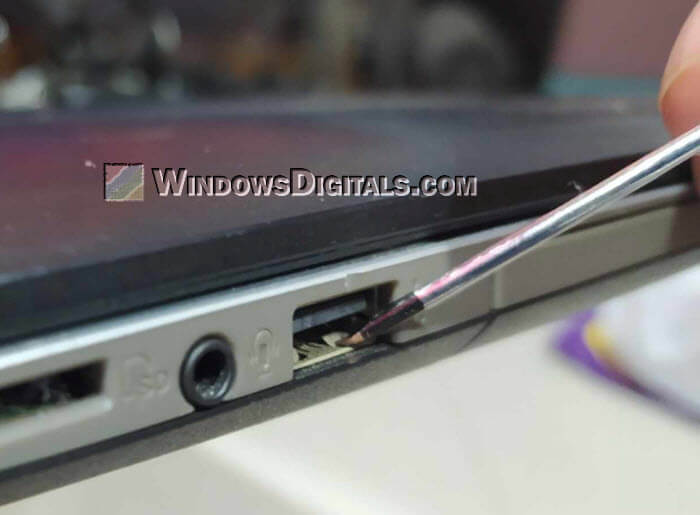
- Gently push the tab out a little to make it tighter for the USB plug. Do this for the other tab too.
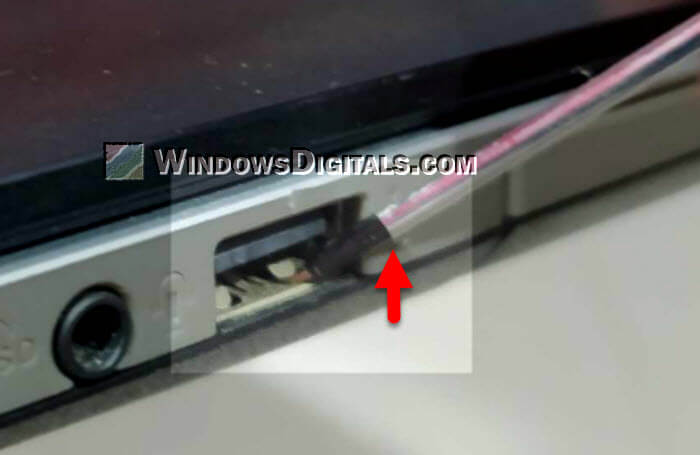
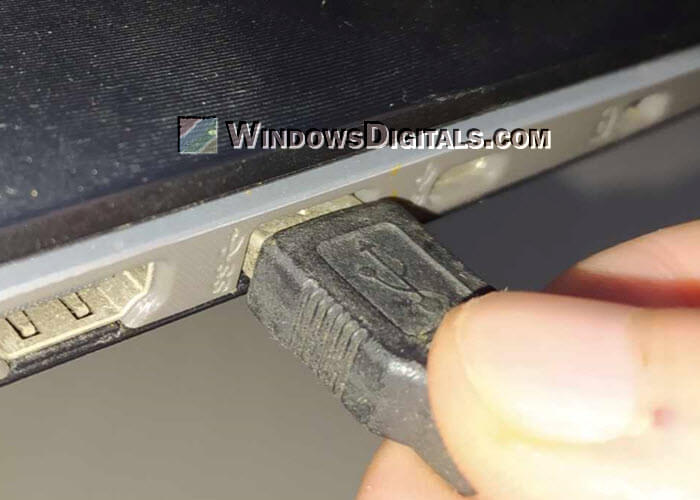
- Plug a USB device in to see if it’s better. If needed, adjust a bit more until it fits right.
- Be gentle and careful not to bend the tabs too much or they might break.
This is a careful job. You might damage the port more if you use too much force or bend the pins too much. Although this can make a worn-out USB port work a bit longer, if you keep bending the tabs back, they might eventually break.
Related resource: Use Wireless Controller as Mouse or Keyboard in Windows 11
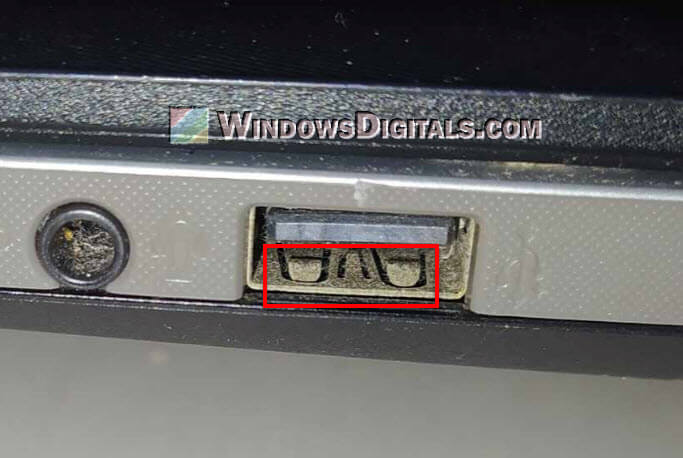
Tighten the USB port with a toothpick
Another simple workaround is to adjust the USB port’s metal tongue with a toothpick to make it tighter.
- You will need a toothpick and a flashlight.
- Turn off your device and unplug it. Look at the metal tongue in the USB port with a flashlight.
- Gently move the metal tongue back to the middle with the toothpick. Be careful not to damage it.
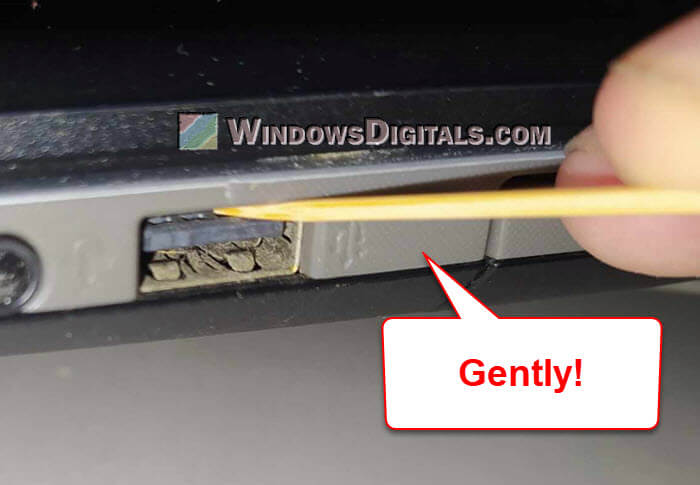
- Plug in a USB to see if it fits better. You might need to adjust it a bit more if not.
- Take your time and try small changes bit by bit.
Be careful when you’re working inside the USB port to not cause more damage than it already has.
Solder a loose USB port
If the USB port is physically loose from the board, soldering it back might be the only way.
- You will need soldering iron, solder, desoldering tool, and safety glasses.
- Turn off and unplug your device. Open it to get to the motherboard where the USB port is.
- Look at the USB port’s solder joints. If they’re loose, you’ll need to solder them again.
- Use a desoldering tool to remove the old solder.
- Then solder the USB port’s pins back to the motherboard. Make sure it’s well-connected but don’t use too much solder.
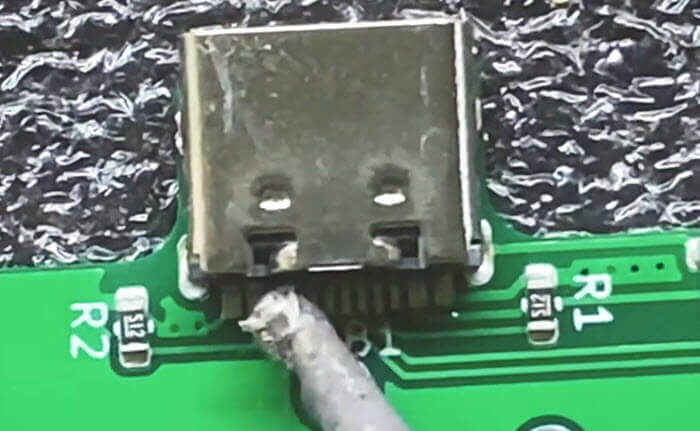
- Let the solder cool, put your device back together, and test the port.
Soldering takes skill and a steady hand. If you’re not sure how to do it, it might be better to get help from a pro to avoid damaging your device.
Other solutions for a loose USB port
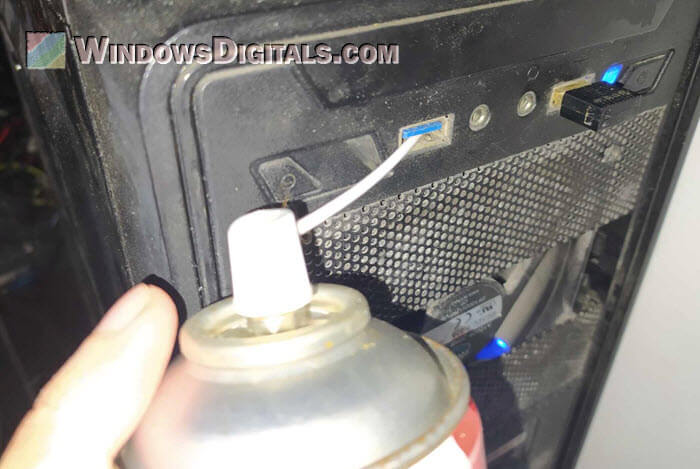
Clean the port
You might just need to clean the port.
- You’ll need a compressed air can, a soft brush, and optional isopropyl alcohol.
- Turn off your device and take out the battery if you can.
- Blow compressed air into the port to clean out dust and debris. Try different angles to get it all out.
- If it’s still dirty, dip the brush in a bit of isopropyl alcohol and gently clean inside. Make sure the brush isn’t too wet.
- Let it dry completely before you try using it again.
Check for loose screws
If you have a device like a laptop, sometimes things inside get a bit loose. Open it up (make sure it’s off and unplugged), and check if there are any loose screws. Tighten them up if needed.
Replace the USB port
If the port is really bad, you might need to replace it.
- You’ll need a new USB port, soldering tools, and safety glasses.
- Follow the steps in the soldering section to take out the old port and put in a new one.
- After soldering the new port in place, put your device back together and test it.
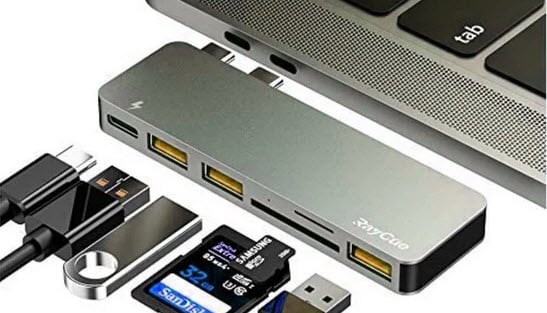
Consider external solutions
If you don’t want to mess with your device’s inside, use a USB hub or dock. These let you connect more USB devices without having to fix the internal port.
Professional repair
If DIY fixes aren’t working or you’re not comfortable trying them, it’s a good idea to get a pro to look at it. They can make sure your device works well and lasts longer.