Even though we’re moving fast into a world where everything is digital and softcopy, sometimes we still need those old-school CDs or DVDs. Maybe you’ve got a classic game or some old software that only comes on a disc. That’s where a virtual CD or DVD drive comes in very handy. It’s like having a CD or DVD player right on your computer, without needing the physical disc. This guide will show you how to get that set up on Windows 11, and even how to make your own virtual CDs or DVDs from files you already have.
Also see: How to Burn Windows 11 ISO to USB
Page Contents
What is a virtual CD drive?
A virtual CD drive is like a digital copy of a CD or DVD that lives on your computer’s hard drive. You can use it to run game, software, or music files without needing the actual disc. It’s super quick and convenient, and you don’t have to worry about your discs getting scratched or lost. Plus, it can actually be faster than using a physical disc because your computer can read data from its hard drive quicker than from a CD or DVD (even much faster if you have an SSD).
Related resource: How to Open or Delete VHDX/VHD File in Windows 11
Creating a virtual CD drive in Windows 11
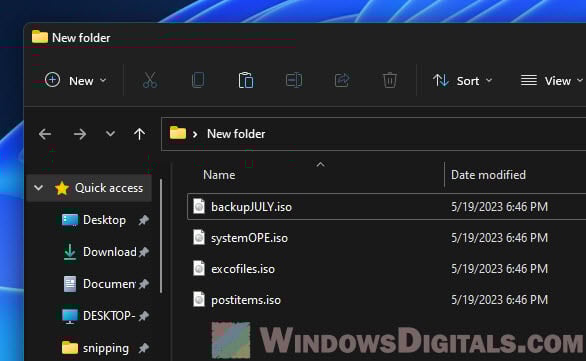
Step 1: Find the disk image file
First off, you need to find the disk image file you want to use. This could be an ISO, BIN, or CCD file. Just remember where you’ve saved it – could be your Downloads folder, Desktop, or somewhere else.
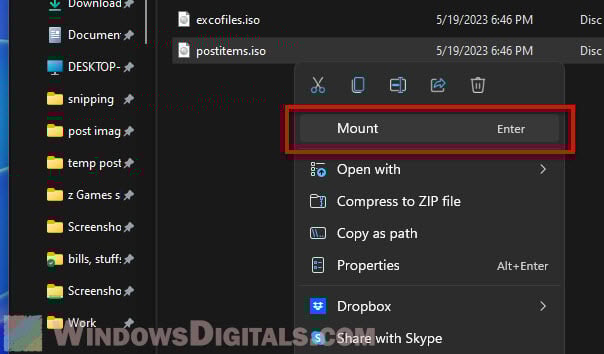
Step 2: Mount the image file
Windows 11 makes it easy to mount your disk image file right into a new virtual drive:
- Go to where you saved the image file.
- Right-click on it and choose “Mount” from the menu. This magically creates a new virtual drive for you, with your image file ready to go.
Useful tip: How to Play VOB Files on Windows 11
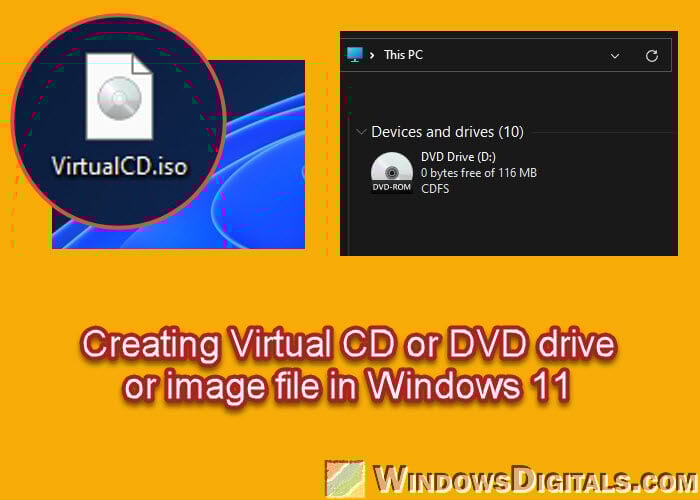
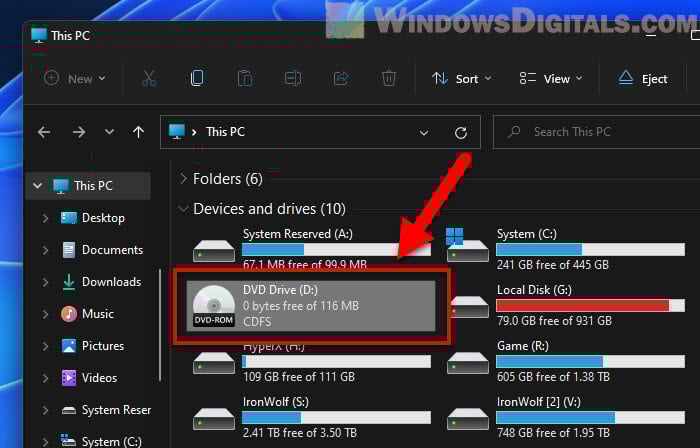
Step 3: Access the virtual CD drive
With the image file mounted, your computer thinks a real disc has just been put in. Here’s how to see what’s on it:
- Hit the Win + E keys to open File Explorer.
- Click on “This PC” on the left, and you’ll see your new virtual drive under “Devices and drives”. It’s got its own letter and everything, just like a real drive.
Now, you can look through the drive, install stuff, play games, or whatever else you need to do.
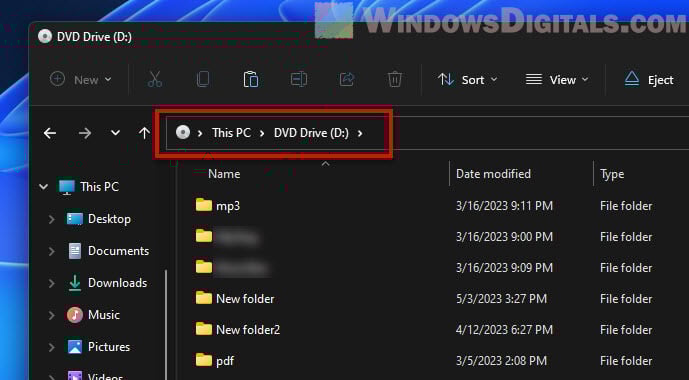
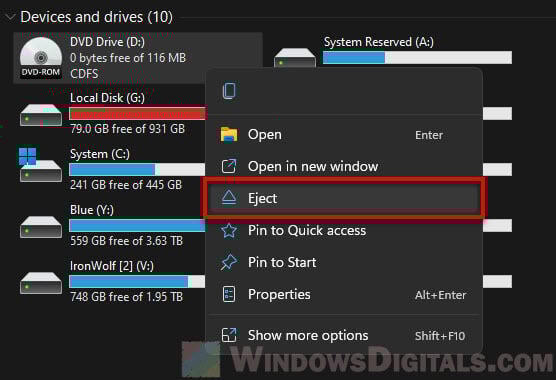
When you’re done, just right-click on the virtual drive in File Explorer and pick ‘Eject’ to unmount it.
Relevant guide: How to Open VMDK File in Windows 11
Creating a virtual CD or DVD in Windows 11 from files
Want to make your own virtual CD or DVD from files or folders? Windows 11 doesn’t have this built-in, but don’t worry – there’s software for that. ImgBurn and Free ISO Creator are both great and free choices. We’ll use ImgBurn for this example.
Step 1: Download and install ImgBurn
First, download ImgBurn from its website or a place you trust. Install it on your computer by following the setup steps.
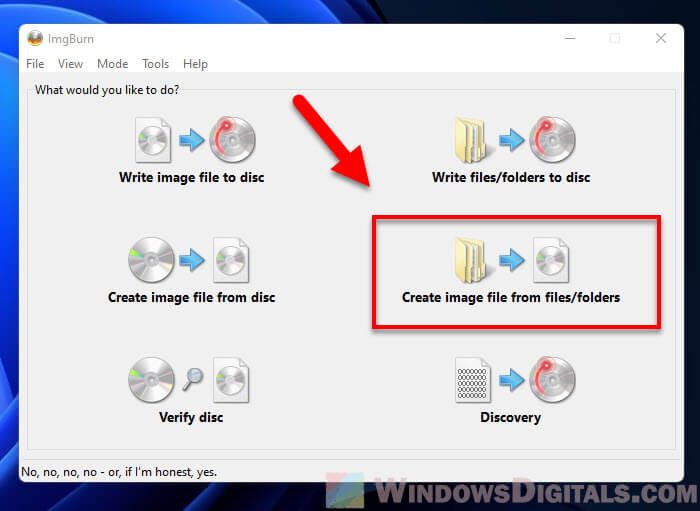
Step 2: Select the “Create image file from files/folders” option
Open ImgBurn, and pick “Create image file from files/folders” from the main menu.
Step 3: Add files and folders
Click “Browse for a file” or “Browse for a folder” to start adding your files or folders. You can add as much as you want, just keep an eye on the size so it doesn’t go over what a CD or DVD can hold.

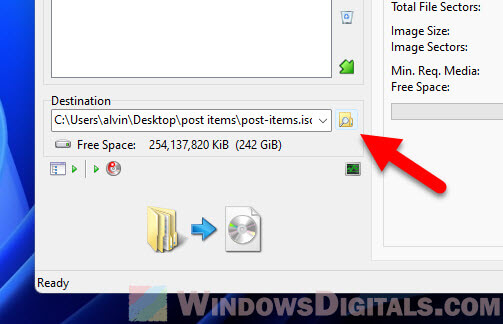
Step 4: Choose output destination
In the “Destination” area, hit “Browse for a file” to pick where to save your new virtual disc and what to name it.
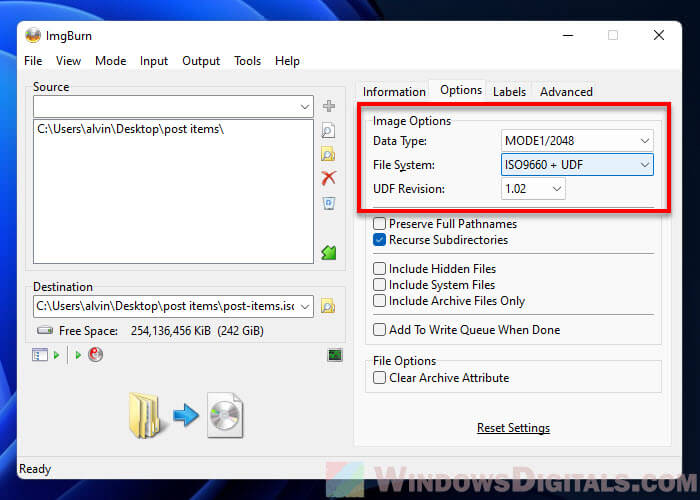
Step 5: Configure settings
You can tweak a bunch of settings, but the defaults are usually fine. Just check the “File System” settings to make sure it’s on “ISO9660 + UDF” for the best compatibility.
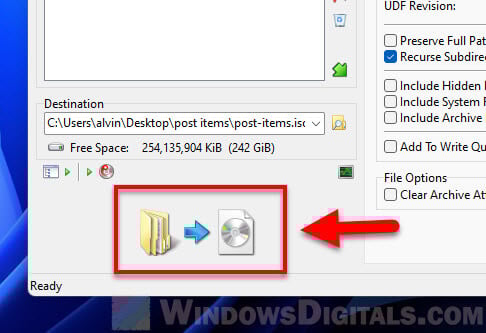
Step 6: Create the disk image
When you’re ready, hit the big “Build” button. ImgBurn will whip up an ISO file from your chosen files and folders.
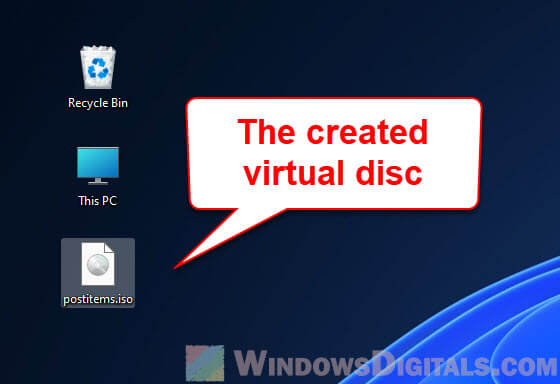
Now you’ve got your very own virtual CD or DVD!
Some ending thoughts
We’re moving away from things like CDs because we have better options now, like USB drives. They’re easier to use, you can carry them around easily, and they last longer. Thus, knowing how to work with virtual drives means you can keep using old software or games that only come on discs, or put a bunch of files together into one file that’s easy to share.
Also, virtual drives mean you don’t have to worry about your discs getting scratched or lost, and you can get to your stuff quicker and more smoothly. Even though the world is going more towards cloud storage and digital files, having a local, virtual option can sometimes still be a good idea.