A VHD (Virtual Hard Disk) or VHDX file is a file format that represents a virtual hard disk drive. A .vhdx or .vhd extension file acts like a physical hard drive which you can mount (or dismount) to make it accessible via the File Explore or This PC like any other real hard drive, but with a difference that a Virtual Hard Disk file is stored on a real hard drive.
VHDX (Virtual Hard Disk v2) file format is the successor to VHD. The only difference between the two formats is VHDX supports disk size larger than 2040 GB, up to 64 TB, while VHD supports only up to 2040 GB in disk size. Note that VHDX is not supported in Windows version earlier than Windows 8.
This guide will show you how to open a VHDX or VHD file by mounting it in Windows 11, how to delete one if you receive error such as “The action can’t be completed because the file is open in System. Close the file and try again” when you try to delete the file, and how to create a virtual hard disk (VHD) in Windows 11.
Page Contents
How to mount a VHDX or VHD file in Windows 11
To open a VHDX or VHD file to see what’s inside the file, you need to mount it first. By mounting a virtual hard disk (VHDX or VHD) file, it will become a visible hard drive in the “This PC” directory and be accessible like any other hard drive. To mount a .vhdx or .vhd extension file, follow the steps below.
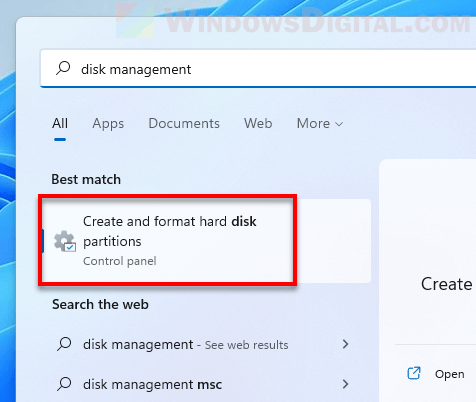
1. Click Start and search for “Disk Management“. Then, select the first result – “Create and format hard disk partitions”.
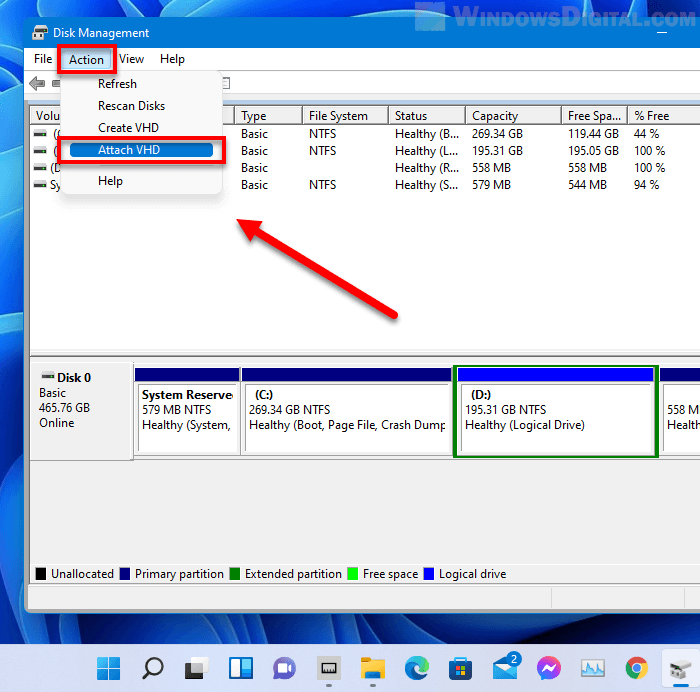
 2. In the Disk Management window, click Action on the menu bar and select Attach VHD.
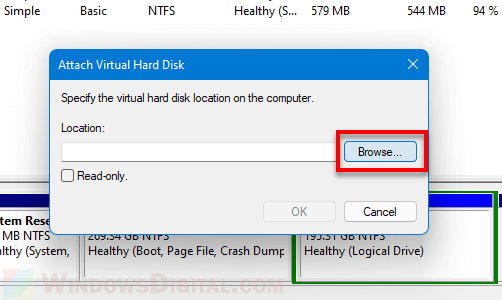
3. Next, in the Attach Virtual Hard Disk window, click Browse under Location.
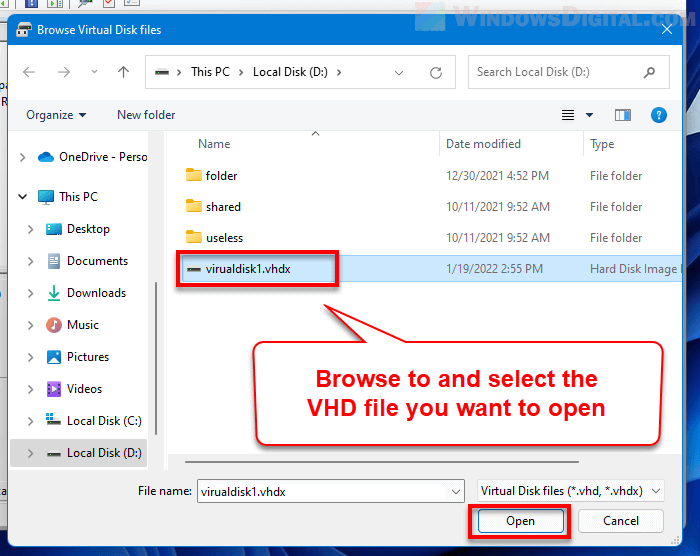
4. Browse to where the VHDX or VHD file you want to open is located, then select the virtual hard disk file and click Open.
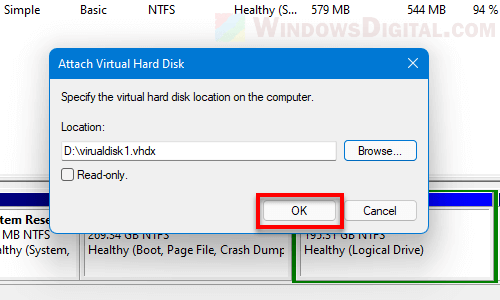
5. Then, click OK to confirm mounting the selected virtual hard disk file.
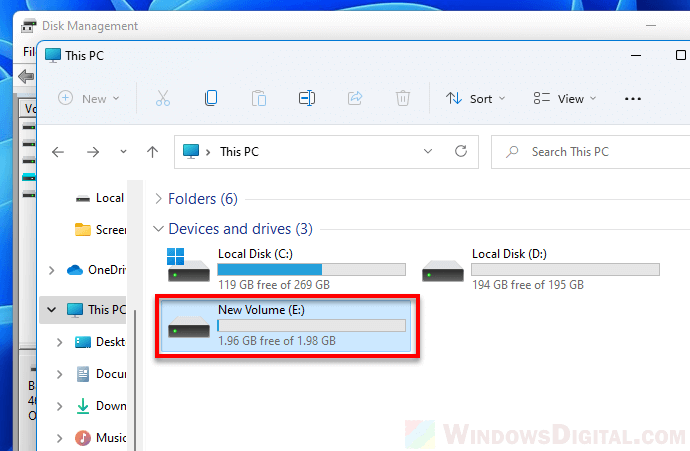
6. After mounting the file, go to This PC. You should then be able to see and access the virtual drive under “Devices and drives”.
How to delete a VHDX or VHD file in Windows 11
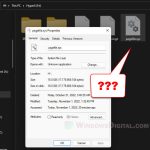
You can delete a VHDX or VHD file by simply selecting it and pressing the Delete key, or by right-clicking the file and selecting Delete. However, please know that since the file literally represents a (virtual) hard disk drive, deleting the VHD/VHDX file means to delete the entire virtual drive. All files and contents in the virtual hard disk will be deleted.
Before deleting the VHD, we recommend to try to mount it first (by following the instructions in the section above) and see if the files in the virtual hard disk are safe to delete.
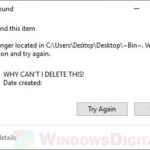
If you receive an error that says “The action can’t be completed because the file is open in System” when you try to delete a VHDX or VHD file, it likely indicates that the virtual hard disk file is currently being mounted, thus, causing Windows to disallow the deletion because the file is still in use.
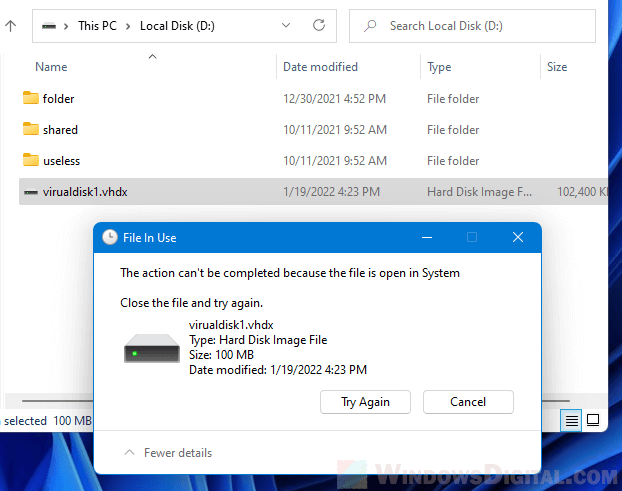
To delete a mounted VHDX or VHD file, you need to unmount it first (see below). After unmounting the virtual hard drive, try to delete the VHDX or VHD file again.
How to unmount VHD or VHDX in Windows 11
To unmount a mounted virtual hard disk file in Windows 11, first search for and open “Disk Management” via Start.
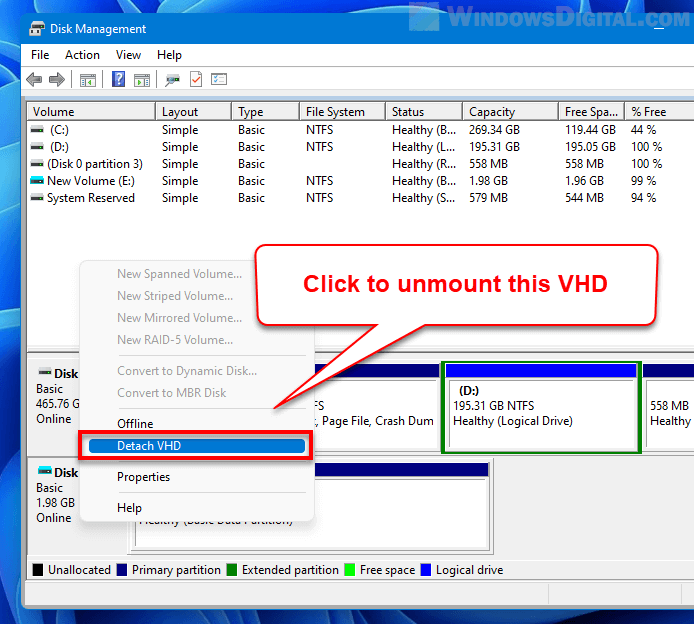
The bottom section of the Disk Management window contains a graphical representation of all physical and virtual hard disk drives installed in the computer. To unmount a disk, right-click it and select Detach VHD.
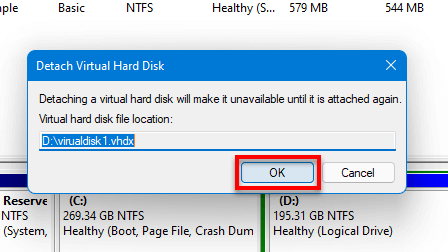
A pop up will show up to warn you about “Detaching a virtual hard disk will make it unavailable until it is attached again”. Click OK to confirm unmounting the VHD.
If you are not sure if a disk is a virtual hard disk drive, right-click it and see if the “Detach VHD” option is available. If it’s not, it means the selected disk is a physical real drive. If the option does appear, the disk is a virtual hard disk which you can detach/unmount.
How to create a virtual hard disk (VHD/VHDX) in Windows 11
If you are interested in creating a virtual hard disk using the disk space of one of your physical hard drives, here’s how to do so using Disk Management in Windows 11.
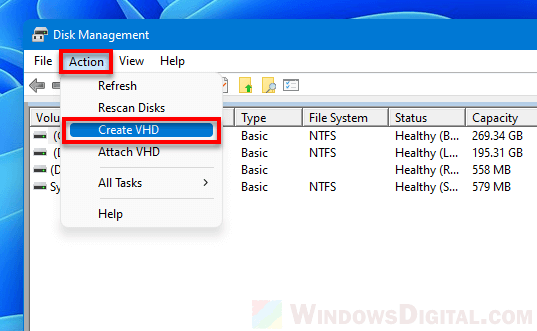
1. First, search for and open Disk Management via Start. Next, click Action > Create VHD from the menu bar in Disk Management window.
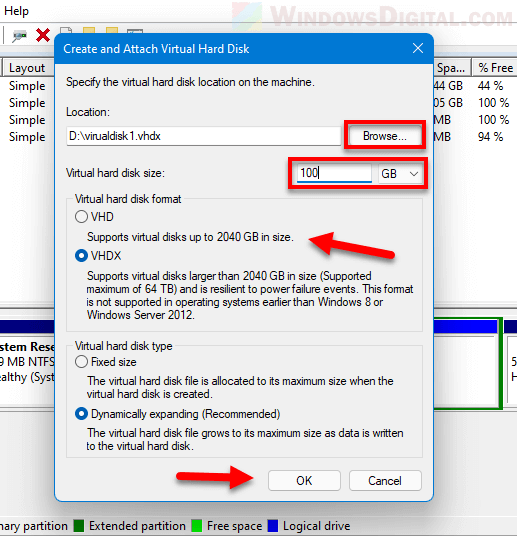
2. In the “Create and Attach Virtual Hard Disk” pop up, click Browse and browse to where you want to create and save the VHD/VHDX file. Enter a disk size that you want the virtual hard disk to have. Then, select which format you want to use – VHD or VHDX. VHDX is recommended unless you are using it on older version of Windows. Click OK to proceed.
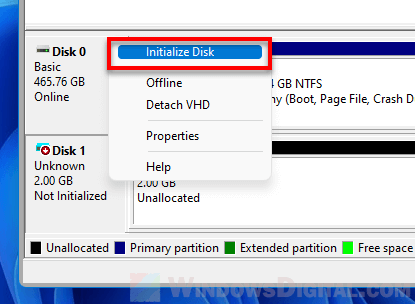
3. After successfully creating the virtual hard disk, it will be like a brand new hard disk drive. At this stage it is not unusable yet because it needs to be initialized first. To do so, right-click the newly created virtual Disk in Disk Management, and select Initialize Disk.
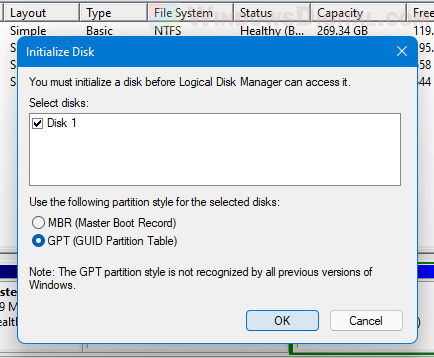
4. Next, select a partition style and click OK to initialize the disk.
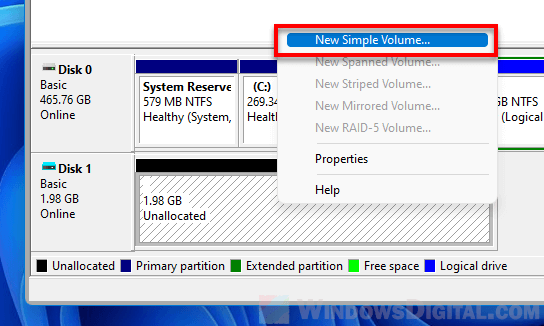
5. Then, right-click the area where it says “Unallocated” and select New Simple Volume to create a volume out of the available disk space.
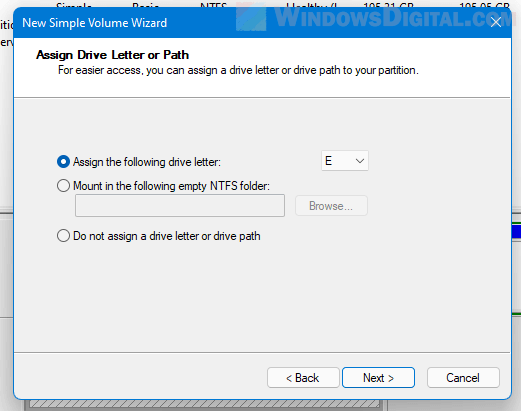
6. In the New Simple Volume Wizard, assign a drive letter to the partition and follow the rest of the on-screen instruction to complete the wizard.
7. Once you have created the partition, go to This PC and you should then be able to see and access the newly created virtual hard drive. In addition, the VHDX or VHD file will be located at the location you previously chose to save (during step 2).