If your PC turns on, the fans spin and the RGB lights up, but the monitor says “No signal” and the DRAM light on the motherboard’s EZ Debug LED stays on, the board is stuck at the memory check and never reaches the BIOS. This guide will help you figure out why the DRAM light won’t go off and how to get your PC to boot again.
Also see: Windows 11 PC Won’t Boot Past the BIOS, Why?
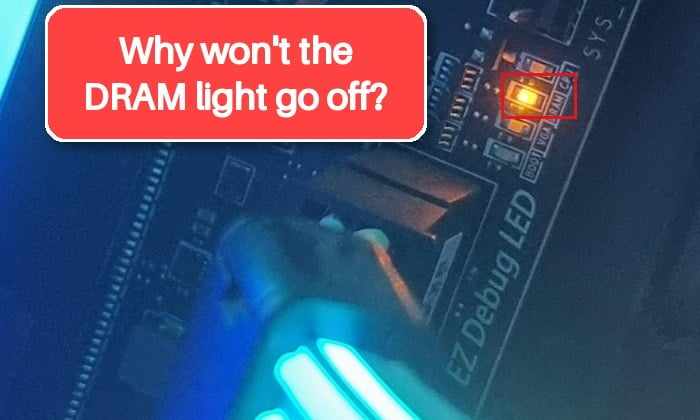
What does the DRAM light on the EZ Debug LED mean?
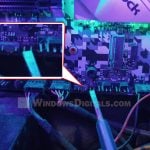
MSI motherboards have four debug lights: CPU, DRAM, VGA and BOOT. They flash in turn as the board checks each part, then go off. A light that stays on shows where the start-up stopped. According to MSI, the DRAM light means the memory wasn’t detected or failed. ASUS has the same lights, called Q-LED.
That doesn’t always mean your RAM is dead. Common reasons are:
- Memory training still running after new RAM, a BIOS update or a CMOS reset.
- A stick not fully seated, sitting in the wrong slot, or with dirty contacts.
- An XMP or EXPO profile the system can’t run stably.
- A BIOS that doesn’t get along with your RAM kit yet.
- Bent CPU socket pins, since the memory controller sits inside the CPU.
- A faulty stick, CPU or motherboard.
Here’s what to try, starting with the easiest.
Give it time to finish memory training
After you add new sticks, update the BIOS or clear the CMOS, the board has to test (train) the memory on the first boot. Meanwhile, the screen stays black with the DRAM light on. With DDR5, and on AMD AM5 boards especially, this can take several minutes, and turning the PC off midway just starts it over.
So first, turn on the PC and leave it alone for 10 to 15 minutes. If the BIOS or Windows shows up, it was only training. If the light is still on after about 20 minutes, move on.
Reseat the RAM and push it in all the way
A stick that looks clicked in but isn’t fully seated is a common cause, especially with DDR5, which needs more force than you’d expect. Here’s what to do:
- Shut down the PC, switch off the power supply and unplug it.
- Open the slot latches and take out the sticks.
- If the gold contacts look dirty, wipe them with a lint-free cloth and isopropyl alcohol, and blow the dust out of the slots.
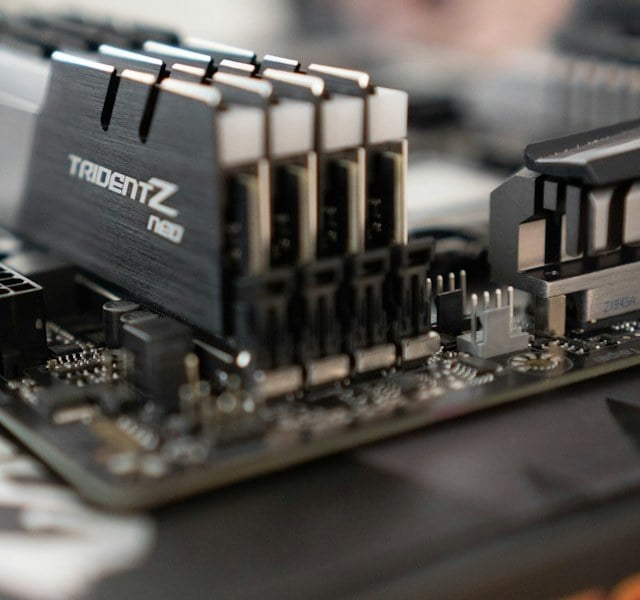
- Press the stick straight down with firm, even pressure on both ends until the latches snap shut by themselves.
- Plug the power back in and turn on the PC.
If the PC now posts, the sticks weren’t fully seated (or the contacts were dirty).
Boot with one stick in the right slot
Testing one stick at a time, as MSI and ASUS both recommend, shows whether a stick or a slot is the problem. Here’s how:
- With the PC unplugged, take out every stick except one.
- Put it in the slot your manual names for a single module. On most boards that’s A2, the second slot from the CPU, but check the manual.
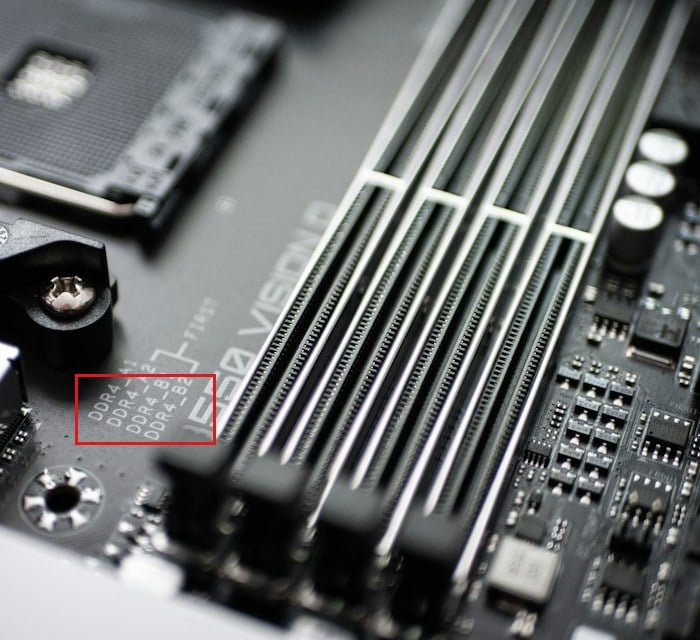
- Turn on the PC and wait a few minutes.
- If it posts, add the second stick in the other recommended slot (usually B2).
- If it doesn’t, try the other stick in the same slot, then each stick in the other recommended slot.
A stick that never boots in any slot is most likely bad. A slot that fails with every stick points to the slot or the CPU (see below).
Might be useful: Checking Motherboard Max RAM Speed (MHz) & Capacity
Clear CMOS to undo XMP, EXPO and other BIOS changes
If the light came on after you turned on XMP or EXPO, changed memory settings or updated the BIOS, clearing the CMOS resets every BIOS setting, memory speed included. MSI recommends it for wrong memory overclock settings. To do it:
- Shut down the PC and unplug it.
- Do one of these:
- Press the Clear CMOS button, if your board has one (on some boards it’s on the back panel).
- Short the two JBAT1 pins (MSI’s name for the jumper) with a metal screwdriver for a few seconds.
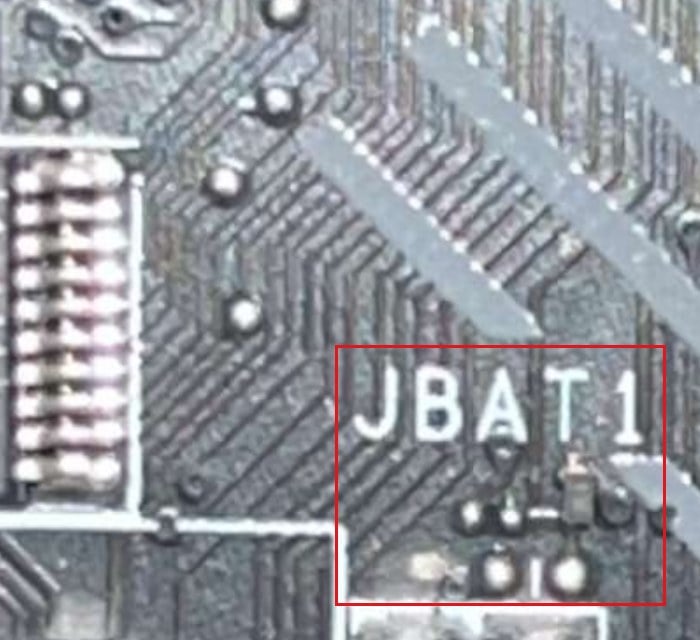
- Take out the motherboard’s coin battery for a few minutes, then put it back.
- Plug the PC back in and turn it on.
The next boot trains the memory again, so give it 10 to 15 minutes.
Pro tip: How to Clear CMOS without Removing Battery or Jumper Cap
Update the BIOS with the Flash BIOS button
New RAM kits and CPUs sometimes need a newer BIOS. Since you can’t get into the BIOS, you’ll need the board’s flash button. Not every board has one, so check the manual, and skip this fix if yours doesn’t. MSI calls it Flash BIOS Button, ASUS USB BIOS FlashBack. According to MSI, it works without the CPU or RAM installed and can fix BIOS and memory compatibility problems.
Be warned: An interrupted BIOS update can leave your motherboard unusable. If you’re not sure what you’re doing, get someone to help you.
- On another computer, download the latest stable BIOS (not a beta) for your exact motherboard from its support page.
- Put it on a USB drive the way the manual says (usually FAT32, with the file renamed as the manual tells you).
- With the PC off but the power supply on, plug the drive into the USB port marked for BIOS flashing.
- Press the Flash BIOS (or BIOS FlashBack) button and wait for the update to finish. Your manual says how to tell when it’s done.
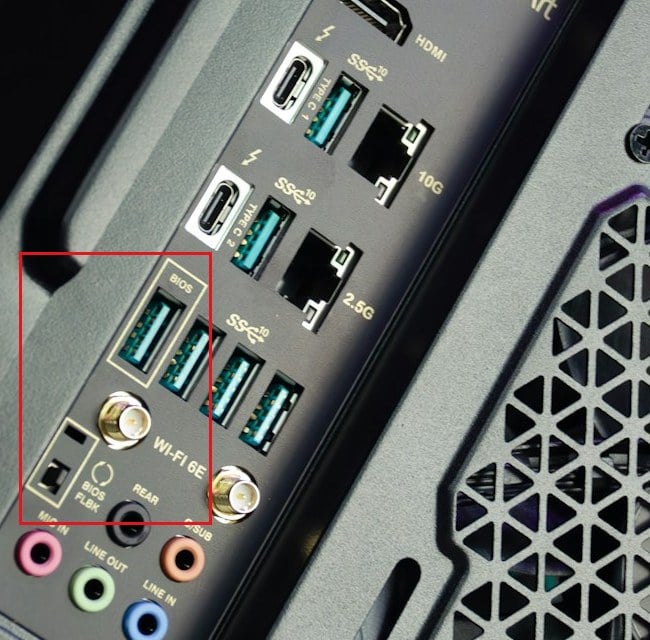
- Turn on the PC and let it train the memory.
If the BIOS now shows up, the old BIOS didn’t get along with your RAM or CPU.
Linked issue: MSI M-Flash or Gigabyte Q-Flash Not Detecting the BIOS File on USB
Check the CPU socket and the cooler
Because the memory controller is inside the CPU, a bent socket pin can keep the DRAM light on even when the RAM is fine, and so can an unevenly tightened cooler. MSI suggests this check too, and it’s a common suggestion on Reddit once the RAM tests don’t help.
Be warned: Socket pins bend very easily. If you’re not comfortable doing this, take the PC to a shop.
- Shut down and unplug the PC.
- Remove the cooler and carefully take out the CPU.
- Look at the socket pins with a flashlight and your phone’s zoom. They should all line up evenly, with nothing bent or stuck between them.
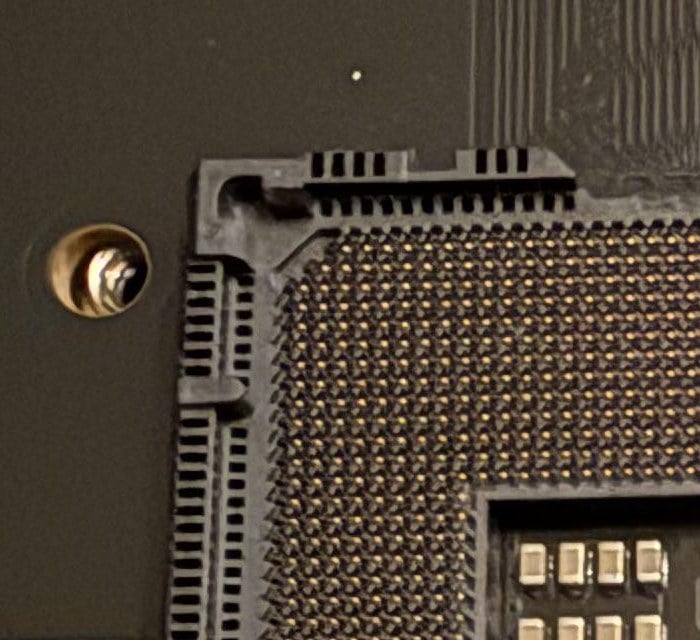
- Put the CPU back and tighten the cooler evenly, without overdoing it.
- Turn the PC back on and see if the DRAM light goes off.
A bent pin can sometimes be bent back, but it breaks easily, so don’t force it.
Try different RAM, then check the CPU and motherboard
If nothing above works, try your RAM in another PC, or a known-good kit in yours. Check the board’s memory support list (QVL) too, since some kits just don’t work well with some boards. One matching kit beats two kits mixed, and two sticks are easier on the memory controller than four, especially with DDR5.
If another kit boots, your RAM is faulty. If nothing boots, it’s likely the CPU or the motherboard; a PC shop can test with another CPU. Also, a used AMD CPU taken from a prebuilt PC may be locked to that maker’s boards and won’t start in another one. If your parts are under warranty, contact the maker or store before buying anything new.