With Windows 11, Microsoft decided to preinstall Microsoft Teams in the OS, so it’s ready to be used as soon as you start using the new system. By default, Microsoft Teams is set to open automatically when you turn on your Windows 11 PC. Some people like this feature, but others find it a bit too much, especially if they don’t use Teams often. If you want to stop Teams from starting up automatically, this guide will show you how to do so on Windows 11.
Also see: How to Disable Startup Programs in Windows 11
Page Contents
Stop Microsoft Teams from starting automatically via its settings
This is probably the easiest way to go about it, using some quick settings adjustments in the Teams app itself. If Microsoft Teams is already open, this is a great first step.
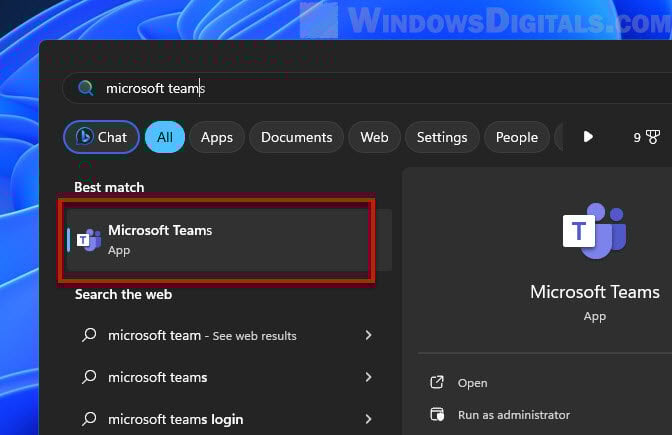
- Open Microsoft Teams. If it’s already running, you should see it in your system tray. If not, look for “Microsoft Teams” in the Windows start menu and open the application.
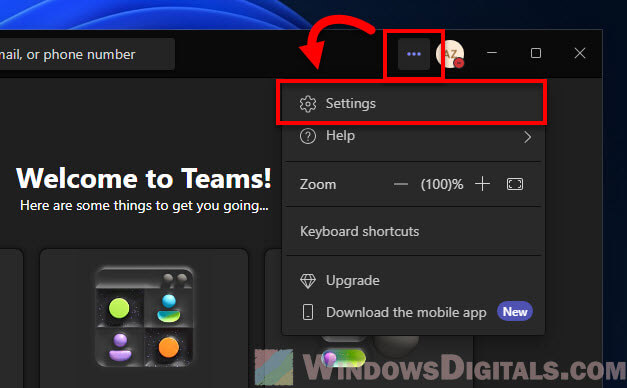
- Once the app is open, click the three-dot icon next to your profile picture at the top-right corner to see a dropdown menu.
- Click on “Settings”.
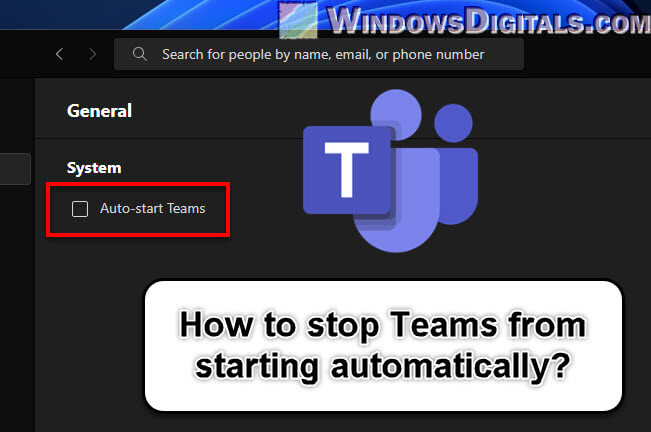
- Go to the General tab (it should be the first thing you see).
- There, you’ll find an option called “Auto-start application”. Uncheck this box.
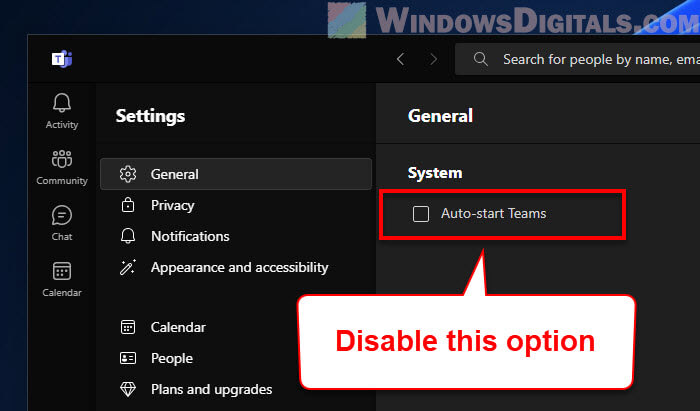
- Close the Settings window. Now, Microsoft Teams won’t start on its own when you boot up your Windows 11 computer.
This method is good if you still want to use Teams now and then but don’t want it to start up every time you turn on your PC.
Related resource: How to Unpin Chat From Windows 11 Taskbar
Disable Teams as startup program using Task Manager
The Task Manager is a useful tool in Windows that shows details about your computer’s performance, applications that are running, and the impact of programs that start up with your PC. It’s the most common way to manage which apps start with Windows.
- Press CTRL + SHIFT + ESC together on your keyboard to open the Task Manager. You can also right-click on the taskbar and choose “Task Manager” from the menu.
- Open the “Startup” tab.
- Look for “Microsoft Teams” in the list of programs.
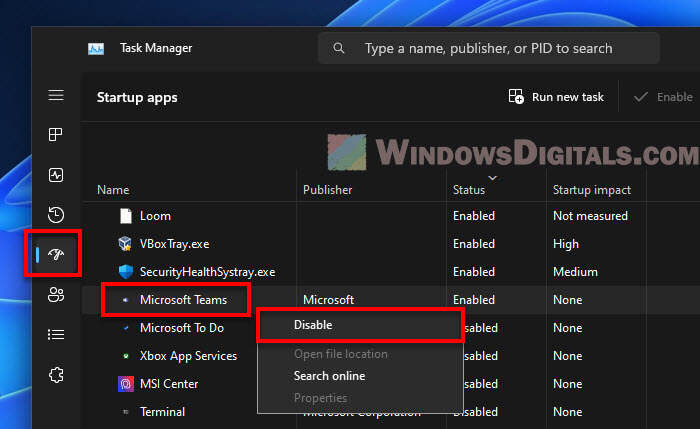
- Click on Microsoft Teams to select it.
- At the top-right of the Task Manager window, there’s a button called “Disable”. Click it.
Now, Microsoft Teams won’t start up with your PC. This is especially helpful if you’re looking to speed up your PC’s start-up time. You can also look at other apps in the startup list and turn off any that you don’t need.
Useful tip: How to Disable or Remove OneDrive From Windows 11
Prevent Teams from starting automatically using the Windows Settings
Windows has made it easier to access many features directly through the Windows Settings menu. You can also manage which apps start up automatically through the Settings in Windows 11 as well.
- Click on the Start button (or press the Windows key) to open the Start Menu.
- Select “Settings” from the list of apps or search for it.
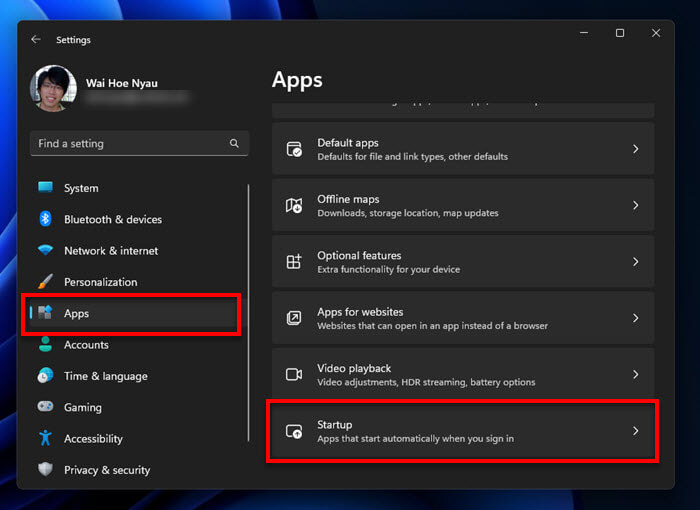
- In the Settings window, click on “Apps” from the sidebar on the left.
- Then click on “Startup” under the Apps section.
- A list of apps allowed to start with your PC will appear. Look for Microsoft Teams.
- Next to Microsoft Teams, you’ll see a toggle switch. Turn off this toggle to stop Teams from starting automatically.
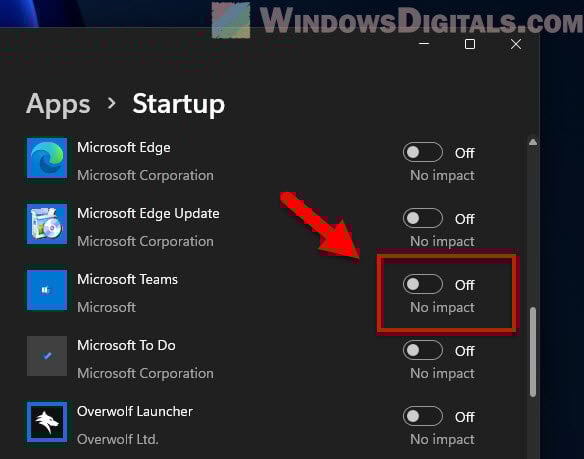
The Windows Settings interface is easy to use and also shows how much each startup app affects your PC’s boot time. This can help when deciding which apps to disable from starting up.
Handy guide: How to Know Which App is Using The Internet in Windows 11
Tip: Setting Microsoft Teams to “Away” when not in use
There might be times when you have Teams open but don’t want to seem available or get a lot of notifications. Setting your status to “Away” or “Do Not Disturb” can be a solid choice, especially when you need to focus on something else.
- Open your Microsoft Teams application.
- Click on your profile picture in the upper-right corner.
- Hover over “Set status message” in the dropdown to see more status options.
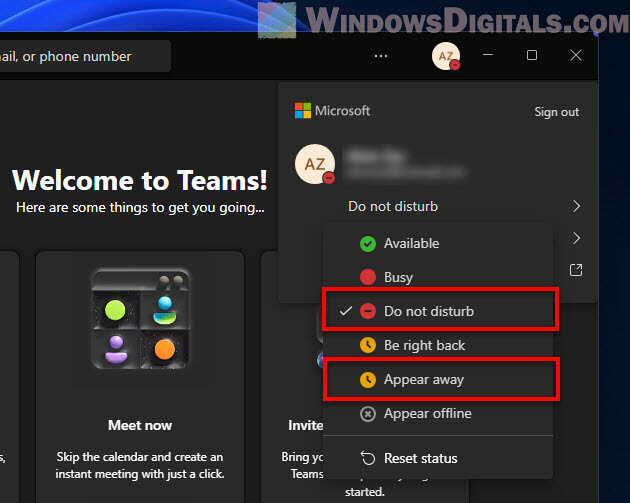
- You can choose from several options:
- “Available” if you’re active and open to chatting.
- “Away” if you’re not using Teams at the moment.
- “Do not disturb” if you don’t want any notifications.
- “Be right back” if you’re just stepping away briefly.
- “Appear offline” if you need to work quietly without showing up as online.
- To set your status to “Away” automatically after you’ve been inactive for a while, go to “Settings” > “Status” and adjust the “Reset status after” setting.