The Startup folder contains a list of application shortcuts that run automatically every time you start up your computer. You can add programs by adding their shortcuts to the folder to make them run during your Windows 11 or Windows 10 startup. You can also remove any of them if you don’t want them to run during startup.
Location of Startup Folder for All users
Here’s how to go to the all-users’ startup folder in Windows 10 or Windows 11:
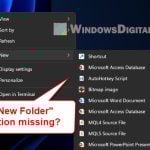
- Open File Explorer from the start menu.
- Browse to the following directory.
C:\ProgramData\Microsoft\Windows\Start Menu\Programs\StartUp
- Please take note that the above directory is assuming your default Windows was installed in C: drive. If your Windows is in another drive, change the drive letter.
- Add or remove any program’s shortcut into or from the folder.
Another much faster way to go to the startup folder in Windows 11/10:
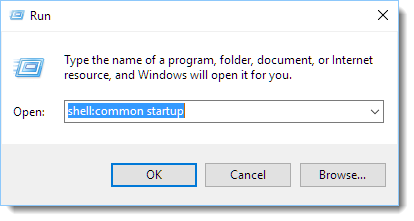
- Go to start menu and type Run. Hit enter.
- In the Open field, type shell:common startup and then hit enter.
Startup Folder for Current User Only
If you would like to configure startup for only the currently logged-in user, here’s where you should go:
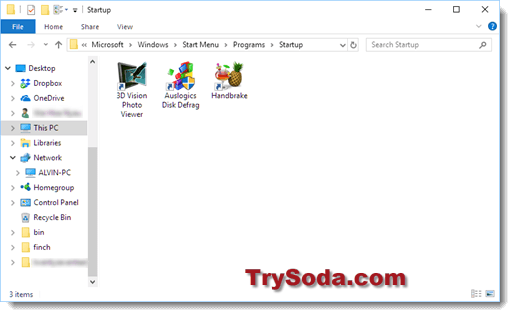
- Open File Explorer.
- Browse to the following folder.
C:\Users\Username\AppData\Roaming\Microsoft\Windows\Start Menu\Programs\Startup
- Replace the Username with the actual username you’re currently using in your Windows system.
- Add or remove any shortcut as you want.
Another quicker method to go to this folder:
- Go to start menu and type Run. Press enter.
- Type shell:startup in the open field and press enter.
Configure Windows 11/10 Startup Apps from Msconfig
Not all application EXE shortcuts would be shown in the startup folder mentioned above. Some would not be there but would still run during startup. To have a clearer view of all the background programs and services that would run during the startup of your Windows 10 computer, use Msconfig. Here’s how:
- Go to Start, then Run.
- Type msconfig and hit enter.
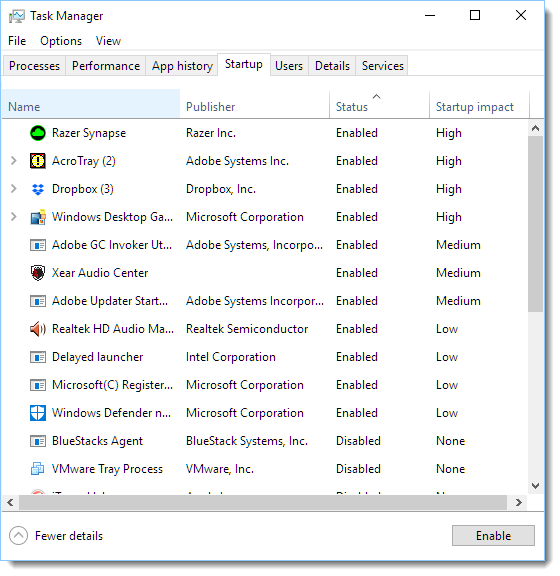
- In the System Configuration window, go to the Startup tab.
- Click on the Open Task manager link.
- Programs shown in the startup list are all the programs that would run during startup.
- You can disable any of these programs by right clicking it and select disable, if you would not like it to run during startup.
More ways to make your computer start faster
Even after trying out the tips we talked about for managing startup programs in Windows 10/11, there’s more you can do to make your computer start up faster and run smoother. Here are some extra steps:
- Think about using a tool just for managing startup programs. There are extra tools out there, not made by Windows, that give you more options. They can let you delay when certain programs start, stop some from starting at all, and other cool things.
- Turn off startup programs you don’t need. Look through the programs that start automatically and turn off the ones you really don’t need right away. Sure, keeping your antivirus going or cloud storage connected is smart, but some stuff just isn’t necessary and can slow down how fast your computer starts.
- Keep your computer clean. Cleaning your system regularly helps it start faster and work better. Use a tool to get rid of files you don’t need, clean out temporary files, and uninstall programs you never use. This frees up space and makes it easier for your computer to get going.
- Think about getting better hardware. If your computer is still slow to start after you’ve done all you can with software, it might be time to upgrade your hardware. More memory (RAM) or a quicker hard drive or SSD can make a big difference in how fast your computer starts and runs.