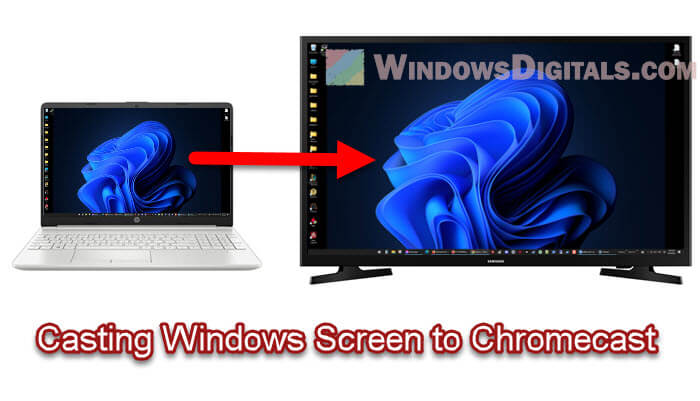
Casting your Windows 11 or 10 screen to a Chromecast device is super handy for showing your computer’s screen on a bigger screen like a TV, without needing an HDMI cable. This guide will help you step-by-step to cast your Windows 11 or Windows 10 screen to a Chromecast device, so you can enjoy movies, show off photos, or even do presentations without wires.
Also see: How to Share Screen on Windows 11 (3 Methods)
Page Contents
What you need to cast your Windows desktop screen to Chromecast
Before we start, make sure you have these things ready:
- A computer with Windows 11 or Windows 10. This guide is for these two operating systems.
- A Chromecast device. Google makes these media streaming gadgets, and they come in a few types like Chromecast, Chromecast Ultra, and Chromecast with Google TV. Any of these will do.
- A TV or monitor with an HDMI slot. You need this to plug in your Chromecast device.
- A Wi-Fi network. Your computer and Chromecast device need to be on the same Wi-Fi network to cast successfully.
- The Google Chrome browser on your computer. Chrome works best for casting because it has Chromecast support built in.
Recommended guide: How to Add Wireless Display Feature in Windows 10/11
Step 1: Set up your Chromecast device
Let’s get your Chromecast ready to go:
- Plug your Chromecast into your TV or monitor’s HDMI slot.
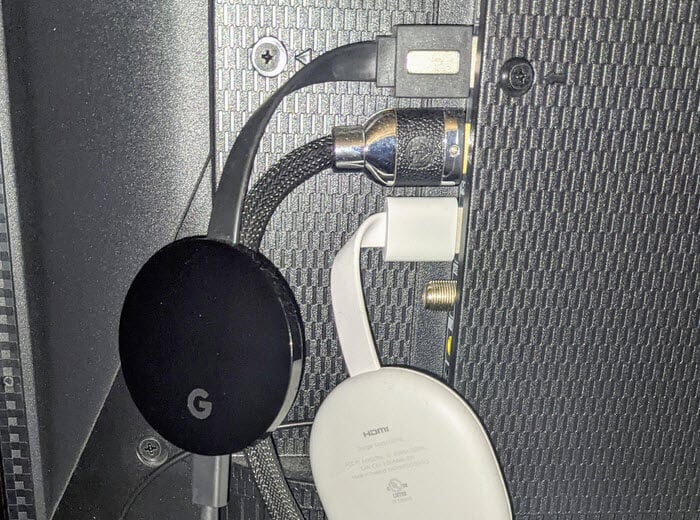
- Connect the power adapter to an outlet and your Chromecast. Depending on your Chromecast model, it might also get power directly from your TV or monitor’s USB port. Just follow what the manual says for your model.
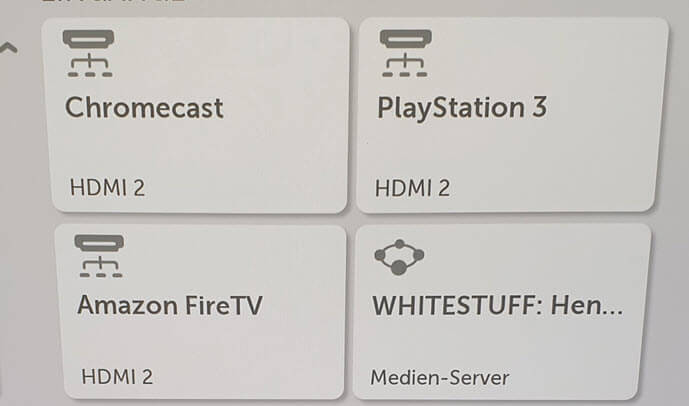
- Turn on your TV or monitor and choose the right HDMI input for your Chromecast. Use the remote control to switch to the HDMI port your Chromecast is connected to.
- Set up your Chromecast following the on-screen steps. You might need a smartphone or tablet with the Google Home app for this part.
Related resource: How to Duplicate or Mirror Screen on Windows 10/11
Step 2: Connect your computer to the same Wi-Fi network
To cast without a hitch, your Windows 11 or 10 computer needs to be on the same Wi-Fi network as your Chromecast. Here’s how to connect:
- Click the Network icon in your computer’s system tray, at the bottom-right of the screen.
- You’ll see a list of Wi-Fi networks. Pick yours and click Connect.
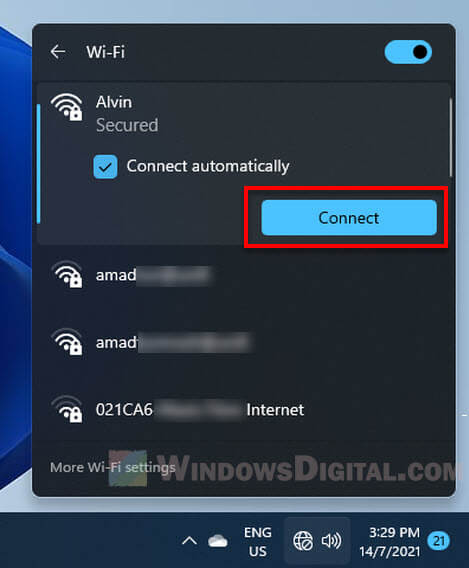
- Type in your Wi-Fi password and hit Next if it asks.
If your computer is already connected to the network with an Ethernet cable, just move on to the next part.
Step 3: Open Google Chrome browser
Now, open up Google Chrome on your computer. If you don’t have it, you can download it from the Google Chrome website.
Step 4: Cast your Windows 11 or 10 screen
Time to cast your screen to Chromecast. Follow these steps:
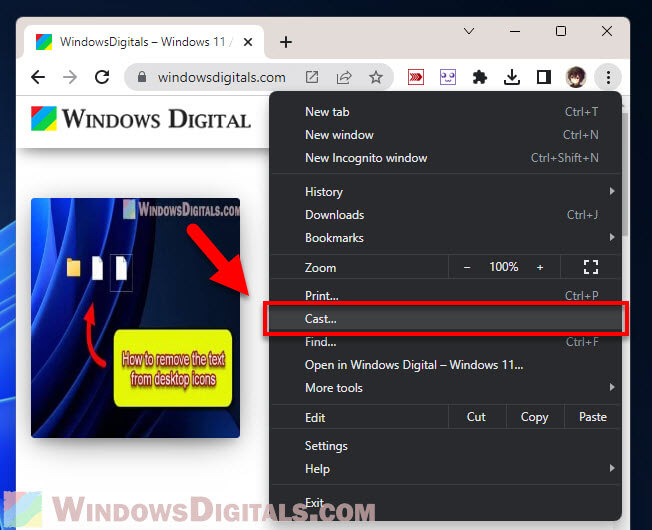
- In Chrome, click the three-dot menu icon at the top-right.
- Choose Cast… from the menu. A window will pop up showing you devices you can cast to.
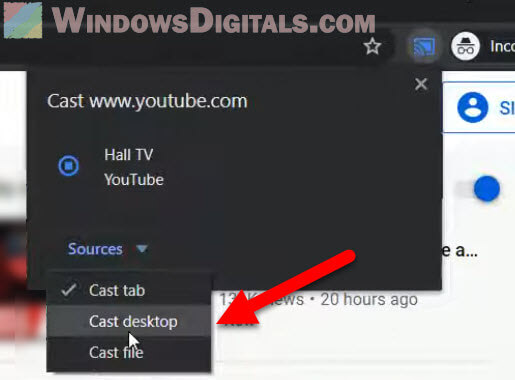
- Click the Sources dropdown at the bottom of the window. This lets you pick what you want to cast.
- Choose Cast desktop. This lets you share your whole computer screen, not just a browser tab or video.
- Pick your Chromecast device from the list that comes up. After choosing Cast desktop, you’ll see a list of Chromecast devices. Click on the one you want to use.
- A window will ask you which screen you want to share. If you have more than one monitor, pick the one you want to show on the Chromecast.
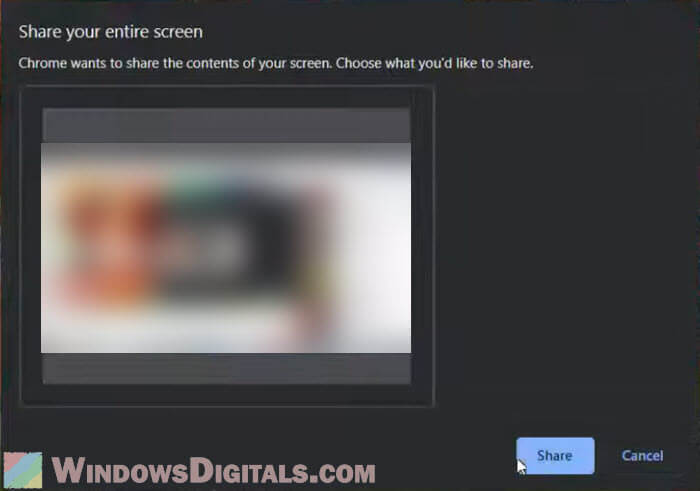
- Hit Share. After picking the screen you want, click Share to start casting.
Your Windows 11/10 screen should now be showing on your TV or monitor through the Chromecast.
Useful tip: How to Record Screen on Windows 11/10 With NVIDIA Share
Step 5: Stop casting
When you want to stop casting, do this:
- In Chrome, click the three-dot menu at the top-right again.
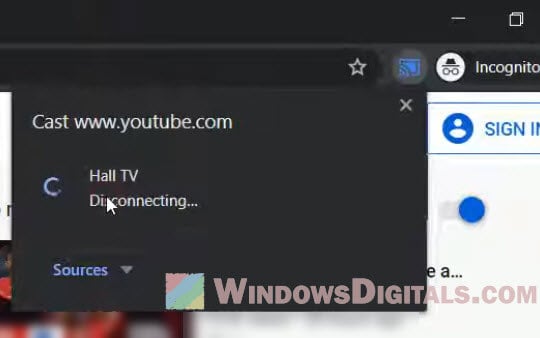
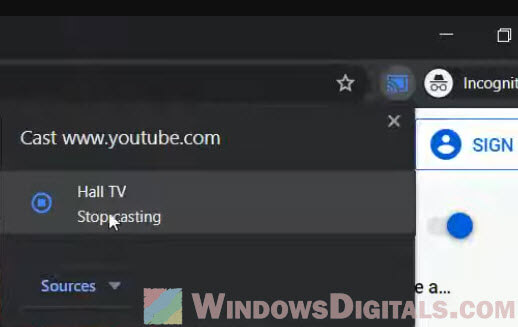
- Choose Cast… You’ll see the device you’re casting to.
- Click the blue Stop button next to your Chromecast device. This stops the cast right away.
Your screen will no longer show on your TV or monitor.
Troubleshooting when things don’t work out
If casting isn’t working right, try these tips:
- Make sure your computer and Chromecast are on the same Wi-Fi network. Casting needs both devices on the same network.
- Restart your computer, Chromecast, and Wi-Fi router. A reboot can fix a lot of issues.
- Update Chrome to the latest version. Old versions might not work well with Chromecast.
- If nothing else works, reset your Chromecast to factory settings and set it up again. Follow the instructions that came with your device.
One more thing to note
Before you start casting, it’s a good practice to close any programs or tabs on your computer that you don’t want others to see. Since casting your desktop shares everything on your screen, make sure to hide your private stuff. This way, you can confidently share your screen knowing only the content you want to be seen is displayed.