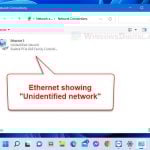
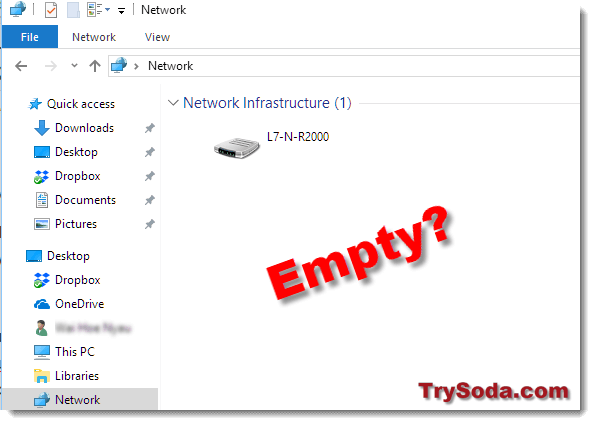
If you have updated to the Windows 10 April update v1803 (or the recent Windows 10 October 2018 Update), you may have experienced the problem of network computers that usually appear in your Network folder suddenly going missing after the update. Even the entire HomeGroup or Workgroup may be missing.
We don’t yet know what causes this to happen, but it appears that the network discovery in Windows 10 does not detect local network devices properly after the update. Here’s a list of solutions you can try to resolve the issue.
Updates: Microsoft has officially removed the Homegroup feature from Windows 10 since the new April v1803 update. But, this doesn’t affect the existing file sharing feature. The only change is that you won’t be able to share new files or printers using HomeGroup anymore.
Page Contents
Updated fix: How to share files in Windows 10 after April update
The shared network folders feature will still work. You can still share files like you did before, but without HomeGroup now. Here’s an example of how to share a folder with other computers on your network:
- Browse to the folder you would like to share.
- Right click the folder.
- Select Give access to, then select Specific People.
- Select a user account to share.
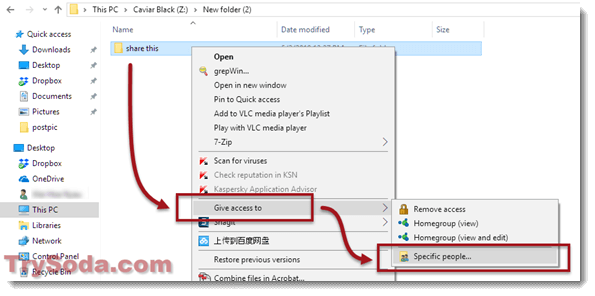
After selecting the specific user to share the folder with, when you access the folder from another computer on your home network, you will be prompted to log in to that set user account to view the file. So, you can create a new account specifically for file sharing in your network. Alternatively, you can also select “Everyone” when you share.
If you have just updated to the Windows 10 April update and the files you shared prior to this are not showing up, try to re-share them using the method above.
Reconfigure your HomeGroup or WorkGroup nework
If you have upgraded your PC to Windows 10 v1803, skip this method as the Homegroup feature no longer exists in the new update.
This is what we did to fix the problem on our side. We re-set up the entire HomeGroup network. Here’s how to set up a HomeGroup in your local network:
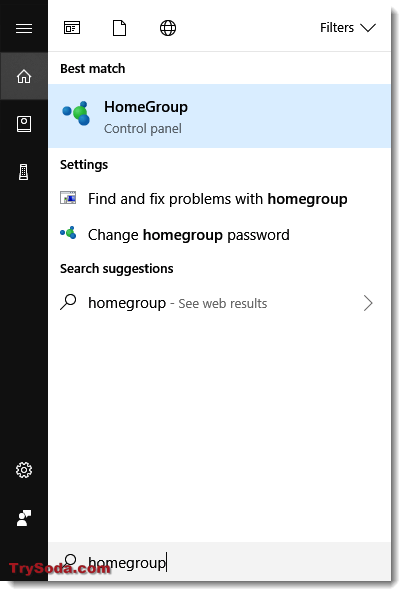
- Go to Start Menu and search for HomeGroup. Open it.
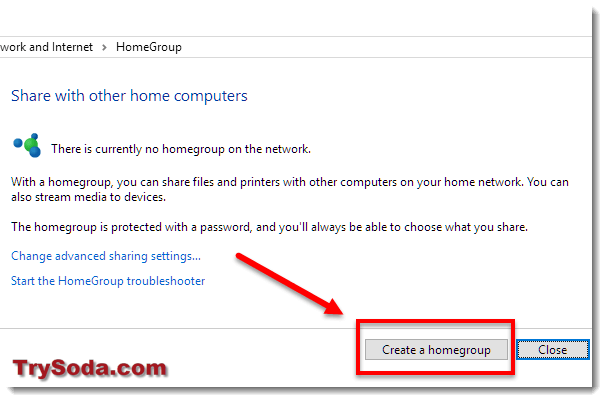
- In the HomeGroup window, click on Create a HomeGroup.
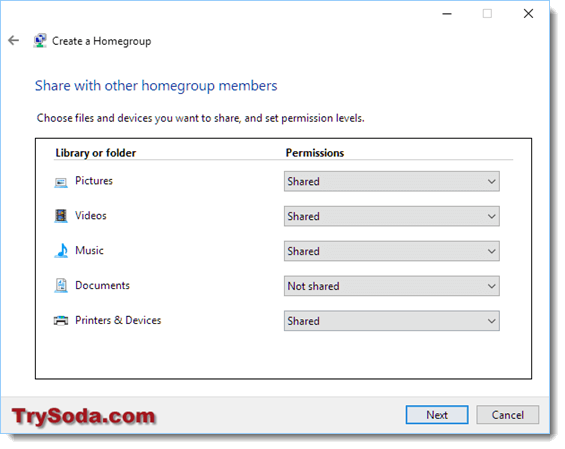
- In the wizard, click Next.
- Select what types of items you would like to share in the new HomeGroup. Then click Next.
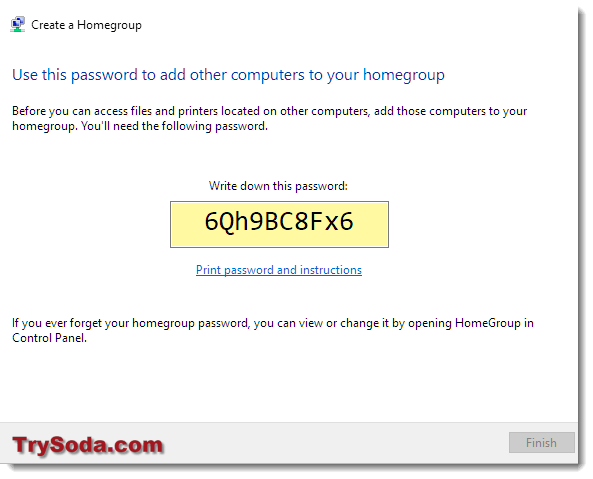
- You will be given a HomeGroup password which will be needed for other computers to join the network.
- To add a computer to the newly created HomeGroup network, on the computer which you would like it to join, go to Start Menu and search for HomeGroup.
- Click Join now.
- Click Next. Select types of files you would like shared, then click Next.
- Enter the password given in Step 5.
- That’s it. If you want to add more computers to the network, repeat step 6-9 on other computers.
Also, make sure that all your computers have Internet Protocol Version 6 enabled. It’s needed for HomeGroup network to work. To check if it’s enabled, go to Start Menu > Control Panel > View network status and tasks > Change adapter settings. Then, right-click your internet adapter and select “Properties.” Make sure the Internet Protocol Version 6 is checked on the list.
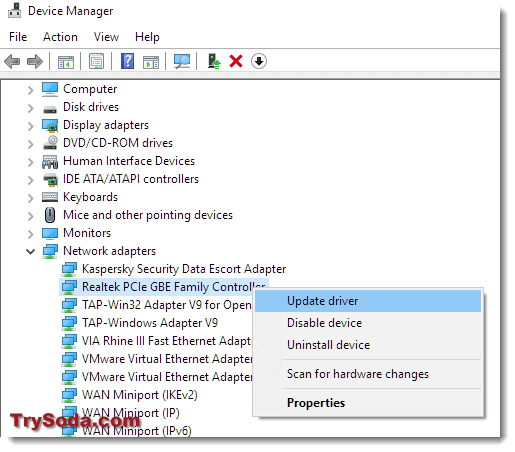
Update your network adapter’s driver
If the above fix didn’t work for you, try updating your network adapter’s driver. Outdated network adapter drivers can also cause network computers not to show up.
To update the driver, go to the Start menu, search for Device Manager, and open it. From the list, expand Network adapters. Right-click the network adapter(s) that you use to connect to the internet and connect between your computers, then select Update driver. If you’re not sure which adapter your computer is using, update all adapters from the list.
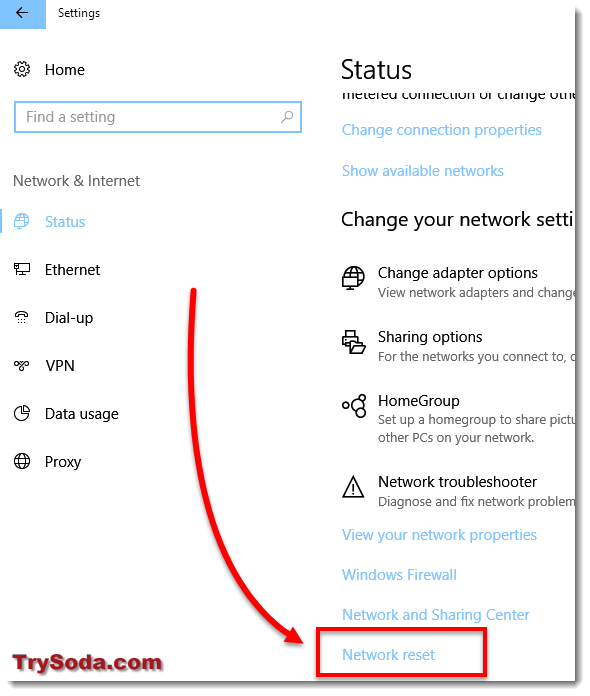
Reset the Network
If your network computers still don’t show up in the Network directory after trying all the above fixes, the final resolution is to reset the network.
In Windows 10, there is a feature called Network Reset that you can use to reset your network and fix connectivity issues by reinstalling your network adapters, resetting your network settings to default, etc., all with a single click.
To reset your network, go to the Start menu, search for Settings, click on Network & Internet, and scroll down until you see the Network Reset link button. Click on it, then click Reset now to reset your network.
We believe this particular problem is just one of many bugs that Microsoft didn’t expect after releasing the huge Windows 10 v1803 update. When they have collected enough information about the bug, they will release a fix for the problem as soon as possible in the next Windows update. So, if nothing works, and your Homegroup network computers are still not showing up, wait for the next update.