If you want to know what graphics card you have on your computer or its specifications (e.g., brand, model, clock speed, video memory (VRAM) size, etc.), there are several methods you can use to check it. This tutorial will guide you through how to quickly check your graphics card and its details using Display Settings, System Information, DirectX Diagnostic, or NVIDIA Control Panel on Windows 11 or Windows 10.
Note: This tutorial can also help you determine whether your computer has a built-in Intel integrated video card or a dedicated graphics card, such as NVIDIA or AMD.
Also see: How to Force App or Game to Use Dedicated GPU or Integrated Graphics
Page Contents
Check graphics card via Display Settings
The easiest method to quickly check your graphics card is through the Advanced Display Settings. Follow these steps:
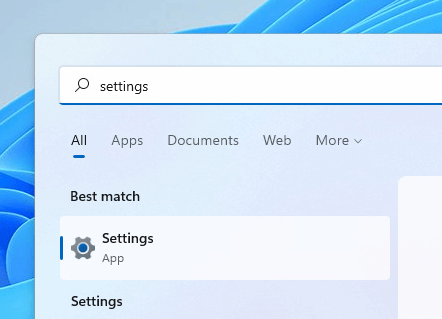
- Go to Start menu. Search for and open Settings app. Alternatively, you can open Settings by pressing Win + i key.
Windows 11

Windows 10
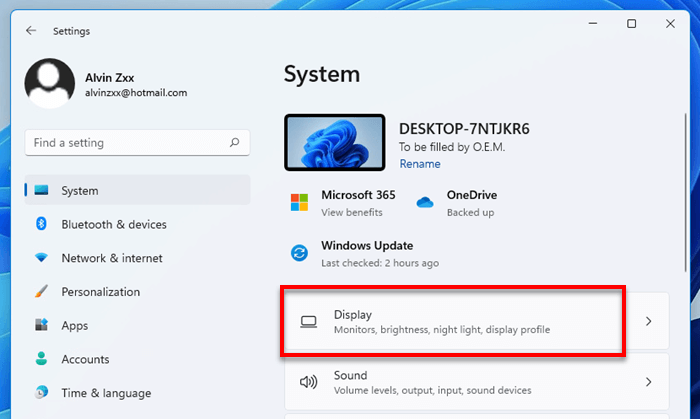
- Navigate to System > Display.
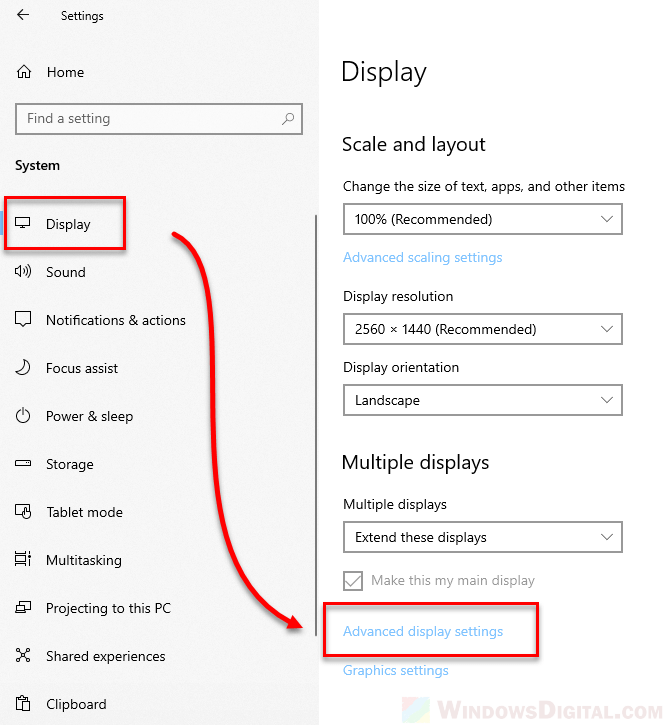
- In the Display settings window, scroll down until you see the “Advanced display settings” link. Click on it.
Windows 11
Windows 10
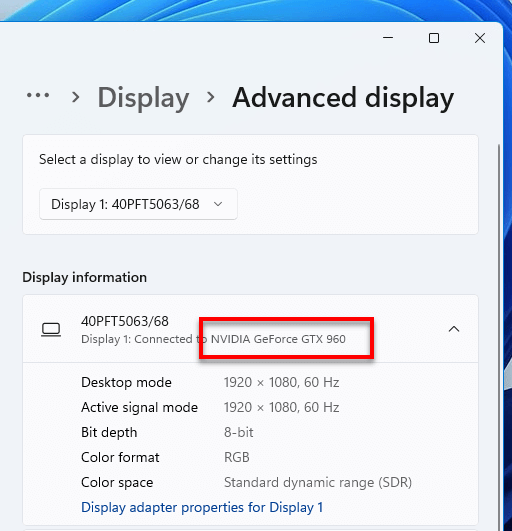
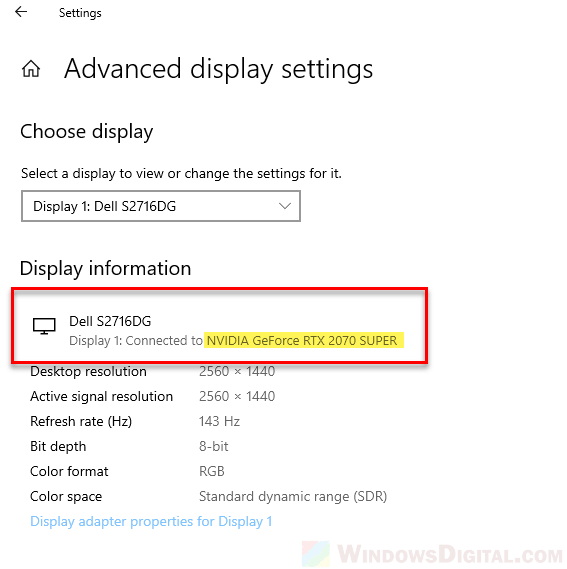
- On the next screen, under Display information, you can see what graphics card you have beside your Display information. In the screenshot example below, my PC is running NVIDIA GeForce RTX 2070 Super graphics card on a Dell S2716DG monitor.
Windows 11
Windows 10
This method shows your graphics card’s brand and model, along with some information about the monitor you’re using, the configured resolution, refresh rate, etc. If you want to learn more about your graphics card’s specifications and other details, use the other methods below.
Check what GPU you have via “System Information”
Another straightforward method to quickly learn about your graphics card is through the System Information window. Follow these steps:
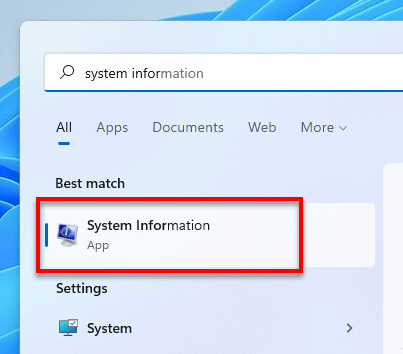
- Search for and open System Information via the Start menu.
Windows 11
Windows 10
- In the left sidebar, expand Components, then select Display.
- Your graphics card info will be shown in the right pane.
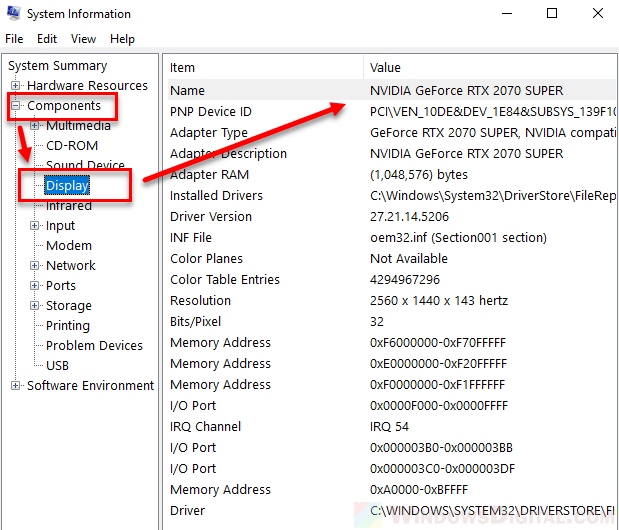
However, the System Information window only reveals your graphics card’s manufacturer, model, driver version, and some minor details. If you want to know even more about your graphics card, use the other methods below.
Check graphics card specification using “DirectX Diagnostic”
If you want to learn more about your graphics card, such as its chip type, VRAM memory (the amount of GB you usually see on graphics card), and other details, you can view them in DirectX Diagnostic (DXDIAG) on Windows 11/10. Here’s how:
- Go to start menu, search and open DXDIAG.
Windows 11
Windows 10
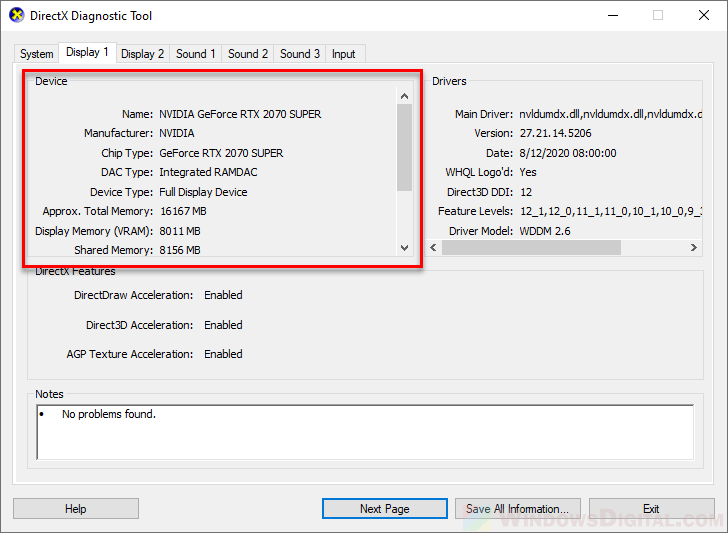
- In the DirectX Diagnostic Tool window, go to Display tab. If you have multiple Display, select your main Display connected to your graphics card. In most cases, it should be “Display 1“.
- From there, you can see your graphics card manufacturer, model, chip type, Display Memory (VRAM), etc.
Check NVIDIA graphics card’s clock speed, memory size, etc.
If you have an NVIDIA graphics card and want to check its specifications, such as the VRAM display memory (usually reads in GB), clock speed, Bus, drivers’ info, etc., you can check them directly on the NVIDIA Control Panel. The NVIDIA Control Panel usually comes with your NVIDIA graphics card’s driver when you install it. Here’s how:
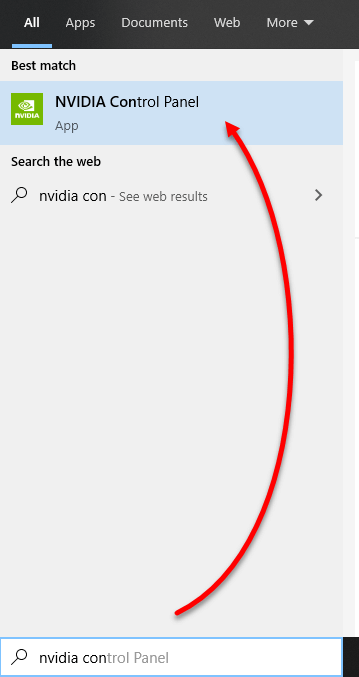
- Go to start menu. Search and open NVIDIA control panel.
- In the control panel window, click on the System Information located at the bottom left of the window.
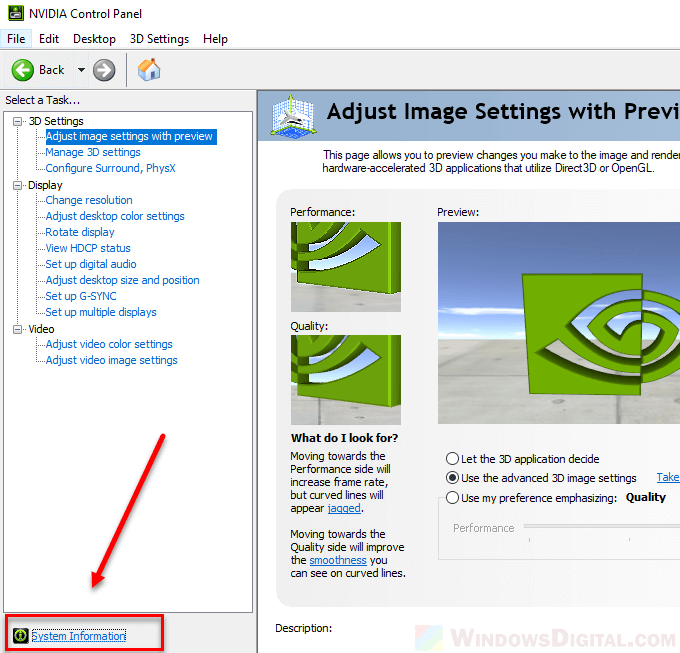
- Under the Display tab, click on your graphics card from the Items column. Its info and details will be shown in the Details column.
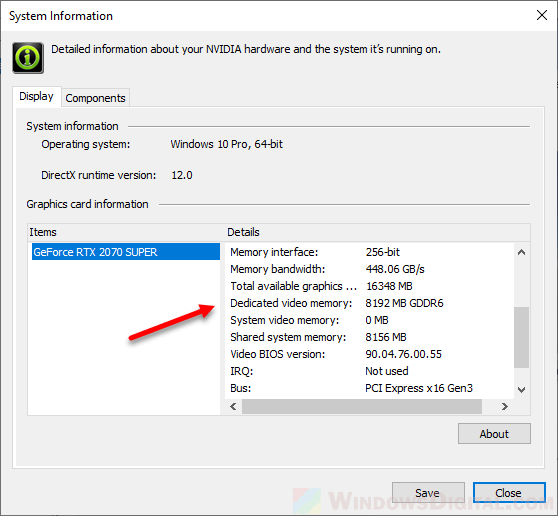
Tip: If you are looking for your graphics card’s VRAM memory, it’s listed as “Dedicated video memory“. For example, my NVIDIA GeForce RTX 2070 Super has a VRAM of 8GB, thus, it shows “8192 MB GDDR6” on my system information.
The graphics card information shown in the NVIDIA control panel includes:
- Driver version
- Driver type
- Direct3D API version
- Direct3D feature level
- CUDA Cores
- Graphics boost clock
- Memory data rate
- Memory interface
- Memory bandwidth
- Total available graphics memory
- Dedicated video memory
- System video memory
- Shared system memory
- Video BIOS version
- IEQ
- Bus
- Device ID
- Part Number
Well, we’ve shown you several ways to check your graphics card and its specifications on a Windows 11 or Windows 10 computer. Each method provides different levels of information about your graphics card, so choose the method that suits your needs the most.