If you’re looking to slightly boost the speed of your laptop so it can work with more programs simultaneously (multi-tasking), you can consider adding more RAM to it. But before doing that, you have to first figure out how much RAM your laptop can actually support. Different laptops can handle different amounts of RAM, and it’s utterly important to really know your laptop’s limit to avoid any headaches or wasting money later. This guide will show you how to find out how much RAM your laptop can handle if you’re using Windows OS.
Also see: Checking Motherboard Max RAM Speed (MHz) & Capacity

Page Contents
Check how much RAM your laptop can support via CMD
One quick way to see how much RAM your laptop can handle is by using the Command Prompt (CMD) with the WMIC command.
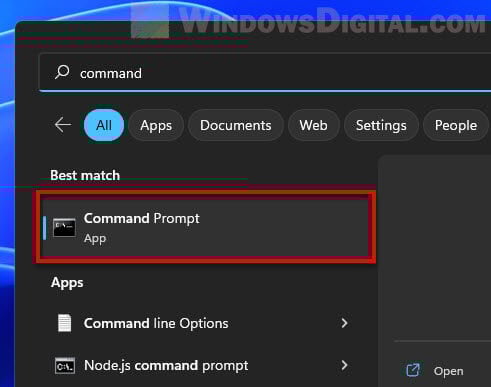
- Hit the Windows key, type “cmd” in the search bar, and pick “Command Prompt” from the results.
- In the CMD window, type
wmic memphysical get maxcapacity, memorydevicesand hit Enter. You’ll see the max memory (in kilobytes) your motherboard supports and the number of memory slots on your laptop.
- To get the max capacity in gigabytes, divide the kilobyte number by 1,048,576 (since 1 GB equals 1,048,576 KB). For instance, if it shows “67,108,864”, that means about 64 GB.
Learn more: Check PC Hardware Manufacturer & Model via WMIC in CMD
This method only shows the technical maximum your hardware can support and might miss out on other limiting factors if there are any. That’s why double-checking with your laptop’s manual or the manufacturer’s website is still the better way to get the most accurate info. That will make sure you know about any specific limits or compatibility issues for your laptop model.
Check your laptop’s maximum RAM capacity through manufacturer’s manual
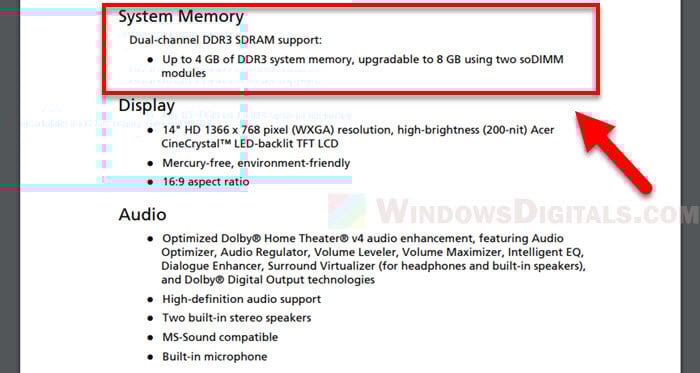
The best place to get the real picture on your laptop’s RAM capacity is the manufacturer’s official manual or website.
If you have the manual that came with your laptop, it should have all the specs, including max RAM. If you can’t find the manual, you can usually download one from the manufacturer’s website.
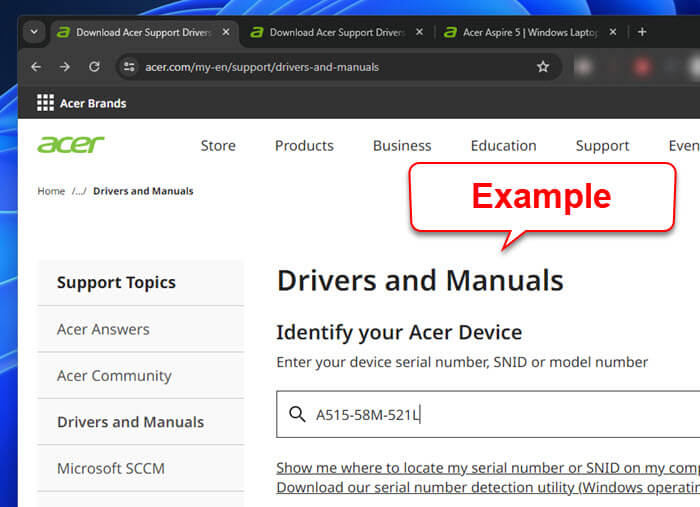
- Find your laptop’s exact model number. It’s usually on the bottom of your laptop, in the system info section of your OS, or on the original box or receipt.
- Go to the manufacturer’s website and look for the support or downloads section.
- Enter your laptop’s model number to find info and manuals for your device.
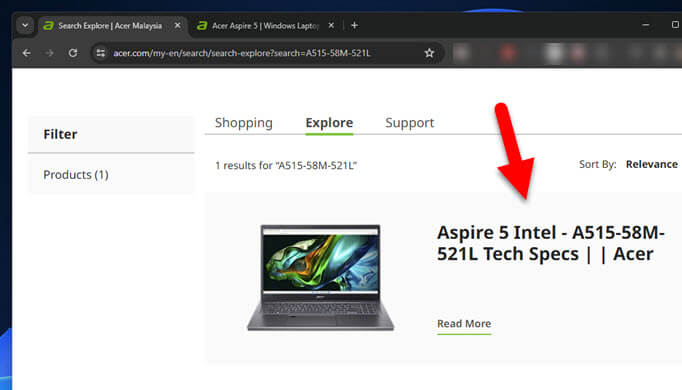
- Choose your laptop model from the search results.
- Find the user manual or specs document, often listed under “User Guides”, “Manuals”, or “Product Support”. Click to view the manual.
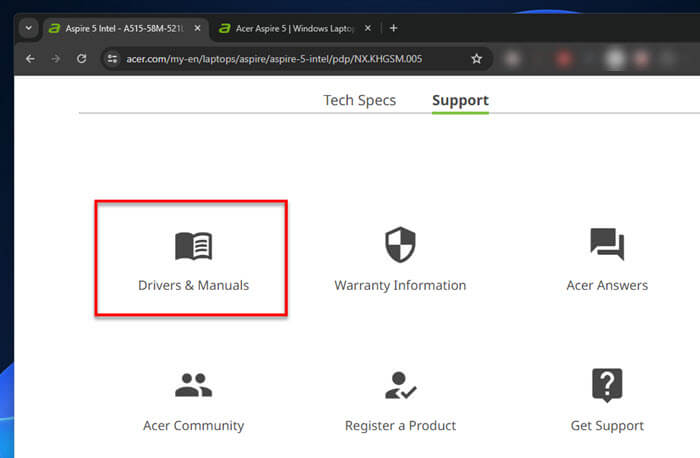
- Look for the hardware specs or system upgrades section for detailed RAM info. Look for “Memory Upgrade”, “RAM Specifications”, or similar headings.
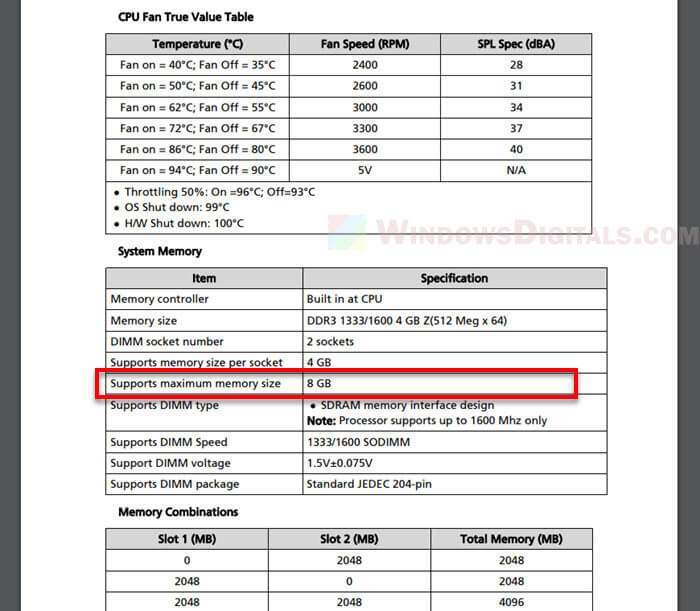
- The manual will tell you the max RAM, the type of RAM (like DDR3, DDR4, DDR5), how many memory slots there are, and the supported RAM configurations.
Pro tip: How to Allocate More RAM to a Game in Windows 11 or 10
Why it is important to check the manufacturer’s manual?
- CMD gives you a general idea based on your motherboard. But, the manufacturer might set other limits based on design, power use, or cooling needs.
- Sometimes, the laptop’s firmware or BIOS has hidden limits. Manufacturers usually share these details in their manuals or websites.
- Manufacturer info will also tell you which type of RAM fits your laptop, very important to make sure your upgrade works right.
Basically, checking your laptop’s manual from the manufacturer is key to avoid any issues with RAM upgrades. This step matters a lot because the manufacturer knows about things like design and power needs that aren’t obvious from just looking at hardware specs. Always follow what the manufacturer says to make sure your upgrade doesn’t go to waste or even hurt your laptop.
Related resources:
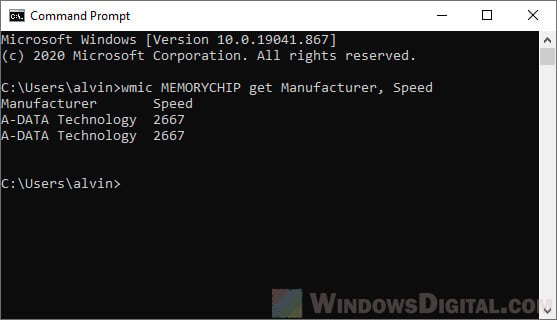
- How to Check RAM Brand, Model and Specs in Windows 11
- How to Check RAM Type DDR3, DDR4 or DDR5 in Windows 11/10
Other things to consider when adding laptop’s RAM
Before you go ahead with a RAM upgrade for your laptop, there are a few more things to think about to make sure it fits and works well.
- Know what you’ve got now (your existing RAM). How many slots are filled? What size are the RAM modules? This helps you figure out if you can just add more or if you need to replace what’s there.
- Make sure the speed (in MHz) of the new RAM matches what you have. And check that the type (DDR3, DDR4, etc.) fits your laptop.
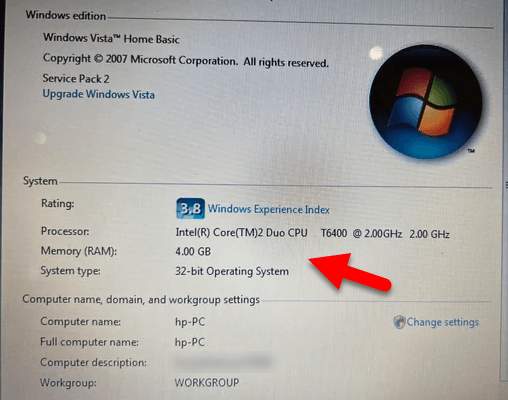
- Remember, 32-bit Windows can only use up to 4GB of RAM. 64-bit versions can handle a lot more.
- Think about if the upgrade’s worth it. Will the performance boost justify the cost, especially for an older laptop?
- Upgrading RAM might mess with your warranty. Check the terms or talk to the manufacturer first.
- If you’re up for a little DIY, installing RAM isn’t too hard actually. But if you don’t really have the confidence to do it yourself, try to get some help from a pro to avoid damaging your PC.