Snap assist is a feature in Windows 11 that lets you arrange app horizontally or vertically alongside other apps on the desktop. Learn more about how to use snap layouts in Windows 11 (including keyboard shortcuts) in this guide here.
Also see: How to Center a Window in Windows 11
Page Contents
What is Snap Layouts?
Snap layouts in Windows 11 help users manage multiple apps’ windows on a single desktop screen. With the snapping feature, you can arrange windows side-by-side, fill the remaining space with another window, or both. You can snap up to 4 windows on a single screen with snap layouts.
Unlike older versions of Windows where you need to manually resize, move and position the windows when you have to work with multiple applications or several instances of file explorer or web browser on one screen, with the new snap layouts in Windows 11, you can directly choose a layout and immediately snap multiple windows perfectly depending on the layout you choose.
How to enable or disable Snap Layouts in Windows 11
Although the snap assist feature and snap layouts are enabled by default in Windows 11, if you can’t snap any window when you move it to the edge of the screen, or you don’t see the snap layout when you mouse over the maximize icon, it likely indicates one or more snap assist features were disabled.
Follow the steps below to enable snap layouts in Windows 11
- Go to the Start menu and open Settings.
- In the Settings window, select System from the left pane.
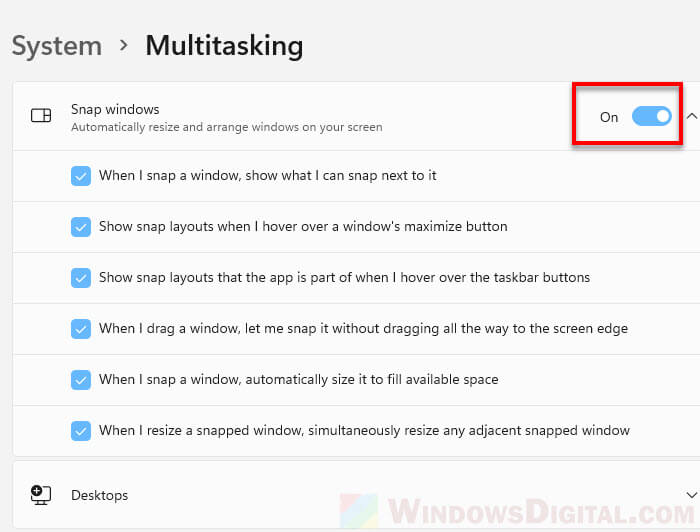
- Next, select Multitasking on the right pane.
- Turn on the “Snap windows” option.
- Click the arrow icon next to the toggle button to expand more options. From there, you can enable any snap assist feature that is not yet enabled.
If you don’t like to use the snap assist feature or snap layouts, you can disable them by simply unchecking any option that you want to disable.
Related issue: How to Move a Window That is Off-Screen in Windows 11
How to use Snap Layouts in Windows 11
Other than manually moving an app or window to the edge of the screen to snap it, you can choose a snap layout instead to quickly snap multiple windows (up to 4) on one screen.
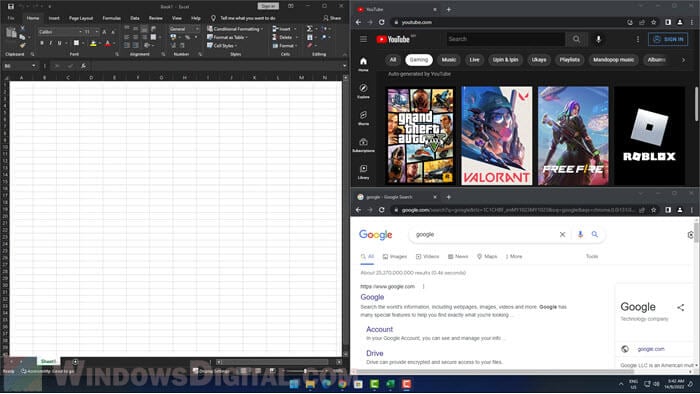
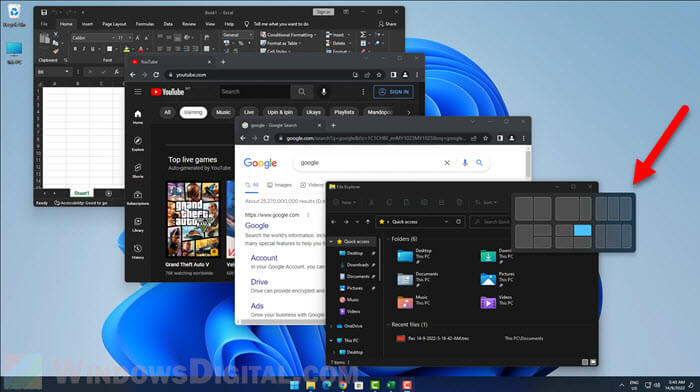
To use a snap layout in Windows 11, you need to first open all the apps and windows you want to snap. While the apps are open and ready to be snapped, move your mouse cursor over the window’s maximize button on any active app, and then choose any layout you want from the snap layouts menu.
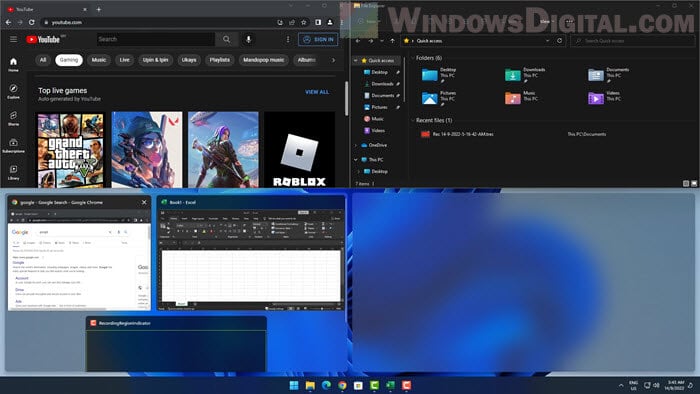
Once a snap layout is chosen, the first window you select will automatically be snap to the side you chose. You can then select the windows you want to snap on the remaining spaces according to the layout.
Recommended Guide: How to Minimize All Windows on Windows 11 (Shortcut Key)
How to change snap layout
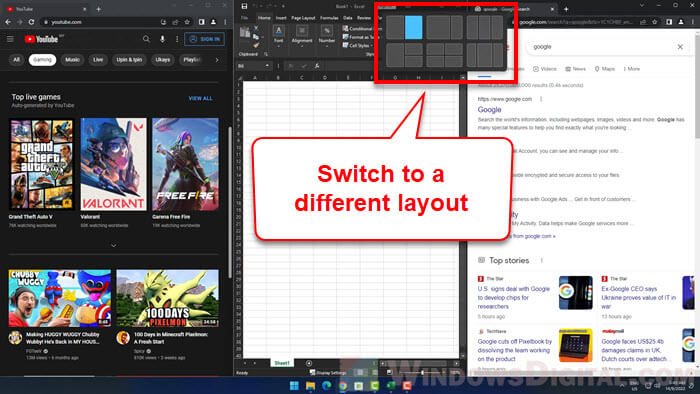
When you are already using a snap layout and if you would like to switch to a different layout, simply hover your mouse over the maximize icon of any window on the screen, and then select another layout.
How do Windows 11 Snap Groups work?
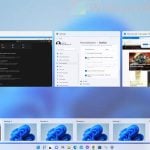
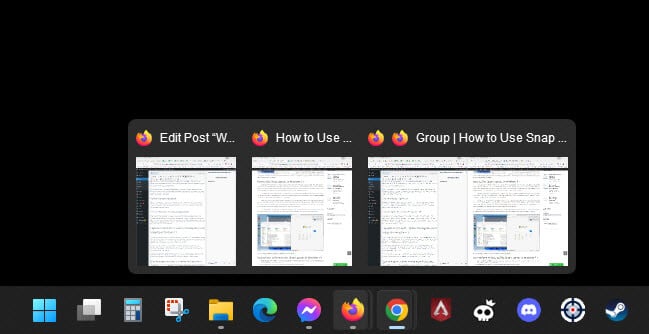
After snapping multiple apps to a snap layout, when you mouse over any app in the layout on the taskbar, it will show you the snap group – a group of apps in a snap layout. When you click the snap group on the taskbar, Windows will bring all the apps in the snap group to the foreground.
Keyboard shortcuts for window management and snapping in Windows 11
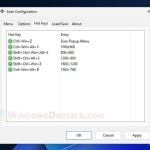
The main keyboard shortcuts to control snapping in Windows 11 is the Windows + Arrow keys. You can quickly move and snap a window by simply pressing Win + any Arrow keys depending on the direction you want to snap the window to.
For example, if you want to snap a window to the left side of the screen, select the window and press Win + Left Arrow key. If you want to snap an app to the top of the screen, press Win + Up Arrow.
To snap a window to a quarter of the screen, for example, to the bottom right side of the screen, press Win + Right Arrow first, and then press Win + Down Arrow.
How to snap a window to maximize if you have multiple monitor screens
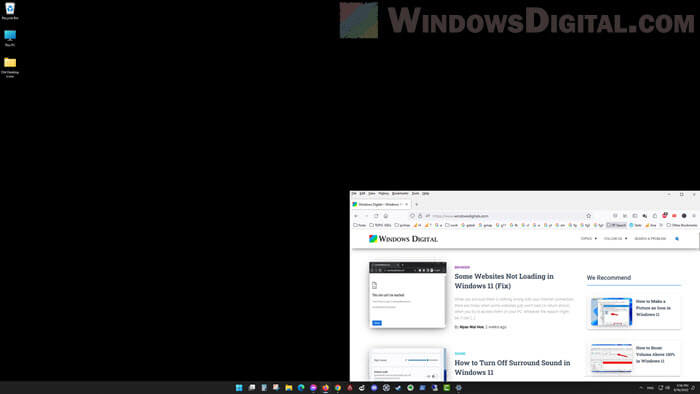
Previously in Windows 10, when you have multiple monitor screens and you need to quickly snap or maximize a window on an edge in between two screens, if you move the window slow enough, the window will stop and not go over to the other screen, and will offer you a maximize or a snap option.
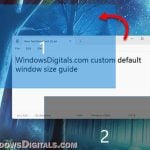
However, in Windows 11, no matter how slow you move a window to an edge in between two monitors, the window will still go through to the other screen. To maximize or snap a window this way, you will need to stop right on the edge of the screen while moving the window. If you stop at the right place, you will see the maximize or snap option.
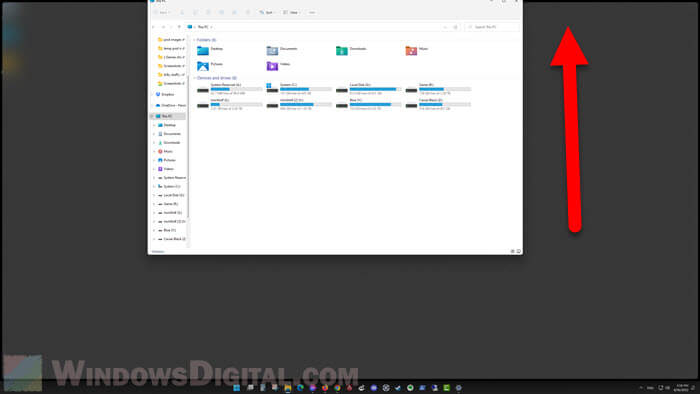
In the example screenshot above, my second monitor screen is right above the main screen. When I need to maximize a window and not pushing it to the other screen, I will need to stop right at the top edge of the screen while moving the window. When the maximize preview appears, simply release left click to maximize the window.