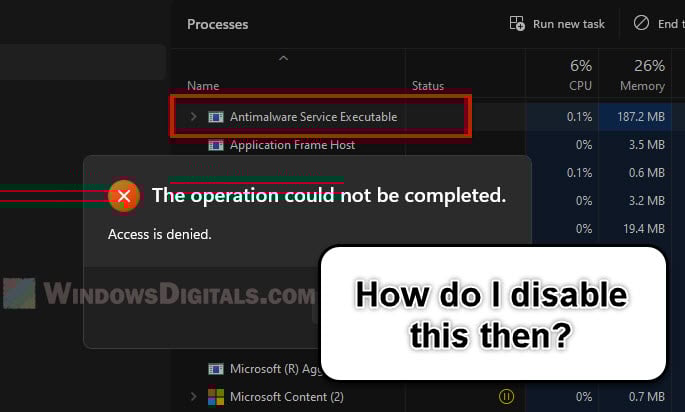
In Windows 11 or Windows 10, the Antimalware Service Executable (MsMpEng.exe) is a main service for Microsoft Defender, Windows’s own defense against malware. But sometimes, it can use a lot of your CPU, memory, and disk space, even if you’re not doing much on your PC.
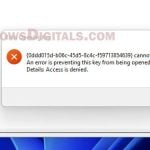
Trying to stop the Antimalware Service Executable or MsMpEng.exe through Task Manager usually leads to an “Access Denied” message. This happens because the service has higher permissions to make sure it isn’t shut down by mistake or by harmful software. In this guide, we’ll talk about why this happens and show you three ways to somewhat turn off the Antimalware Service Executable in Windows 11.
Page Contents
Why “Access Denied” for Antimalware Service Executable in Task Manager?
The Antimalware Service Executable isn’t just any process in Windows 11. It’s a very important part of your PC’s security. Because of its importance:
- Windows makes sure the process can’t be stopped accidentally, by denying any action you do with the process.
- It’s hard to stop or mess with this service so that harmful software can’t easily shut down Microsoft Defender. If malware could stop this process, it would make your system more open to attacks.
Because of these reasons, when you try to stop the task directly from Task Manager, Windows protects the process by showing the “Access Denied” message.
Also see: Antimalware Service Executable High Disk or CPU Usage
Install a third-party antivirus
One simple way to deal with the high resource use of the Antimalware Service Executable is to simply install a third-party antivirus.
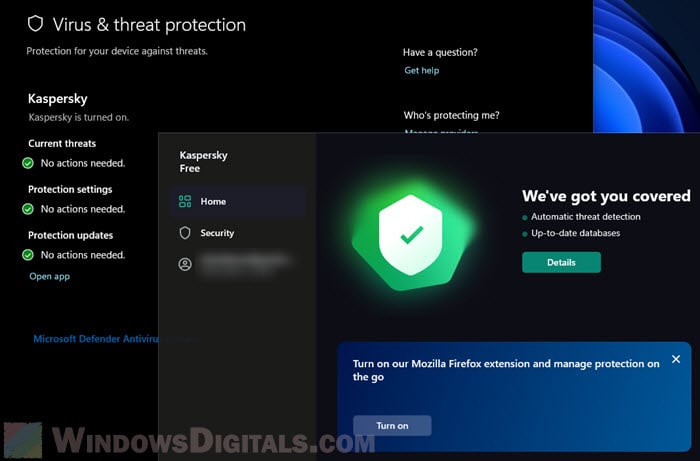
- When you install and turn on a good third-party antivirus, Windows notices it and usually turns off its built-in Microsoft Defender to avoid conflicts and extra scans. This helps prevent both antivirus programs from using too many of the same resources.
The below steps are the right way to switch to a different antivirus and replace Windows Defender:
- Pick a trusted third-party antivirus that suits your needs.
- Download and install the antivirus software you chose.
- Restart your PC after the installation. Windows 11 should then recognize the third-party antivirus and turn off Microsoft Defender.
- To check, go to Windows Security > Virus & threat protection. You should see the third-party antivirus listed as “turned on” instead of Windows Defender.
Useful tip: How to Limit CPU Usage of a Process in Windows 11
Adjust Windows Defender scheduled scan in Task Scheduler
Another way to make sure the Antimalware Service Executable doesn’t use up too much of your system’s resources, especially when you’re actually using your PC, is to change when it should execute its scan. The following is how to adjust the timing of Windows Defender’s scans using the built-in Task Scheduler in Windows 11 or 10.
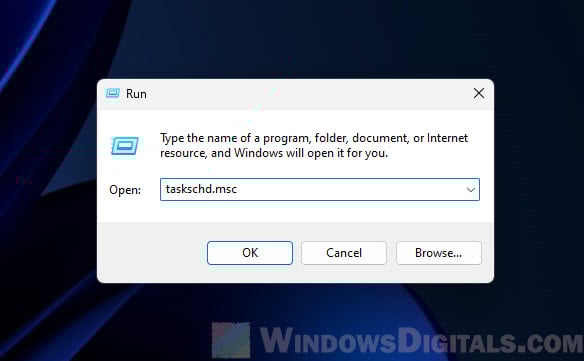
- Press the Windows + R keys at the same time, type “taskschd.msc“, and press Enter.
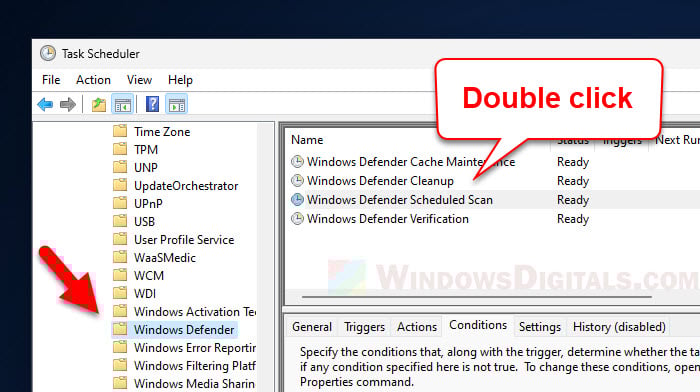
- In the left pane, go to Library > Microsoft > Windows > Windows Defender.
- Find and double-click on “Windows Defender Scheduled Scan”.
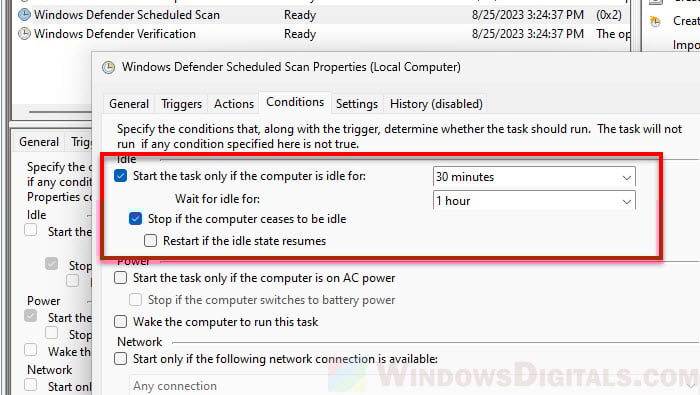
- Click the “Conditions” tab.
- Check the option for “Start the task only if the computer is idle for:” and pick how long you want. This makes sure the scan only runs when you’re not using the PC.
Disable Windows Defender with a script suggested on Reddit
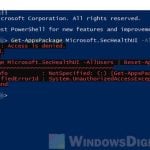
Some advanced users and fans on places like Reddit often find ways to tweak their experience more than what typical Windows settings provide. One such method talked about involves using a specific script to completely turn off Microsoft Defender. But using this script is not straightforward because it needs high permissions. You also need a tool called NSudo.
Related resource: How to Reinstall Windows Defender in Windows 11
Why do we need NSudo?
The script has to run with the permissions of the TrustedInstaller user, a built-in user account in Windows with lots of permissions, letting it handle system files and processes. Most system parts run under this account to stay safe even from administrators. NSudo is a tool that lets you run programs or scripts with the powers of TrustedInstaller.
Steps to completely disable Windows Defender
The below is a step-by-step guide on how to correctly turn off Microsoft Defender using the script and NSudo:
- Go to this Pastebin link.
- Copy the script and paste it into Notepad.
- Save the file as a
.batfile (like “disable_defender.bat”).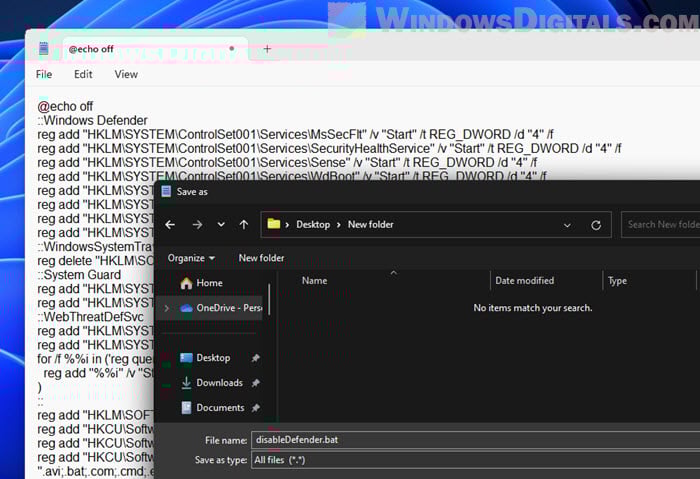
- Download NSudo from a trusted source or from
https://www.majorgeeks.com/files/details/nsudo.html. - Unzip the downloaded file to a place you know on your computer.
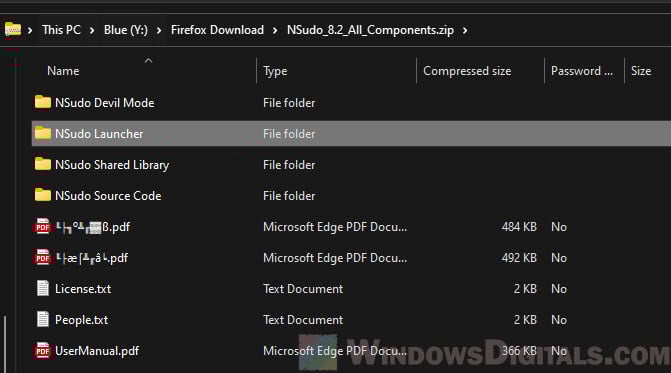
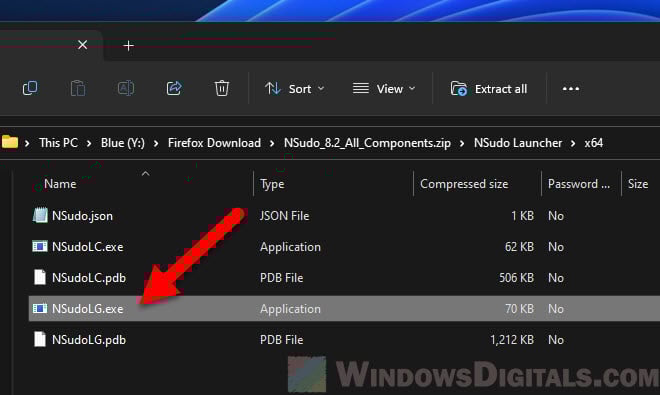
- Open the folder where you unzipped NSudo, and go to NSudo Launcher > x64.
- Start the NSudoLG.exe file.
- Make sure “Enable All Privileges” is checked.
- In the M2-Team NSudo Launcher window, click “Browse“.
- Finally, click Run to start the script.
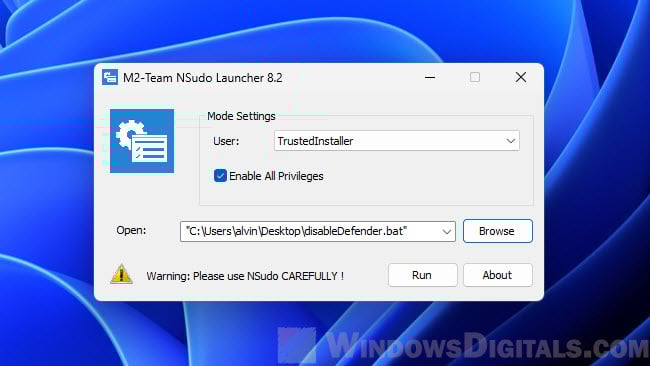
- The script will run with TrustedInstaller permissions and turn off Microsoft Defender.
- Check the changes:
- Restart your PC.
- Look at the status of Microsoft Defender. It should be off now.
Note that Turning off Microsoft Defender this way removes a big layer of protection for your PC. Make sure you have at least one other good antivirus or security program ready if you decide to turn off Defender.