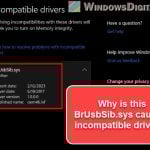
If you received a notification from Windows Security telling you that the Memory Integrity option in the Core Isolation settings has been disabled due to an incompatible driver called wdcsam64_prewin8.sys in Windows 11, this guide will show you how to remove the faulty driver and any other incompatible drivers (if any) so that you can enable the memory integrity feature again.
Also see: Memory Integrity Can’t Be Turned On (Windows 11)
Page Contents
What is wdcsam64_prewin8.sys?
The wdcsam64_prewin8.sys is a driver from Western Digital Technologies. If you have any Western Digital hard disk drive or solid state drive, you may have the driver installed.
In my case, I have a fairly old external hard disk drive that is manufactured by Western Digital. The driver doesn’t seem to be able to be updated. At first, I thought removing the driver might cause problems with the drive. However, after forcibly deleting the driver, the drive still worked fine and I was finally able to turn on Memory Integrity in my Windows 11 PC.
How to delete wdcsam64_prewin8.sys in Windows 11
To delete the wdcsam64_prewin8.sys driver, you can use the PnPUtil command line tool in CMD or Windows Terminal to remove the driver. But before that, you need to know the “Published name” of the driver you want to delete. The driver’s published name is usually different on every computer.
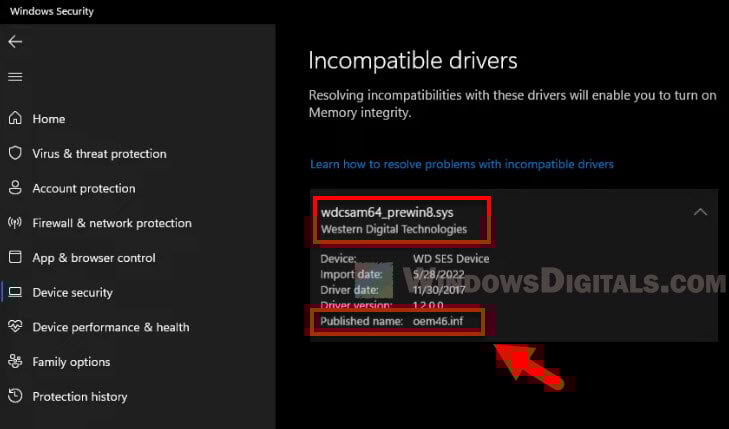
To find out the published name of the problematic driver, open Windows Security and navigate to Device Security (Core Isolation). Next, click “Review incompatible drivers” under the Memory Integrity toggle button.
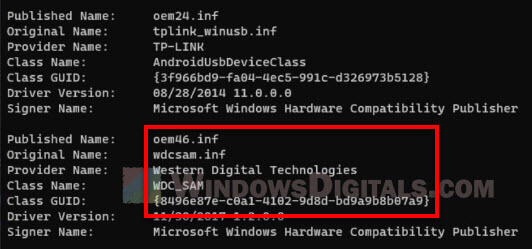
In the incompatible drivers page, expand the wdcsam64_prewin8.sys driver to see more details. Write down the published name of the driver – oemxx.inf.
To remove the wdcsam64_prewin8.sys driver in Windows 11, follow the steps below.
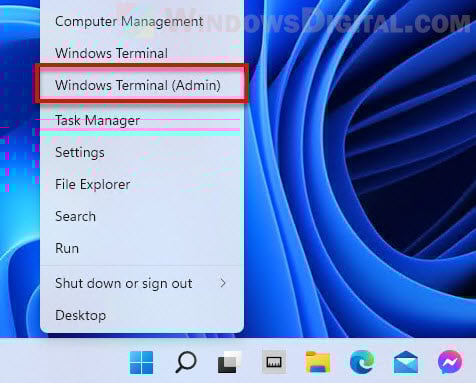
- Right-click the Start button on the taskbar and select Windows Terminal (Admin).
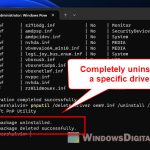
- In the Windows Terminal window, type the following command and press Enter. This command line will list all drivers on your computer.
pnputil /enum-drivers
- Next, press Ctrl + Shift + F to bring up the “Find” dialog box.
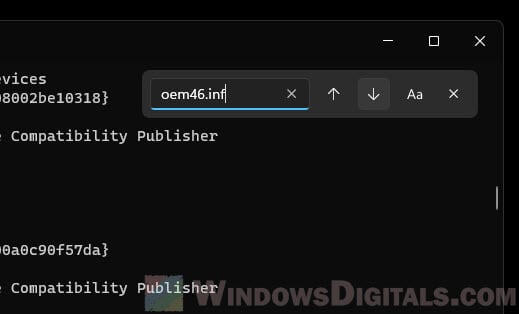
- Find the published name you wrote down earlier (oemxx.inf) in the list of drivers, and make sure it is the one you want to remove (from Western Digital Technologies).
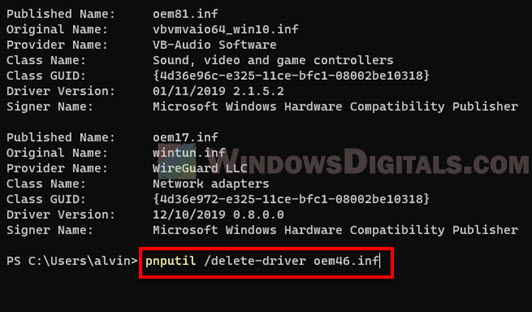
- To remove the driver, type the following command and press Enter. Replace oemxx.inf with the actual published name you want to remove. For example, in my case, the published name associated with the wdcsam64_prewin8.sys driver on my computer is oem46.inf.
pnputil /delete-driver oemXX.inf
- Once the command line is successfully executed, the terminal will show “Driver package deleted successfully“.
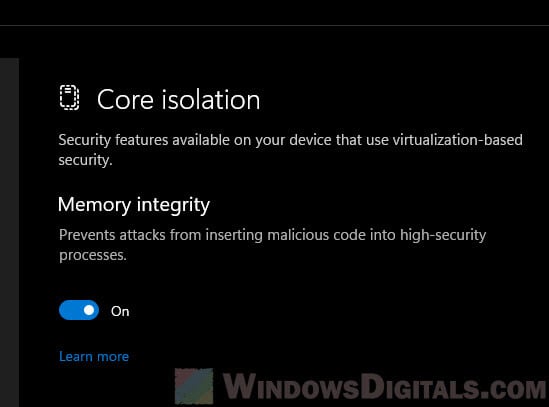
After deleting the wdcsam64_prewin8.sys driver, you don’t have to restart your PC. The changes are reflected immediately. Go back to the Windows Security > Core Isolation > Memory Integrity settings page and click the “Scan again” button. If Windows 11 does not detect any incompatible drivers, you will be able to enable the memory integrity feature again.
Remove incompatible driver using third-party tool
If you have issues executing the driver deletion command in Windows Terminal or CMD, you can try using a third-party tool to remove the problem driver. You can use a free tool called Driver Store Explorer to remove any driver in Windows 11.
To remove the wdcsam64_prewin8.sys driver in Windows 11 using Driver Store Explorer, follow the steps below.
- Download the app from its GitHub release page (select the zip file to download it).
- Once downloaded, extract the zip file to any location you want.
- Next, run the Rapr.exe file from the folder.
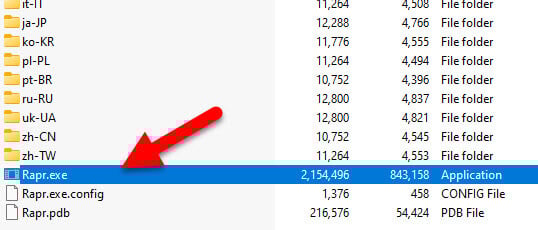
- The app will then show you a list of all installed drivers on your computer.
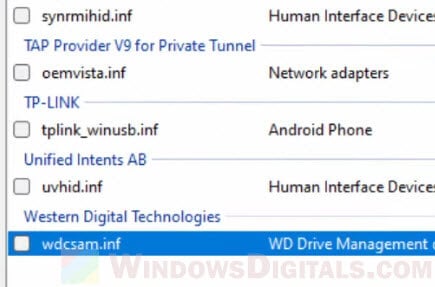
- Look for a driver named “wdcsam.inf” listed under Western Digital Technologies. Select it and click Delete Driver(s) to remove the driver.
After removing it, you may need to restart your computer. After restarting, reopen the Core Isolation settings. If the problem driver was successfully removed, you will be able to enable the memory integrity option.