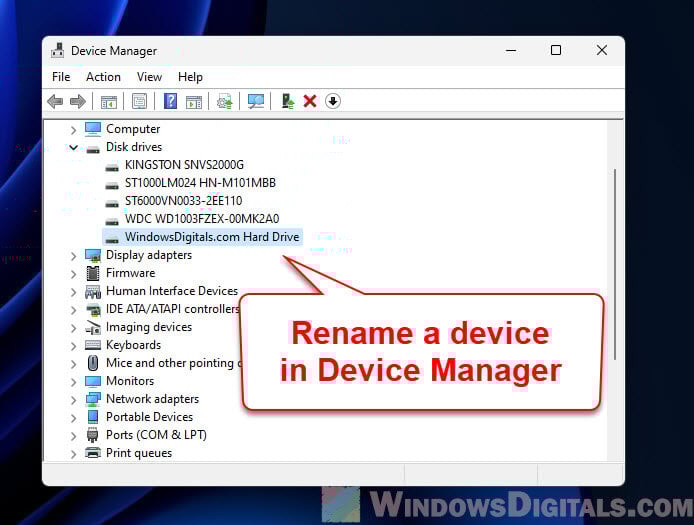
Each of your hardware parts has a name when you see them in the Device Manager. They usually have a fixed name that represents their brands and models. However, you can actually change the name of these devices, and they will show up as a different name in the Device Manager. This guide will show you how to do it.
Also see: Unknown USB Device (Set Address Failed) in Windows 11
Page Contents
How to rename hardware and devices in device manager on Windows 11 or 10
Before we start renaming, you should know this task involves dealing with the Windows Registry. This part of your computer holds a lot of settings. It’s always a good idea to create a system restore point or backup the registry first. With a restore point, if something goes wrong, you can get things back to how they were. Follow the steps below to change the name of any hardware in Device Manager.
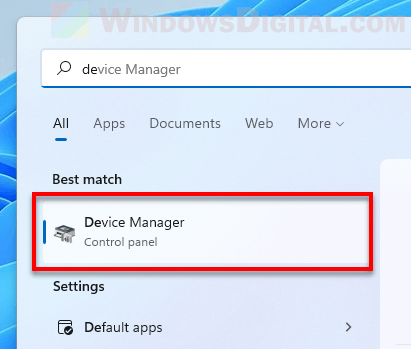
- Open Device Manager on your Windows 11 or 10 system. You can do this by searching for “Device Manager” in the start menu or typing
devmgmt.mscin the Run dialog (press Windows key + R).
- Once it’s open, look through the list for the hardware you want to rename. Right-click on it and select “Properties”.
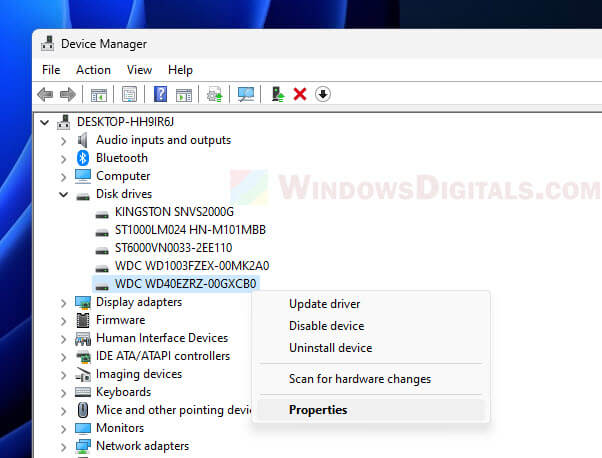
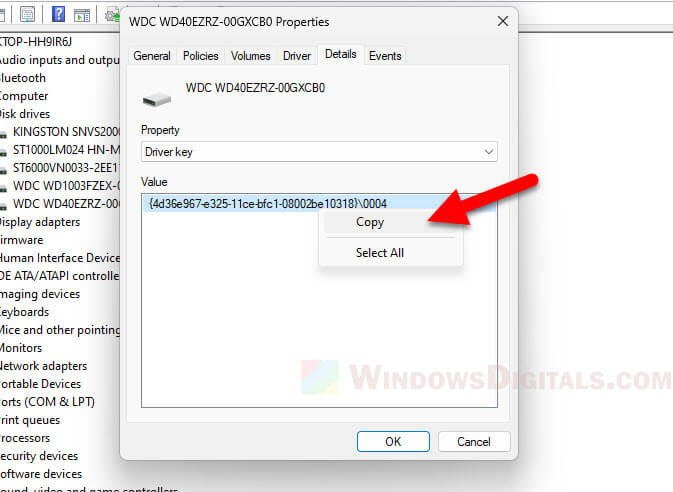
- In the Properties window, click on the “Details” tab. There’s a dropdown menu labeled “Property”, select “Driver key” from it.

- Now, a text value will show below. Right-click on this value and choose “Copy” to save the driver key, which you’ll need later.
- Hit Windows key + R to bring up the Run dialog box. Type
regeditand hit Enter to open the Registry Editor.

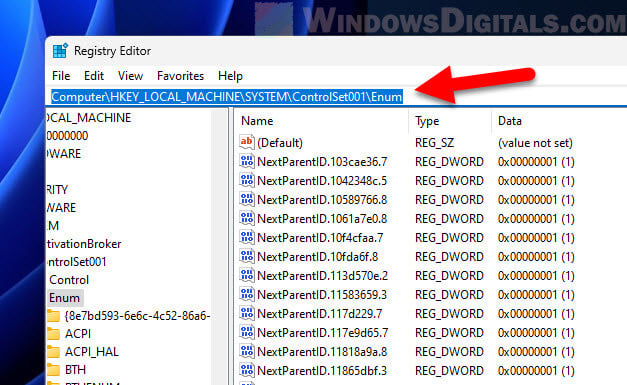
- In the Registry Editor, either use the address bar to go to
Computer\HKEY_LOCAL_MACHINE\SYSTEM\ControlSet001\Enumor browse there manually.
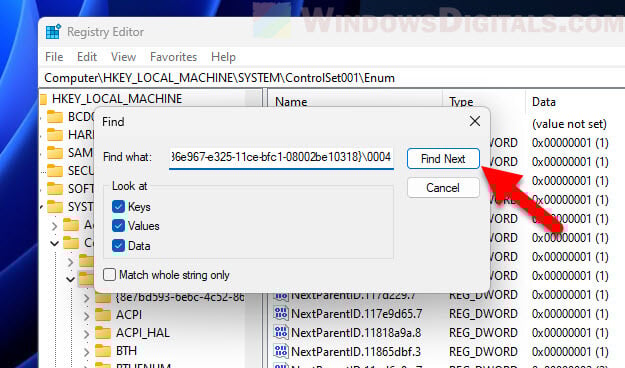
- Right-click on the “Enum” key, choose “Find”.
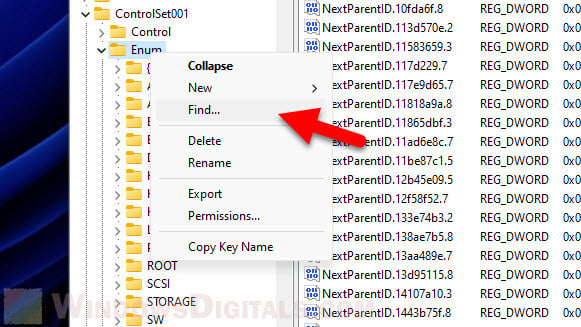
- In the “Find what” box, paste the driver key you copied before and click “Find Next”. The editor will search and highlight the entry you need.
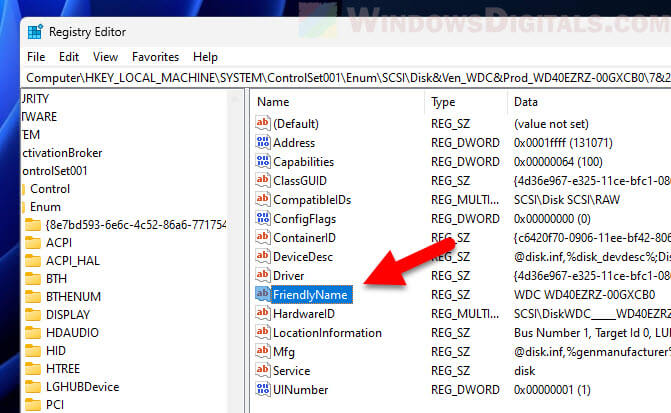
- If there’s a value named “FriendlyName”, double-click to edit. If not, right-click, choose “New” > “String Value”, and name it “FriendlyName”. Double-click your new “FriendlyName” value.
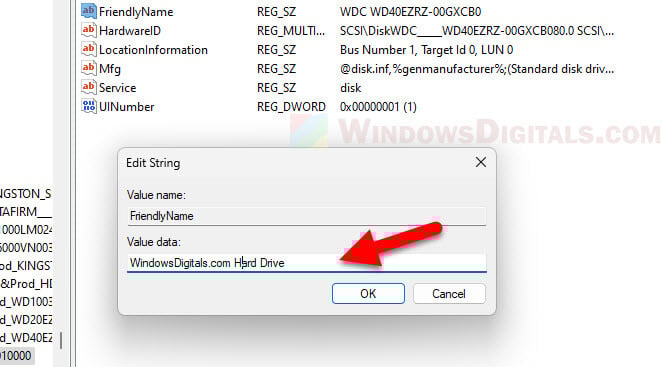
- Type in the new name you want for your hardware in the “Value data” box. This will be the name shown in Device Manager. Hit “OK” to save it.
- To see your changes, go back to Device Manager, click the “Action” menu, and pick “Scan for hardware changes”.
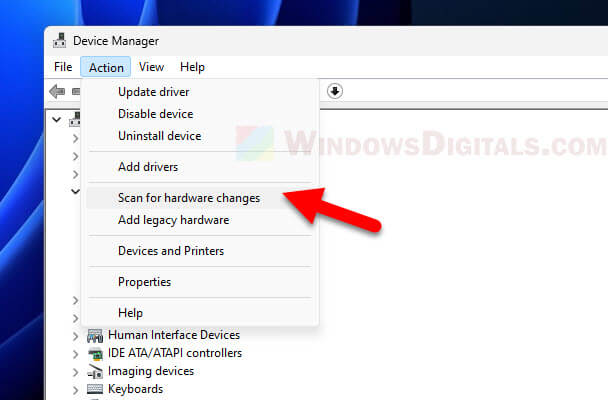
- Now, your renamed hardware should show up with its new name.

Related resource: Check PC Hardware Manufacturer & Model via WMIC in CMD
Some common issues you might see
Below are some issues you might run into while renaming devices in Device Manager, along with some tips to note.
Device manager doesn’t show the new name
If you don’t see the new name in Device Manager after refreshing, restarting your computer might help. Some changes need a reboot to take effect.
Trouble opening the registry editor
If you’re having trouble opening the Registry Editor, make sure you have admin rights. You need these rights because changing the registry can affect your system.
Changed the wrong registry value by mistake
If you’ve accidentally changed the wrong registry value, it could mess up your system. It’s very important to back up the registry before you start. If you make a mistake, you can use the backup to fix it.
“FriendlyName” value isn’t saving
If you can’t save your changes to the “FriendlyName” value, you might not have enough permissions. Check that you’re logged in as an admin. If you still have trouble, there could be system policies stopping you from making changes.
Choose clear and specific names
When you’re renaming hardware, pick names that are clear and specific. This helps you quickly identify the right device, especially in a system with many similar ones.
Try not to rename too often
Changing names too often can be confusing and might cause mistakes. It’s best to change names only when you really need to, and keep track of old and new names just in case.