A camera or a webcam is a device you can connect to your computer to be used for video calling via telecommunication apps such as Skype, Facebook Messenger, etc. Connecting a camera to your computer and installing a driver for it are the basic steps for setting up a camera on Windows, but making sure it actually works is also a crucial step prior to putting it on use for an important video conference. This short tutorial will show you how to test a camera or a webcam in Windows 11 to see if it is working properly.
Related: How to Turn On Camera or Microphone on Facebook Messenger
Page Contents
Test camera on Windows 11 to see if it is working
After connecting a camera or a webcam to your PC, in most cases, Windows will be able to automatically detect the camera and install the relevant driver for the camera on the next restart. In some cases though, you may need to manually install the driver for the camera through an installation media such as a CD. Or, you may sometime be asked to visit a link, usually written on the manual of product, where you can download the driver from.
After driver is installed and the camera is well connected, to quickly test the camera to see if it’s working, you can use the built-in camera app in Windows 11 to quickly verify if the camera is working as expected. To test a camera in Windows 11 using the Camera app, follow the steps below.
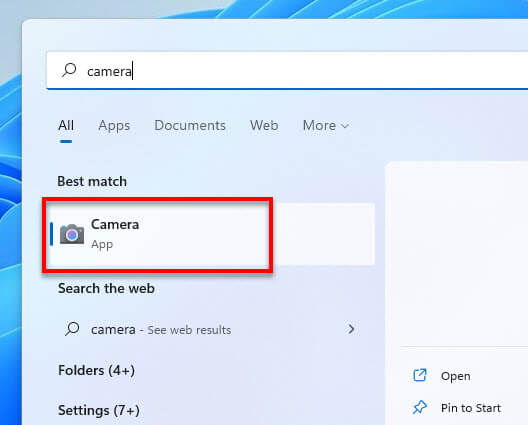
1. First, search for and open Camera app via Start. Camera app is a built-in app in Windows 11 that comes with Windows installation. You don’t need to install the Camera app as it’s already pre-installed on your Windows computer (unless you uninstalled it).
2. If this is your first time launching the Camera app, the app will prompt you to choose if you would like to share your location with the app (letting the app to access your computer’s location info). Select Yes if you are OK with it, otherwise select No.
3. If the app is displaying what your camera is seeing now, it indicates that your camera is working.
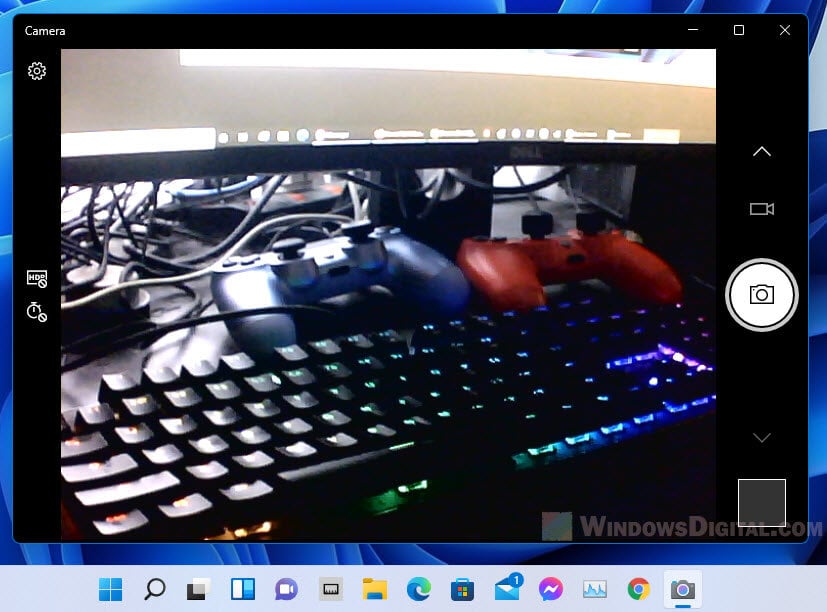
Note: If you have made changes to your camera or its driver during the app’s session, or if you have reconnected your camera when the app is opened, you need to re-launch the Camera app for it to detect the camera again.
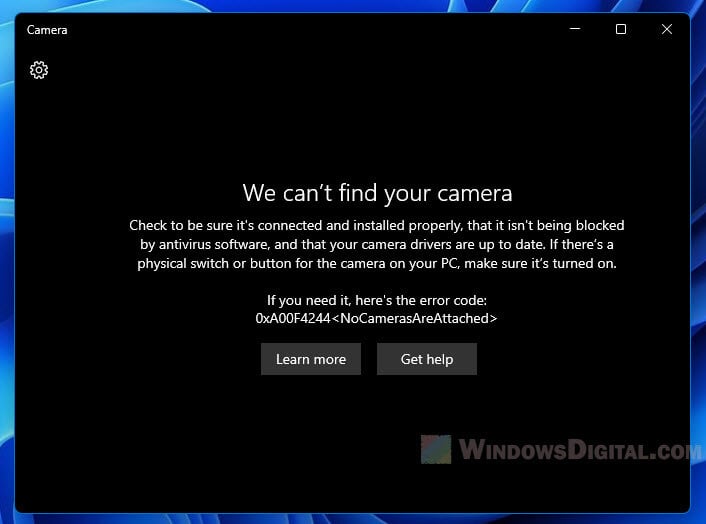
App shows “We can’t find your camera”
If the Camera app shows “We can’t find your camera – Check to be sure it’s connected and installed properly” when you open the app, it means the app failed to detect your camera. Below are some suggestions and tips to troubleshoot your webcam issue.
1. First check your camera connection and see if it is correctly plugged into your computer.
2. Secondly, check the manual that comes with your camera and look for how to install driver for your camera. In most cases, after connecting a new camera (and basically any new hardware) to your computer, restart your computer and Windows should be able to automatically detect the hardware and install the right driver for it during the next Windows startup.
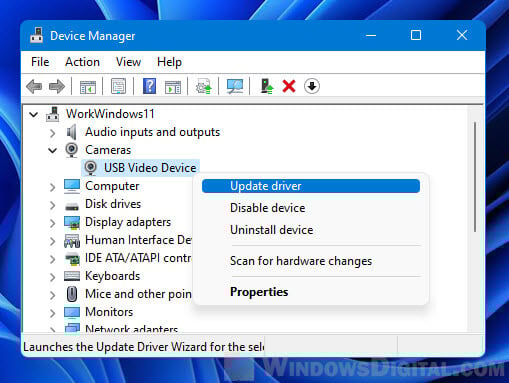
However, you can try to manually update the driver for your camera in Windows 11 by opening Device Manager, then right-click your camera and select Update driver.
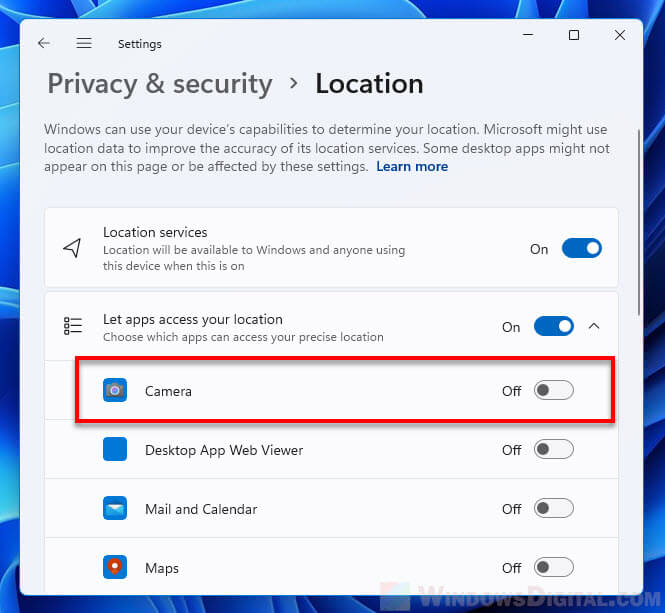
3. Next, make sure the app that will use your Camera has permission to use it in Windows. There is a privacy settings in Windows 11 that controls which app can use the camera. If an app is restricted from using the camera, the app will behave as if there is no camera detected.
You can check the Windows 11 camera privacy settings via Settings > Privacy & Security > Camera. Make sure both the “Camera access” and “Let apps access your camera” options are turned on. Then, toggle on the app you wish to allow to access your camera. For example, if you are to use the camera on Skype, make sure Skype is set as On under “Choose which apps can access your camera” section.

Other ways to test camera on Windows 11
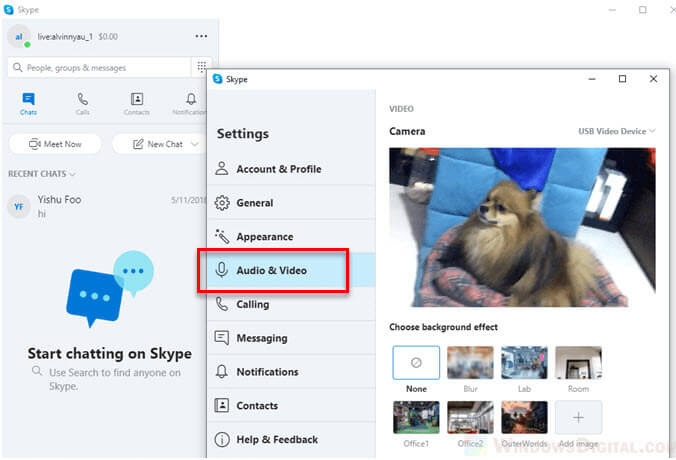
You can usually test the camera directly in the telecommunication apps such as Facebook Messenger or Skype. There is usually a camera preview in the video and audio settings in these apps where you can configure various video and audio settings of the app.
For example, in Skype, you can access the camera preview via Profile > Settings > Audio & Video.
Permission to allow Camera app to access location
Regarding the permission prompt to allow the Camera app to access your computer’s location, here’s what you need to know.
The location info is used in occasions such as when you are to take a photo using the camera app, the app will save your current location as a property of the photo, so that in the future you can check where this photo was taken via its properties. You can change this setting to disallow or allow the Camera app to access your computer’s location info by going to Settings > Privacy & Security > Location.