You might have often heard about the word “DPI” when mouse sensitivity (mouse speed) was mentioned, especially in the gamers’ circle. But, what does mouse DPI mean and how to know what your mouse DPI is? In this write-up, we will explain what mouse DPI is and how to check mouse DPI in Windows 11.
Also see: How to Change Mouse DPI Settings in Windows 11/10
Page Contents
What is mouse DPI?
The DPI is the abbreviation for Dots Per Inch. It is a unit to measure how many dots, or more often known as pixels, the cursor can move on the screen if you move your mouse an inch by your hand.
For example, if you have a mouse DPI of 1600 and if you move your mouse an inch by your hand, the cursor on the screen would move approximately 1600 pixels. That’s how DPI is used to determine how fast your mouse is.
Some of the most commonly used mouse DPI for most games are 400, 800, 1200, 1600, 3200 and 6400 DPI. Mouse DPI is just part of the settings that affects the overall mouse speed in a game. The in-game mouse sensitivity settings also affect your mouse speed in addition to the mouse DPI. You may need to adjust both for optimal experience.
How to check your mouse DPI in Windows 11?
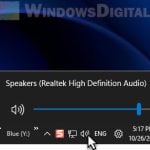
In Windows 11, there is no settings or information that shows your mouse DPI. The only available setting related to that is the mouse sensitivity setting, which is displayed as a multi-level slider in the general mouse settings (Settings > Bluetooth & devices > Mouse > Mouse pointer speed).
Mouse DPI can only be viewed if the mouse does have a DPI label or if it allows changing of the DPI. Not all mouses have the DPI feature, but most gaming mouses have it. Listed below are 3 methods on how to check your mouse DPI in Windows 11.
Related: How to Slow Down Your Mouse Speed
Check DPI via mouse driver software
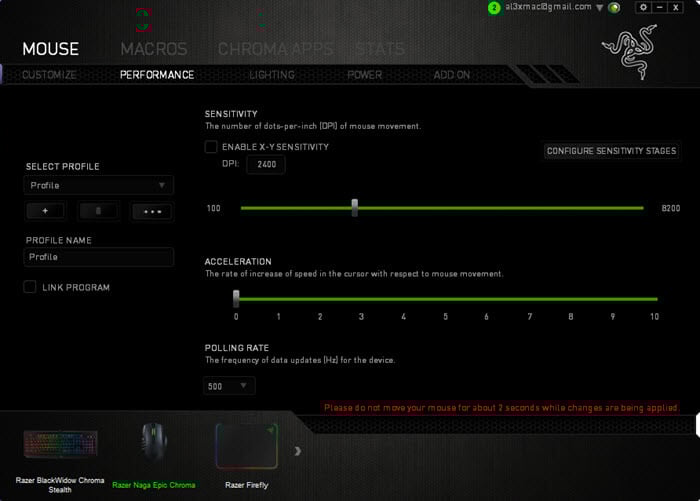
A gaming mouse often comes with a companion software (driver software) as you install the mouse’s driver. A companion software is a configuration tool that allows you to configure various settings for your mouse such as the mouse’s DPI settings.
For instance, Logitech G hub is the driver software for Logitech gaming peripherals such as mouse, Razer Synapse for Razer hardware, SteelSeries Engine for SteelSeries mouse, etc.
If you do have a gaming mouse but not a driver software, try to identify what mouse you have and install its driver software accordingly.
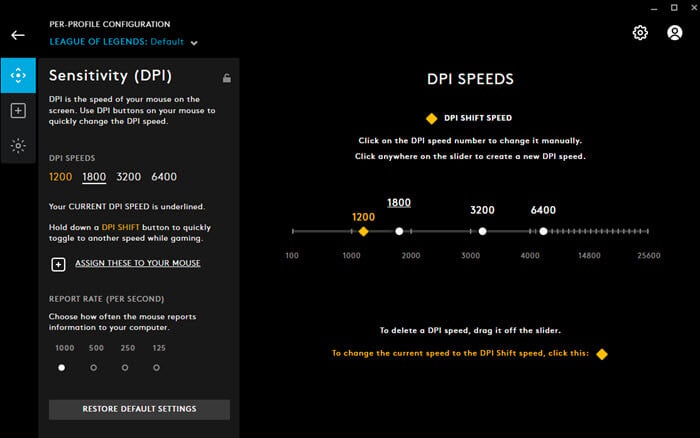
If you have a gaming mouse and a driver software installed, you can easily check your mouse DPI through the configuration tool. Below are some screenshots that shows you how the mouse DPI settings look like in some of the most popular configuration software.
Check the specification of your mouse
Some mouses have a fixed DPI that cannot be changed. The DPI will be labeled as a specification of the mouse. Check the product specifications of your mouse and see if there is any label that states the DPI of the mouse.
Read the documentation that came with your mouse when you purchase it. Or, you can search online to find the specification of your mouse with your mouse brand and model as the keyword.
Measure the mouse DPI manually
If you don’t have a gaming mouse and there is no specification that states what your mouse’s DPI is, you can manually measure it by following the instructions below.
Related: How to Turn Off Mouse Acceleration in Windows
Step 1: Disable “Enhance pointer precision”
Enhance pointer precision (also known as mouse acceleration) is a Windows mouse-related setting that accelerate your mouse as you move your mouse faster. This means that your mouse sensitivity will change depending on how fast you move your mouse.
With this option enabled, you cannot get an accurate measurement of your mouse DPI because the mouse DPI would differ depending on how fast you move your mouse.
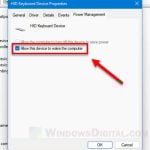
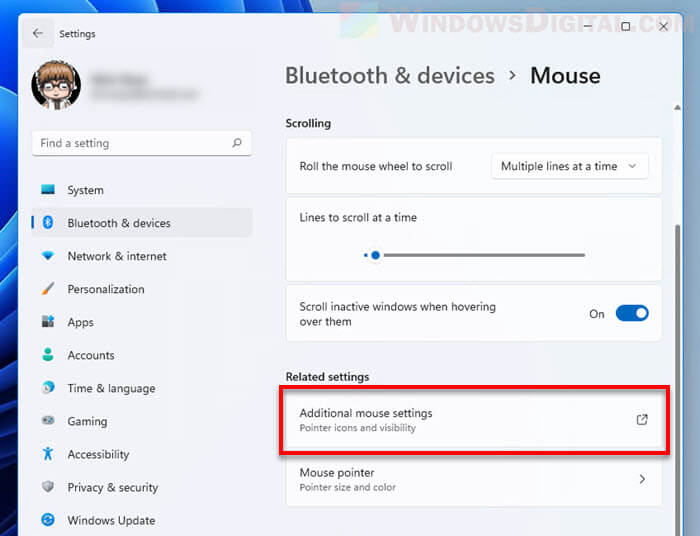
To disable this option, press Win + i to open Settings and navigate to Bluetooth & devices > Mouse > Additional mouse settings.
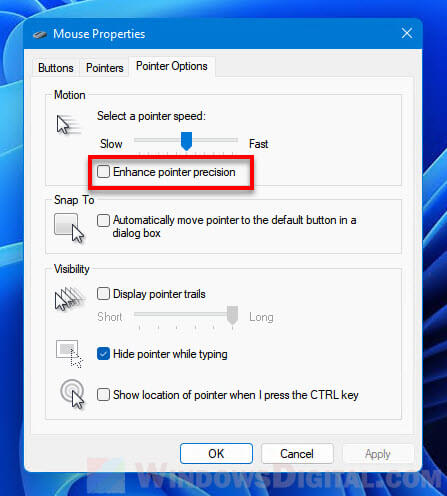
In the Mouse Properties window, select the Pointer Options tab and then disable the checkbox for “Enhance pointer precision“.
Step 2: Jot down the pointer speed
In the same Mouse Properties window as mentioned in the previous step, jot down the pointer speed in the motion section. There are 11 notches on the slider from “Slow” to “Fast”. If pointer speed is on the 6th notch, jot down 6/11 (you will need this later).
Anyway, the default and optimal setting for the pointer speed in Windows is the 6th notch, right in the middle of the slider. The 6/11 setting is the most common setting for most pro gamers.
Step 3: Measure your mouse DPI using DPI Analyzer
Firstly, prepare a piece of paper or cardboard big enough for you to move your mouse on it. Draw a 2 inches or 5.08 cm line on the paper.
Next, open this website: https://www.mouse-sensitivity.com/dpianalyzer/ on the computer your mouse is connected to. On the website, in the DPI Analyzer section at the bottom half of the page, enter 2 as the target distance and select Inches as the Units. Next to the WPS option, select the pointer speed you jotted down earlier. If your pointer speed is 6/11, select “10 (6/11)“.
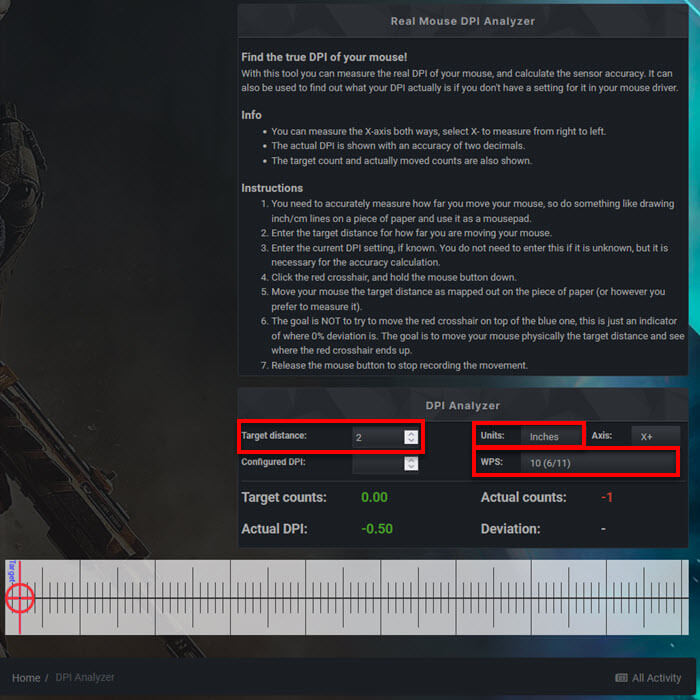
Now, move the mouse cursor to the center of the Red target on the ruler in the webpage. Then, lift your mouse and place it on the beginning of the line on the paper or cardboard you’ve prepared earlier. To start measuring your mouse DPI, click and hold the red target on the ruler, and then move your mouse towards the end of the line on the paper.
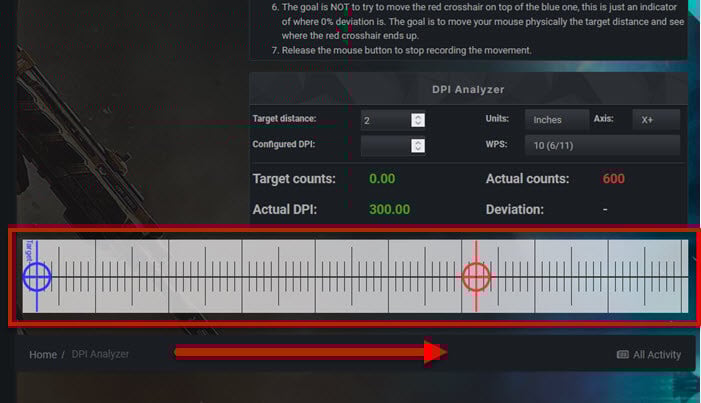
The Actual DPI value on the DPI Analyzer will then show you your mouse DPI. To help you better understand this, this tool helps you measure the dots or pixels your mouse cursor move as you move your mouse physically for 2 inches.
Optionally, you should record the Actual DPI value and repeat the process a few more times to obtain the average DPI. This way, you can get a more accurate calculation of your mouse DPI.