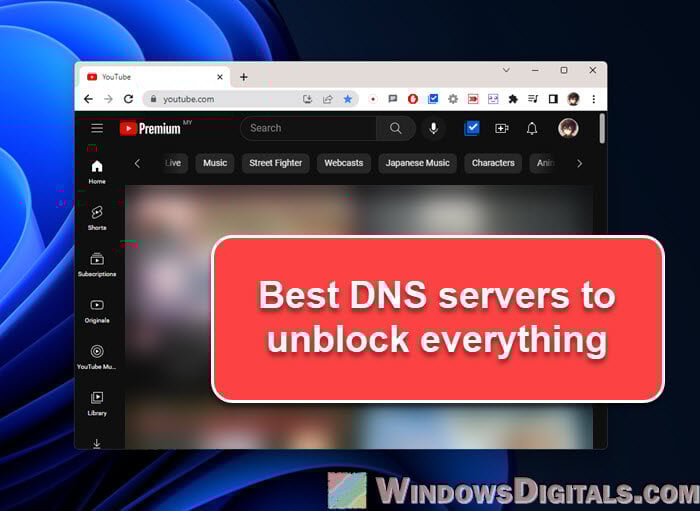
Sometimes, Internet Service Providers (ISPs), governments, or organizations might block access to certain websites for a bunch of reasons – from location-based restrictions to legal issues. A useful trick that often gets overlooked is tweaking your Domain Name System (DNS) settings. This guide will show you how DNS can open up everything for you and guide you through unblocking DNS-blocked websites on various systems like Windows 10, Windows 11, and more.
Also see: Change DNS to Google or Cloudflare in Windows 11/10
Page Contents
What actually is DNS?
Let’s first quickly understand what DNS is, so that you know how the unblocking would work. Think of DNS as the internet’s phonebook. When you type a website’s address into your browser, DNS changes that easy-to-remember URL into an IP address, which your computer uses to reach the website’s server.
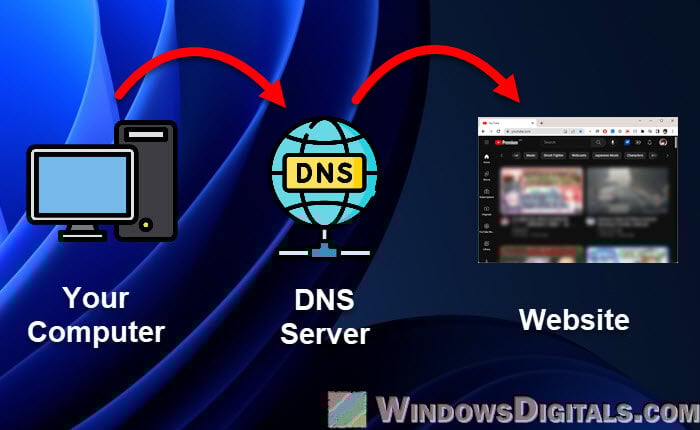
Sometimes, an ISP or government might block certain websites by messing with the DNS entries. This is like your computer not being able to find the “phone number” it needs to call. A workaround is to use a different “phonebook,” or technically, change your DNS server settings.
Related concern: Some Websites Not Loading in Windows 11 (Fix)
Unblocking websites through DNS
Private DNS servers can let you get around these blocks. They might have different or more up-to-date entries, helping you access websites blocked by your default DNS.
Let’s see how you can change your DNS settings on various platforms.
Changing DNS on Windows
Here’s how you can change your DNS settings on Windows 11 or Windows 10:
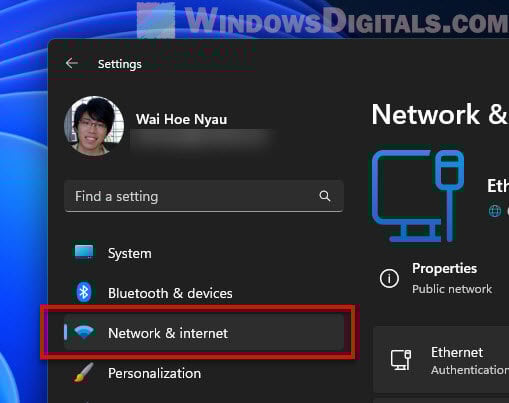
- Hit the Start menu, then head over to Settings.
- Click on Network & Internet.
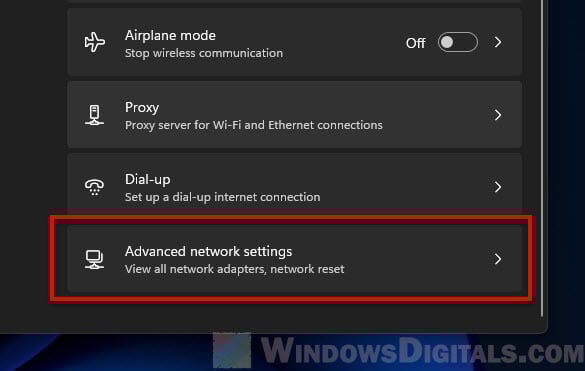
- On the left panel, pick Advanced network settings.
- Click on More network adapter options.
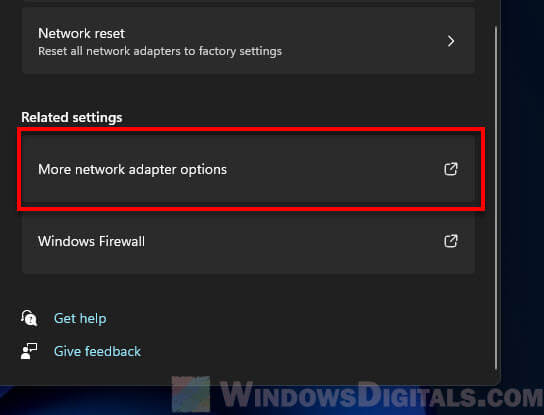
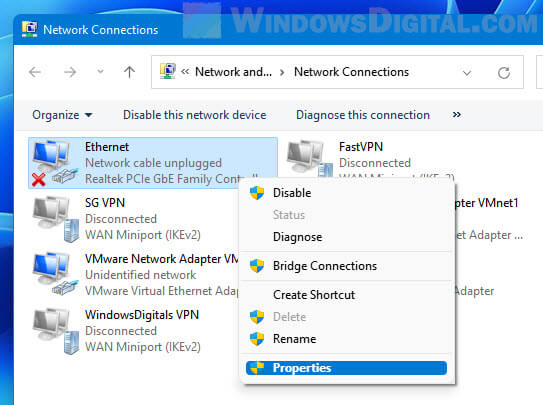
- Right-click on your connection and select Properties.
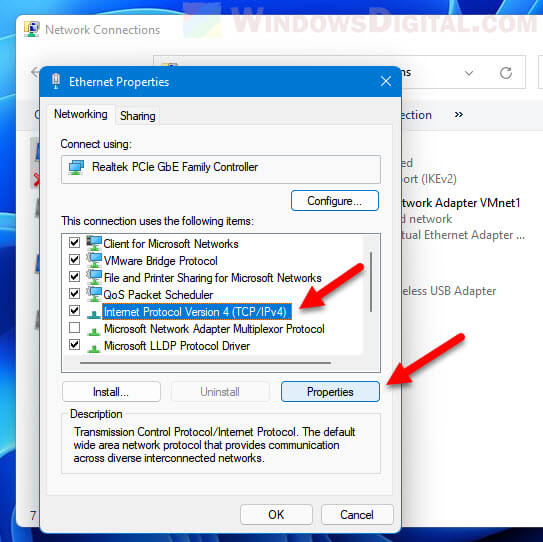
- Look for Internet Protocol Version 4 (TCP/IPv4) or Internet Protocol Version 6 (TCP/IPv6) and hit Properties.
- Select the Use the following DNS server addresses option.
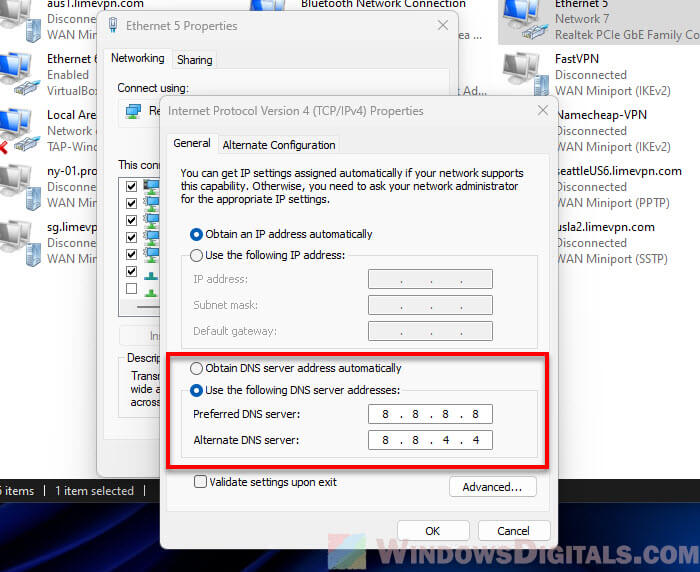
- Now, enter the IP addresses of your new DNS servers.
Useful tip: How to Find the IP Address of a Website in Windows 11 or 10
Changing DNS on Chrome
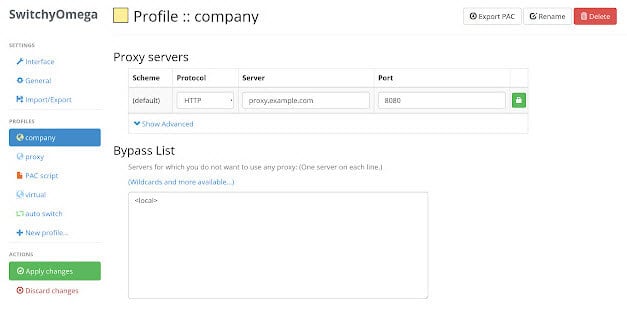
Google Chrome doesn’t have a built-in option to change the DNS settings. But you can use a Chrome extension like SwitchyOmega to manage your Proxy and DNS settings. After installing one of these extensions, you can add your desired Proxy or DNS server to its settings.
Changing DNS on Routers
Changing DNS settings on your router can make the changes apply to all devices connected to it. This way, you don’t need to repetitively changing the DNS servers for all your devices one by one. However, the steps to do so can vary depending on your router model. The following is a basic guide about what you should look for in general:
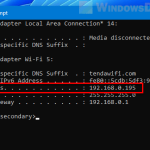
- Open your router’s configuration page by typing your router’s IP address into your browser. Common ones are 192.168.1.1 or 192.168.0.1.
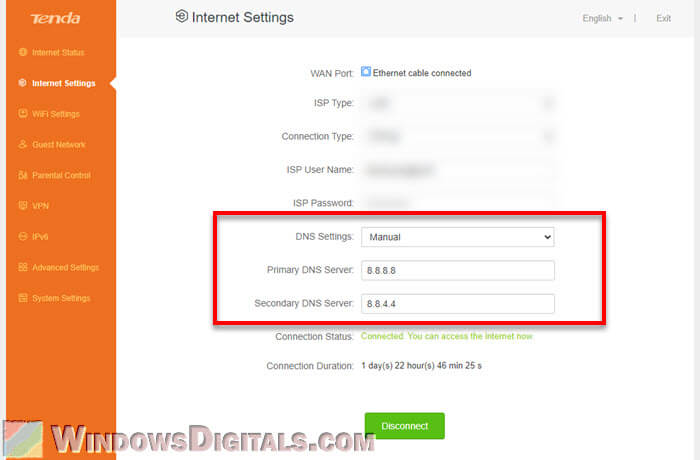
- After logging in, find the DNS settings, which could be under Internet settings, Basic settings, or something similar.
- Switch the DNS servers to the ones you prefer.
Note: Changing the DNS settings on your router affects all devices connected to it. They’ll all use the new DNS servers.
Recommended resource: Understanding How a Website is Blocked in Windows 11
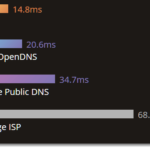
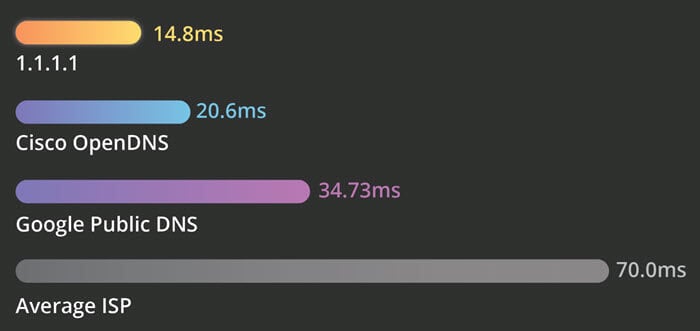
Best DNS servers for unblocking everything
While there are loads of DNS servers out there, some are ace at unblocking content. Here are a few private DNS servers known for their unblocking prowess:
- Google DNS: This is a free, fast DNS service that’s good at unblocking. The DNS addresses are 8.8.8.8 and 8.8.4.4 for IPv4, and 2001:4860:4860::8888 and 2001:4860:4860::8844 for IPv6.
- OpenDNS: Besides unblocking, this DNS service throws in extra features like phishing protection and content filtering. The DNS addresses are 208.67.222.222 and 208.67.220.220.
- Cloudflare DNS: It’s known for caring about your privacy and being speedy. The DNS addresses are 1.1.1.1 and 1.0.0.1 for IPv4, and 2606:4700:4700::1111 and 2606:4700:4700::1001 for IPv6.
Some final advice
While changing your DNS settings can sometimes help you unblock certain websites, it is only changing the “phonebook” that your device is using to find websites. Changing it won’t make you anonymous or protect your privacy online. People can still trace what you do online and possibly intercept your data.
If you’re looking to be more anonymous on the internet, you can try using a VPN along with DNS changes. A VPN can encrypt your online traffic and hide your IP address. Although there are many free VPNs out there, they often have limits and may not be reliable or trusted.
Also, be careful with which DNS and VPN providers you use. When you choose one, it means you’re trusting the company that provides you the service with your browsing data. Do some research before you decide which one to use.
Lastly, please respect your local laws and legal sides of things. Bypassing certain geo-restrictions might still be illegal. Think carefully before you try the DNS and VPN route for browsing online.