Microsoft Office 365 is a service you pay for every month or year, and if you’re working in a big company, keeping track of who has what license can be tough. But, there’s a tool called PowerShell that can make this job a lot easier.
In this guide, we’ll show you how to use PowerShell in Windows to check on your Office 365 user licenses.
Page Contents
What you need first
- You need to be the big boss (Global Administrator) for your Office 365, or at least have the permissions to mess with licenses.
- Your computer needs PowerShell. Most Windows computers already have it, but if yours doesn’t, go grab it from the Microsoft PowerShell website.
- You also need the MSOnline PowerShell module. Open PowerShell as the boss (administrator) and type this in:
Install-Module MSOnline
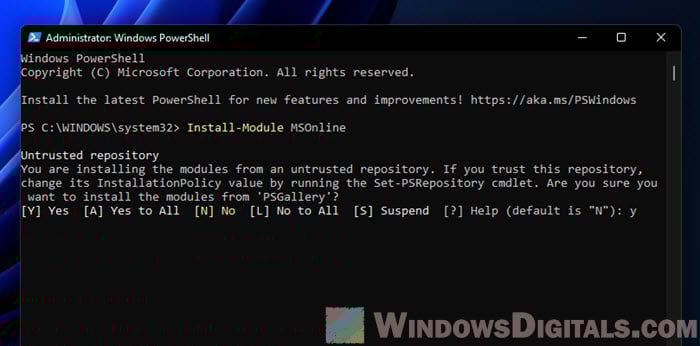 You need this to connect to your Office 365 from PowerShell and manage those licenses. Remember to open PowerShell with admin rights when you do this.
Also, check out this: Run CMD, PowerShell or Regedit as SYSTEM in Windows 11
Connecting to Office 365 with PowerShell
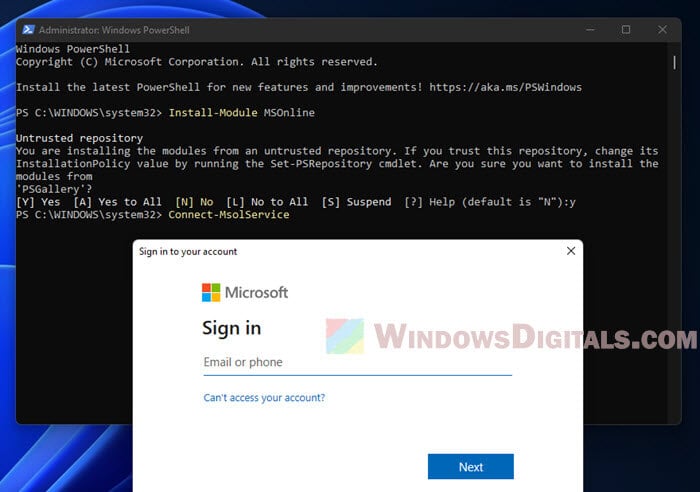
First off, open PowerShell with admin rights. Search for “PowerShell” in the start menu, right-click it, and choose “Run as administrator.”
Next, connect to your Office 365 by typing this:
Connect-MsolService
A window will pop up for you to log in with your Office 365 admin user and password. Once you’re logged in, you’re connected to Office 365.
If you see an error that says “Connect-MsolService is not recognized…”, it means you haven’t installed the MSOnline module yet. Check the steps above to install it and try again.
See this if you’re having a related issue: Work or school account problem keeps popping up Windows 11
Finding out about licenses
See all the license types
It’s good to know what kinds of licenses you have in your Office 365. Use the command below to see all your licenses, how many you have, how many are being used, and how many are left.
Get-MsolAccountSku
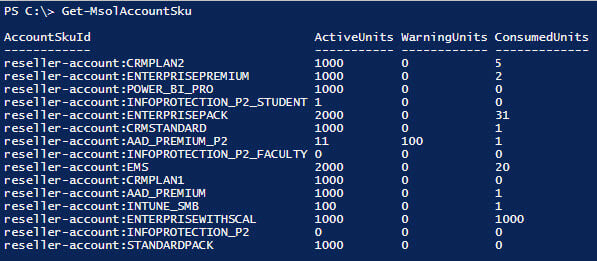
This helps you figure out if you need more licenses or if there are some you’re not using that you can give to new people.
Just show the license types
If you just want a simple list of your licenses, you can get that by showing just their SKU part numbers, which are like their ID tags.
(Get-MsolAccountSku).SkuPartNumber
This is a quick way to see what licenses you have.
Getting info on users
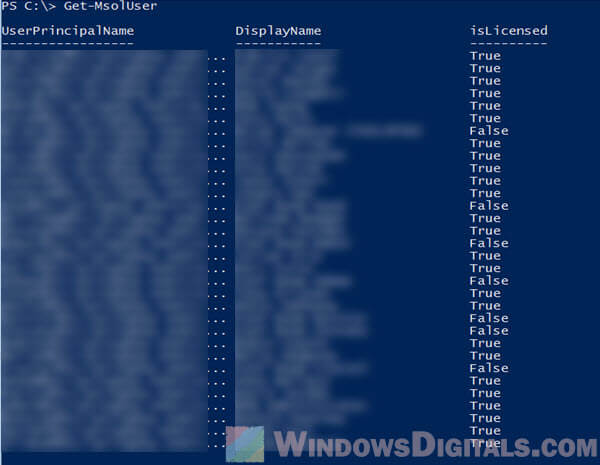
See all users
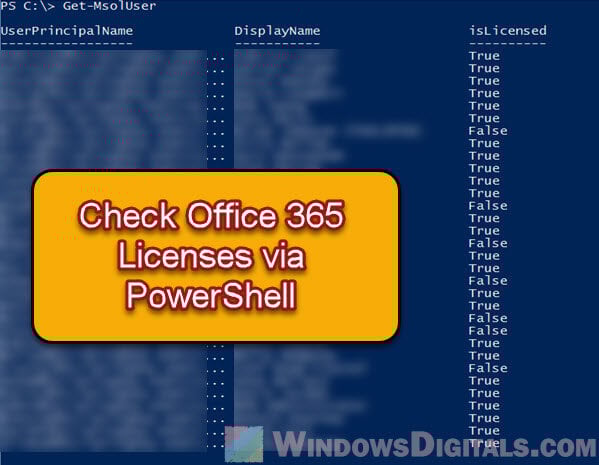
To manage licenses well, you need to know about all your users. This command shows you everyone in your Office 365:
Get-MsolUser –All
You’ll see a big list of users with their names, email addresses, and if they have a license or not.
Find specific things about users
If you’re only interested in certain details about users, like their name, department, if they have a license, and where they’re from, you can pick just those things to see:
Get-MsolUser -All | Select DisplayName, Department, IsLicensed, UsageLocation
Find users by their license status
Sometimes you need to sort users by whether they have a license or not. This can help you find out who needs a license or who has one they don’t need.
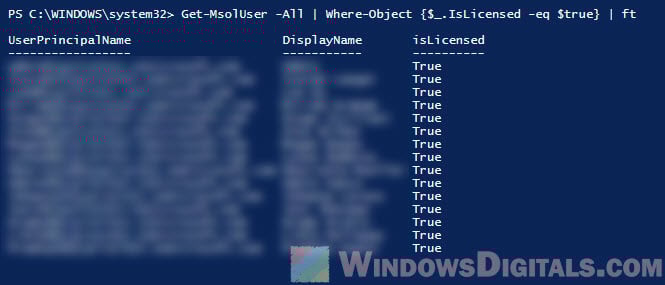
See only users with a license
To list users who have a license, use this:
Get-MsolUser -All | Where-Object {$_.IsLicensed -eq $true}
This shows you everyone with a license, which is handy for keeping track of who’s using what.
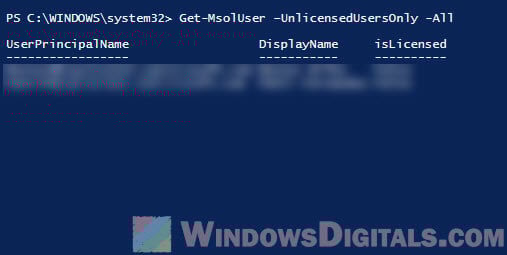
Find users without a license
And if you’re looking for users who don’t have a license yet:
Get-MsolUser –UnlicensedUsersOnly -All
This is useful for making sure everyone who needs a license has one.
Sort users by license type
Maybe you need to see who has a certain type of license, like “EnterprisePremium.” This helps you check if everyone has the right license or keep an eye on specific ones.
Get-MsolUser | Where-Object {($_.licenses).AccountSkuId -match "EnterprisePremium"}
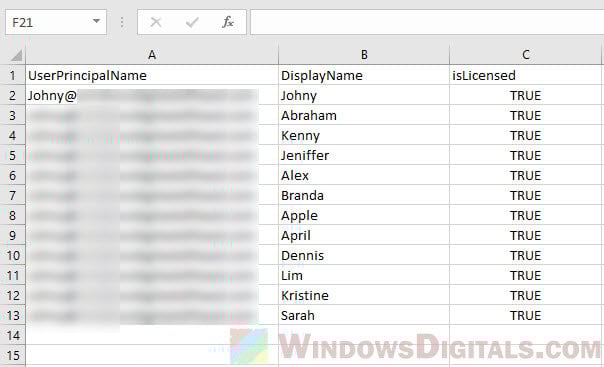
Export user info to a file
Save all users to a CSV file
To save a list of all your users to a file, use this command. It’s great for when you need to look at the data in Excel or share it with others.
Get-MsolUser -All | Out-file C:\allusers.csv
This makes it easy to work with the data in different ways.
Find users by department
See users in a certain department
If you need to look at users in a specific department, replace “DepartmentName” with the actual name of the department you’re interested in.
Get-MsolUser -All | Where-Object {$_.Department -eq "DepartmentName"}
This can help you make sure everyone in a department has the licenses they need.
One last thing
Always keep a regular check on your licenses and user statuses. Things change fast in big organizations – people come and go, and their needs for software change. Doing monthly or even weekly checks can help you avoid unnecessary surprises, like finding out you don’t have enough licenses right when you need them, or realizing you’re paying for licenses nobody is using. A little time spent regularly can save a lot of hassle and money.