Changing the default calendar in Google Calendar isn’t something you can do directly in the app. In this guide, we’ll go over some clever ways people have found to manage and switch their default calendar so that you can open and see the calendar that you want without having to always click the calendar.
Also see: How to Google Reverse Image Search on Windows 11
Page Contents
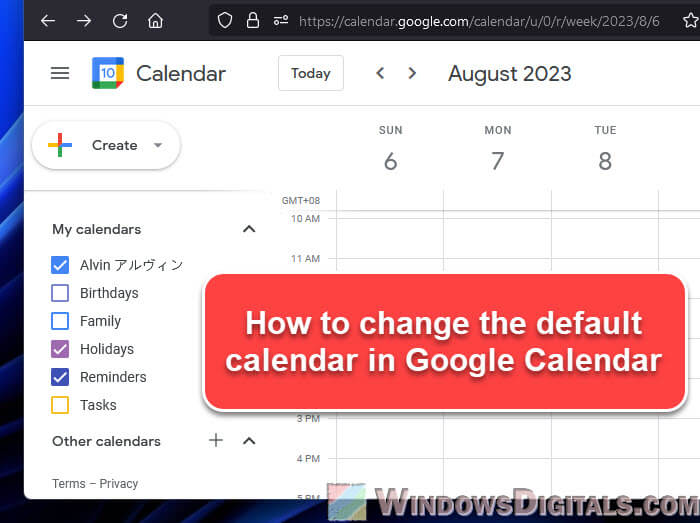
Google Calendar’s default settings
Google Calendar uses multiple calendars for different types of events. The default one is usually the main calendar linked to your Google account. Sadly, Google doesn’t let you change this default setup easily.
The default calendar is made automatically when you create a Google Account. It gets your account’s name but you can rename it. Below is what you need to know.
- You can’t delete or change the default calendar, but you can clean out its events, tweak its settings, rename it, or switch its color.
- This calendar is connected to your main Google account email.
- By default, you’re the only one who can see and change events. But, you can change settings to let others see it too.
Workarounds to change the default calendar in Google Calendar
Even though you can’t directly change or remove the default calendar, there are some tricks that let you effectively “change” it.
Export, create, and import the calendar
One popular method involves switching the contents of your default calendar with another calendar. Please be careful with this method to avoid losing data or creating duplicates. Always back up your calendars first before making any of these changes. The process is a bit complex but it does work to let you change your default calendar.
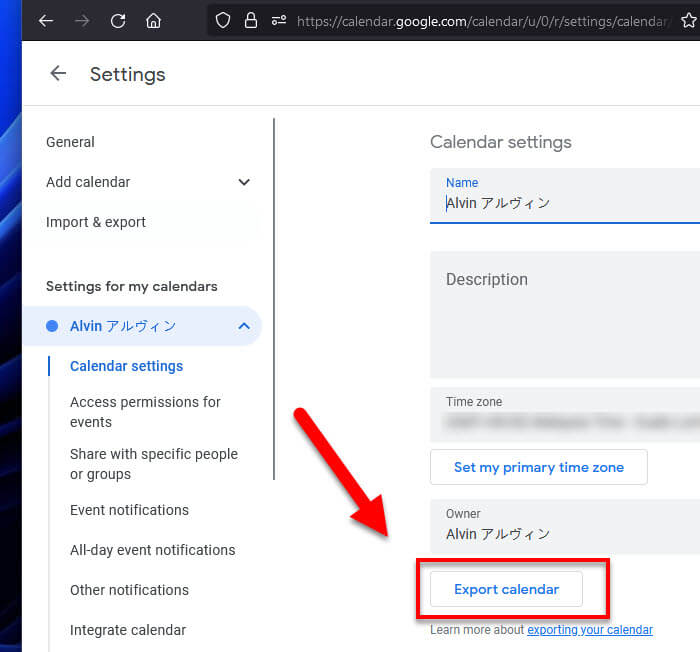
- Export events from your default calendar (Calendar A).
- Export events from another calendar you want to switch with (Calendar B).
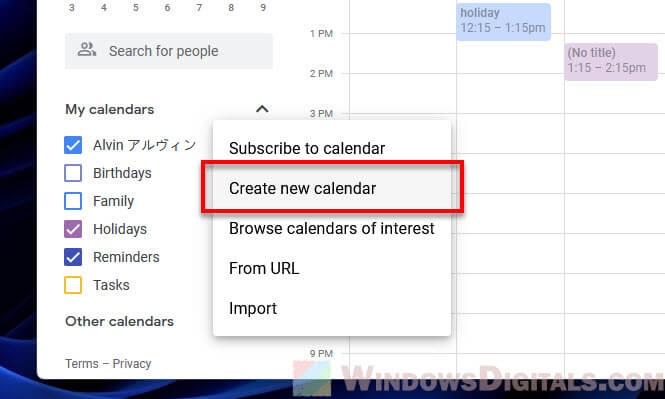
- Make a new calendar (Calendar C).
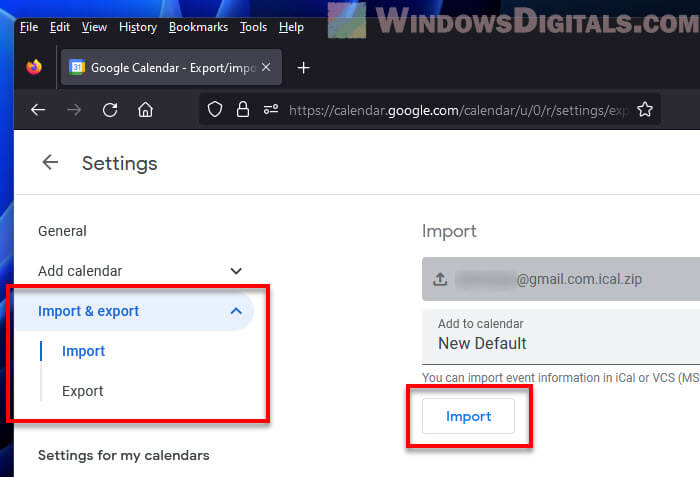
- Import events from Calendar A to Calendar C to keep a backup.
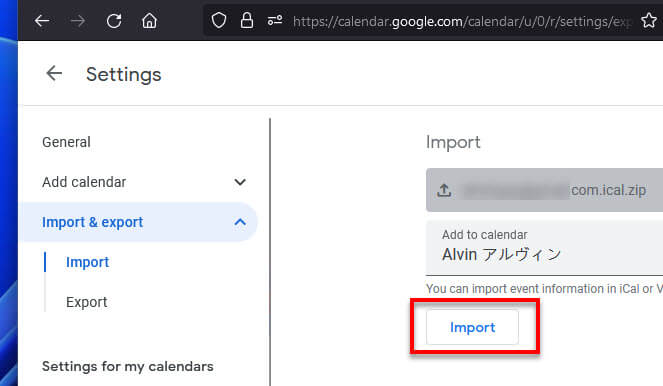
- Go to Calendar A’s settings.
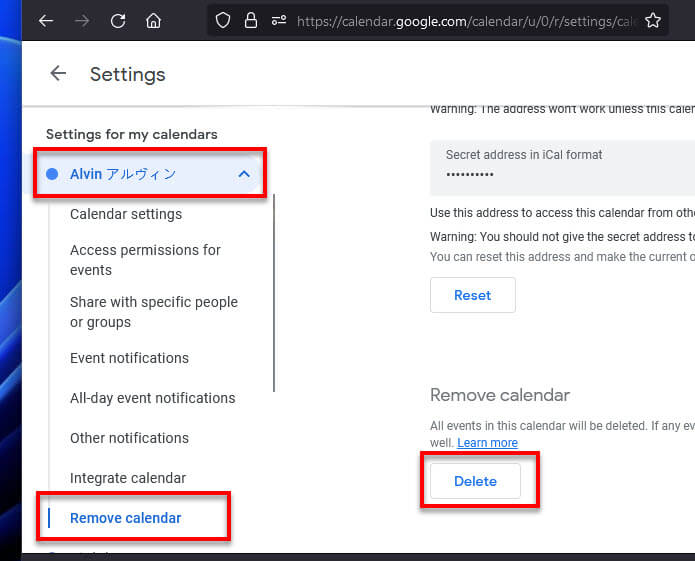
- Choose to remove all events, clearing the calendar.
- Import Calendar B’s data/events into the now empty Calendar A.
- Remove the original Calendar B since its events are now in Calendar A.
- Give the default calendar (now with Calendar B’s events) a new name.
- Give Calendar C a name that matches the original name of Calendar A.

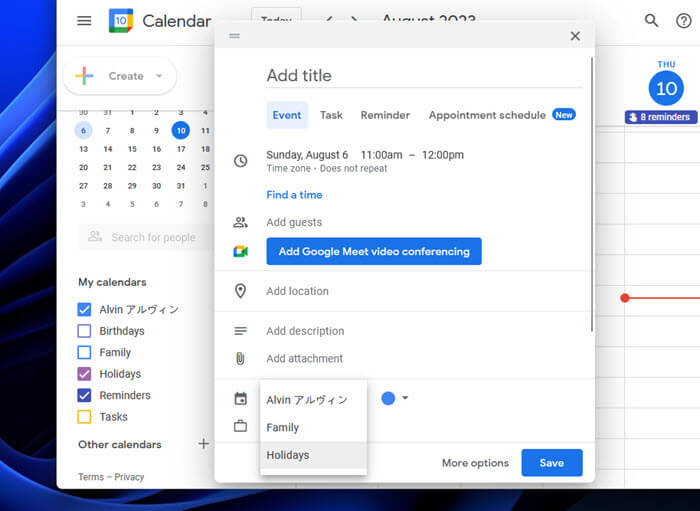
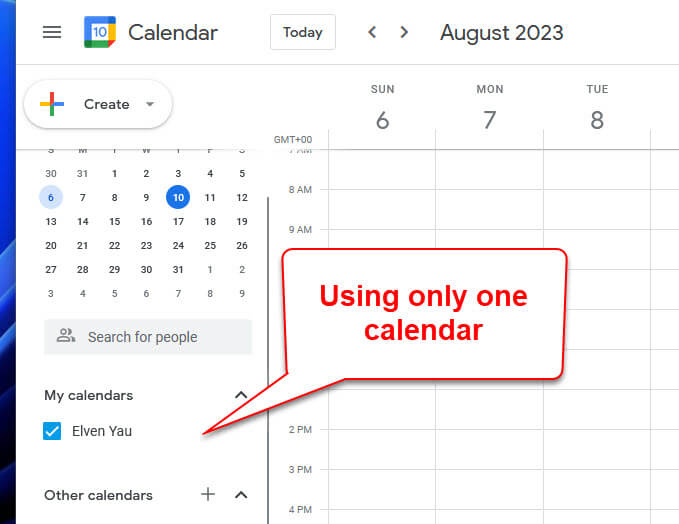
Using only one master calendar
Another way to manage your default calendar is to put all your events and tasks in one main calendar, effectively making it your “master calendar”. But there are things you should consider when deciding if this way is for you.
Some good things about it:
- It’s simpler to have just one calendar to manage everything.
- It’s easier to see scheduling conflicts, so you don’t book two things at the same time.
- You get all your reminders from one place, so you don’t miss any.
Things to watch out for:
- Mixing work and personal stuff in one calendar can make it very full.
- If you share it, you have to share everything, which might not be what you want.
Some tips to manage your master calendar:
- Use different colors for different types of events to tell them apart easily.
- Choose clear names for your events so you know what they are at a glance.
- Make time to tidy up your calendar regularly to keep it organized.
- Adjust reminders so they match how important each event is.
- Clean up old or unneeded events now and then to keep your calendar fresh.
If you often need to share calendars, especially for work, this approach might not work well. You’d be sharing your entire schedule, which isn’t always ideal.
Changing the default Google account
Another, more indirect way involves changing your main Google account. Since your default calendar is linked to your primary Google Account, switching to a different Google account as your main one changes your default calendar too. But, know that this change will certainly affect other Google services too.
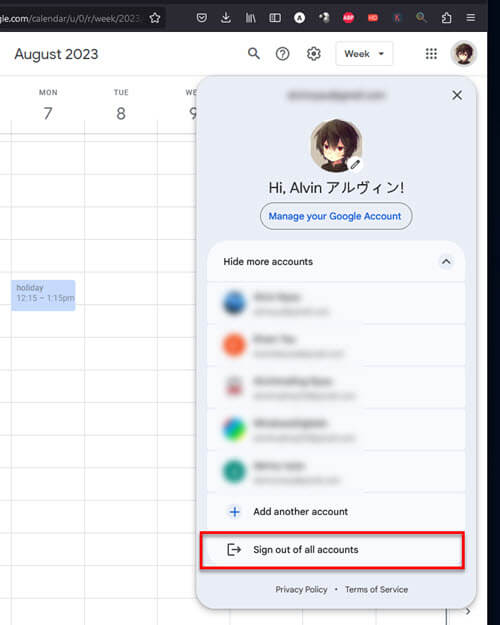
- First, log out from all your Google accounts.
- Then, log back in starting with the account you want as your default. Add the other accounts after that.
- Next time you use a Google service like Google Calendar, the account you logged in with first should be the default.
This method works well if you have multiple Google accounts and want to pick one as the default for accessing various Google services like Google Calendar.
This change will also affect other Google services like Gmail, Drive, and Photos. You might also need to set up some settings again.
Some final notes
Google Calendar is made for a lot of users with different needs. While there’s no straightforward way to change the default calendar, the strategies we’ve talked about can help you tweak your Google Calendar to better suit your needs. But be sure to back up your existing calendars first before trying any of these workarounds, and take into account how changes might affect other things.