If your Windows 11 keeps starting up in Safe Mode every time you turn it on, it can indicate a serious issue. Although Safe Mode is great for solving problems sometimes because it starts Windows with just the basic drivers and services, it can also mean there is something wrong with your Windows when it forces itself to start in this mode when you don’t want it to.
In this post, we will talk about why this happens and how to get your Windows back to booting normally.
Page Contents
Why Windows 11 keeps starting in safe mode
System configuration
A common reason for Windows 11 to keep starting in Safe Mode is a mix-up in the System Configuration. This tool, also known as msconfig, lets you choose what starts up with your computer. If you’ve accidentally turned on Safe Mode in there, that’s why Windows 11 keeps starting up that way.
Corrupted system files
If some important system files get messed up or broken, Windows 11 might only be able to start in Safe Mode. This can happen for lots of reasons like if your hard drive is having problems, there’s a virus, or a software bug messed things up.
Related issue: Windows 11 won’t shut down properly
Hardware issues
Problems with your computer’s hardware, like a dying hard drive or bad RAM, can also make Windows 11 start in Safe Mode. Sometimes, it might be a less obvious issue, like drivers that aren’t up to date or don’t work well with your system.
Third-party software conflicts
If you’ve recently added new software and then started having this problem, the new software might not play nice with Windows 11. Compatibility issues or conflicts with other software can make your system choose Safe Mode at startup.
Malware
Viruses or other nasty software can force your computer to start in Safe Mode to stop the malware from doing its thing. Getting rid of malware can be tough and might need special tools or professional help.
How to get out of Safe Mode and back to normal in Windows 11
Now that we know why this might be happening, we will show you some effective ways to stop your PC from starting in Safe Mode and get back to normal.
Check system configuration
The System Configuration tool in Windows 11 helps manage startup programs and services. If Safe Mode is turned on there, that’s your problem. Here’s how to check and fix it:
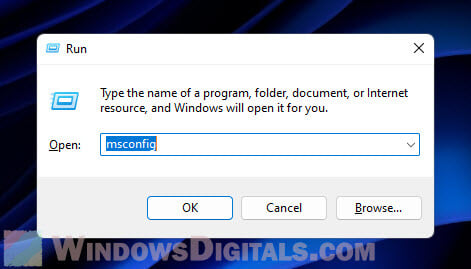
- Hit Win + R, type “msconfig“, and hit Enter. This opens the System Configuration.
- Go to the Boot tab and make sure “Safe boot” isn’t checked. If it is, uncheck it, hit Apply.
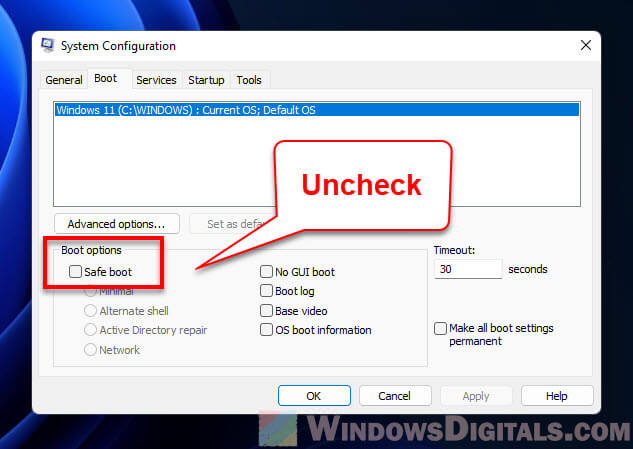
- Click OK and restart your computer.
If you had Safe Mode on in the System Configuration, turning it off should fix the issue. If you’re still stuck, keep reading for more tips.
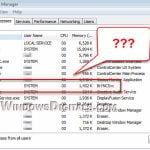
Read next: Why is my memory usage so high when nothing is running?
Use a command line in Command Prompt
If the System Configuration didn’t help, you can try using the Command Prompt. This involves removing the Safe Mode option from the boot menu with a command. Here’s how:
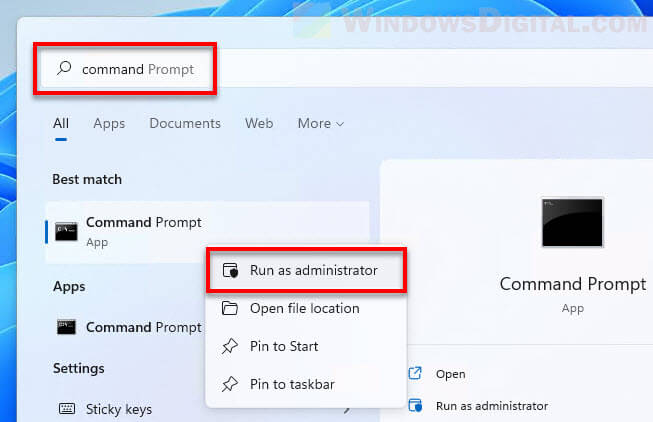
- Open the Start menu, search for “CMD“, right-click “Command Prompt” and choose “Run as administrator“.

- Type
bcdedit /deletevalue {default} safebootand press Enter.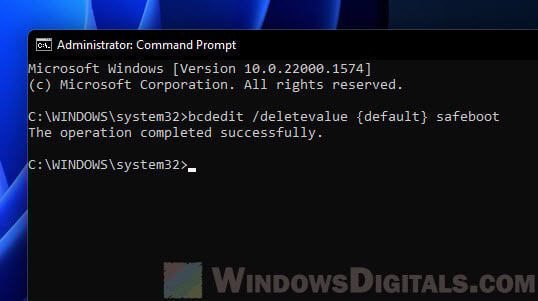
- Restart your computer.
This should make your computer start in normal mode instead of Safe Mode. But, be careful with Command Prompt if you’re not familiar. If you’re not sure, it might be better to get some help to avoid more problems.
Check for system file corruption
When there are any corrupted or missing system files that cause Windows 11 to not be able to boot normally, it will boot into safe mode. This can happen for all sorts of reasons – bad software, viruses, or even hardware trouble. If this is the case, running SFC (System File Checker) will be your best bet.
- First up, you need to open Command Prompt as an admin.
- Type
sfc /scannowin the window, then hit Enter.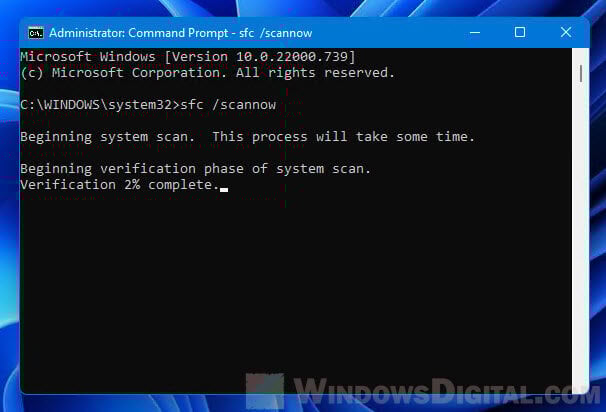
- Now, the tool will start checking your system for bad files and fix them if it can.
- This might take a bit, depending on how much stuff you have on your computer and how big the problem is.
- After it’s done, you’ll get a message telling you if it found and fixed anything.
- If it did fix something, restart your PC to see if that solved your problem. If not, there might be other things you can try in this guide.
If using Command Prompt sounds scary or if SFC can’t fix the files, it might be time to call in a pro.
Uninstall incompatible software
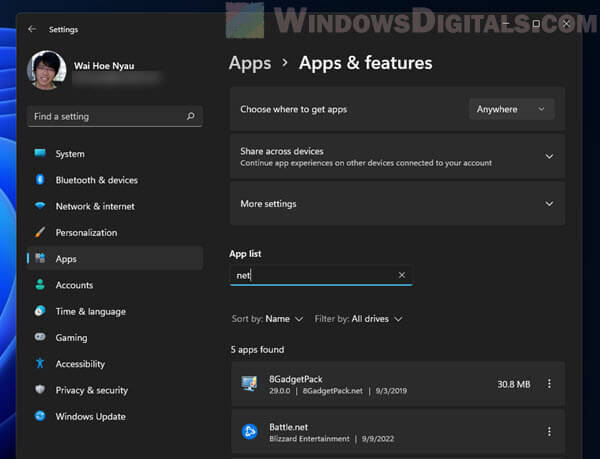
If your PC started acting weird right after installing new software, that new program might not be getting along with Windows 11. Getting rid of the troublemaker is usually the best fix.
Not sure which one is causing the trouble? You might have to remove programs one at a time and restart your PC after each one to figure it out.
Check for hardware issues and update drivers
Hardware issues can also make Windows 11 boot into Safe Mode. This might be because something inside your computer is broken, like the hard drive or RAM, or maybe a driver is out of date.
- Start by opening the Start menu.
- Look up “Device Manager” and open it.
- Inside, look for any devices marked with a yellow exclamation mark. That means something’s wrong.
- Right-click the troubled device and choose “Update driver”. Windows will look online for a better driver and install it if it finds one.
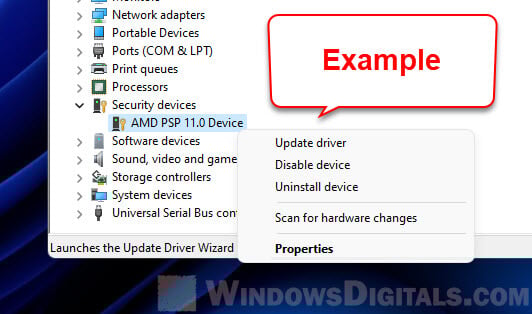
- If Windows can’t find a new driver, head to the device maker’s website to download one yourself.
- Still no luck? Might be time to check other hardware parts for issues. Running some diagnostics or even just making sure everything inside is connected right could help.
- Worried about your hard drive? Windows 11 has a tool for checking that, too. Just right-click the drive, go to “Properties”, then “Tools”, and hit “Check” under “Error checking”.
Perform a system restore
Doing a system restore can bring your computer back to an earlier date where everything still works fine and before problems actually started. It’s useful if things went south especially after a new install or update. But, this is subject to availability of a restore point. If the feature hasn’t been enabled or there is no restore point saved at all, you can’t make your PC go back in time because there is simply no earlier date to go back to.
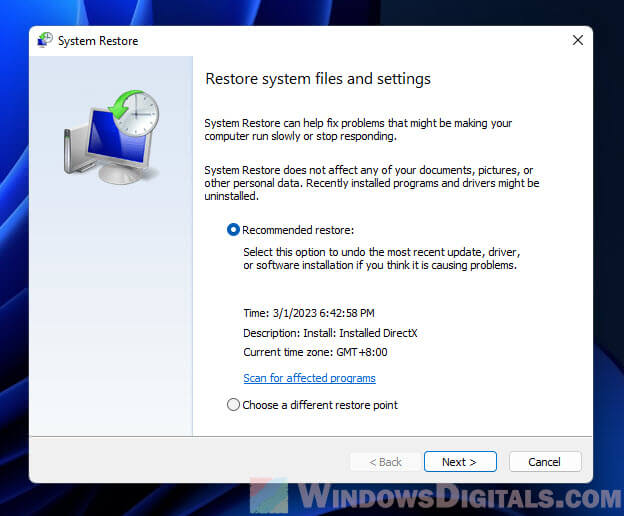
Also, be warned that a system restore will delete any programs or updates installed after the chosen restore point. So, you might have to reinstall some stuff.
Reset or reinstall Windows 11
If nothing works, resetting or reinstalling Windows 11 could be your last resort. Resetting keeps your files but gives you a fresh start with Windows settings. Reinstalling is more extreme, wiping everything and starting over.
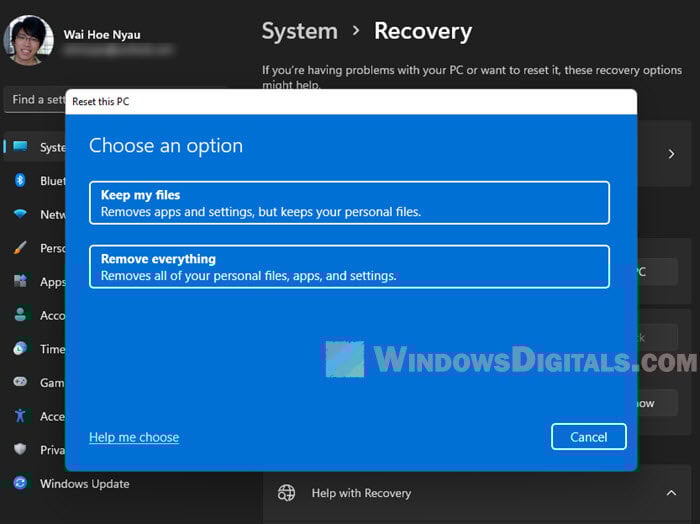
Big warning: Regardless if you’re doing a reset or reinstall, you should first back up your important stuff that you couldn’t afford to lose. And if you’re not sure about doing this yourself, you should definitely get help from someone who knows what they’re doing.
Some final thoughts
It’s better to avoid problems in the first place. Keep your PC up-to-date, scan for viruses often, and be careful about where you get your software. Hit a snag? Sometimes it’s best to just get a professional to take a look.