Ever bumped into the “Print to File” option in your printer settings on Windows and wondered what it’s actually about? If you’re scratching your head over this function, how to use it, or why it even exists, you’ve came to the right place. We’re going to talk about what “Print to File” means and how you can use it like a pro in Windows 11 or Windows 10.
Also see: How to Check Print History in Windows 11
Page Contents
What is “Print to file”?
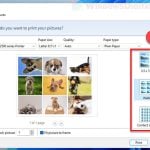
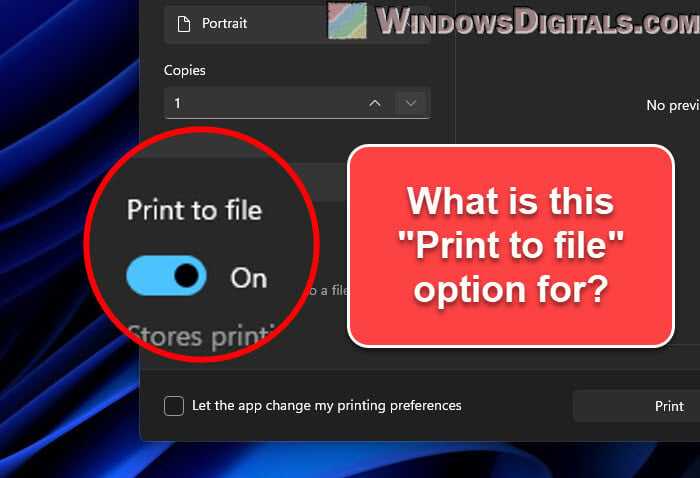
When you’re working on a document in Microsoft Word, Adobe Reader, or even browsing on Google Chrome and you hit print, a print dialogue box will pop up with a list of printers and some settings. In that list, you might see an option called “Print to File”.
This option doesn’t print your document out on paper. Instead, it creates a .prn file. This file has all the details needed to print the document exactly how you want it, including layout, fonts, and images.

Why is this useful? Say you’re on a computer without the printer that can print your document. “Print to File” lets you save a .prn file so that you can use it on another computer that has the right printer, where you can print your document while keeping all the original formatting and details.
Useful tip: How to AirPrint From iOS to Windows 11/10 Shared Printer
How to use “Print to file” in Windows 11 or 10
If you decide that you need to use the “Print to File” option, maybe because you do not have a proper printer, the following steps will show you how to use the feature.
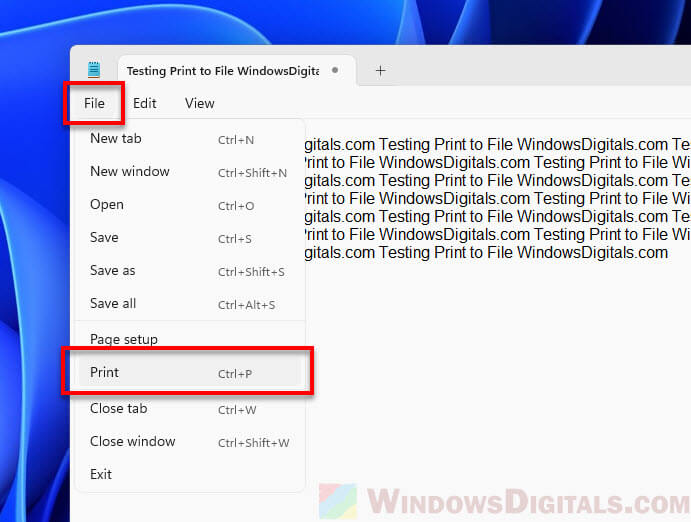
- Click “File” in your app (like Notepad, Word, Chrome, etc.).
- Choose “Print” from the menu. This brings up the print dialogue box.
- Look for “Print to File” in the print dialogue box and select it.
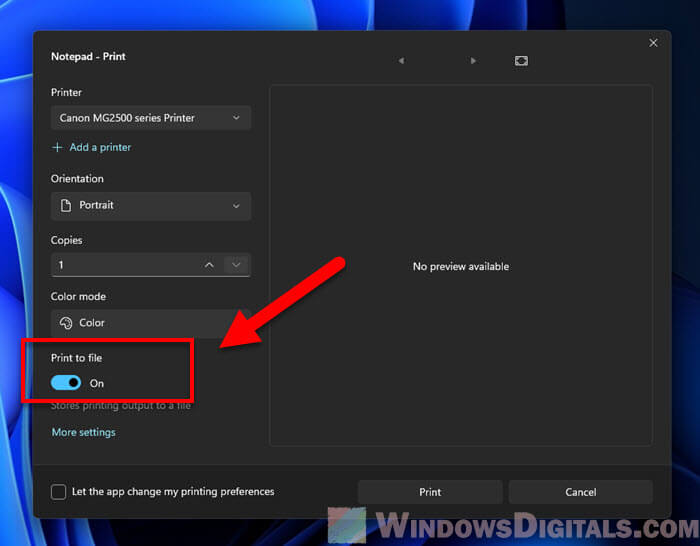
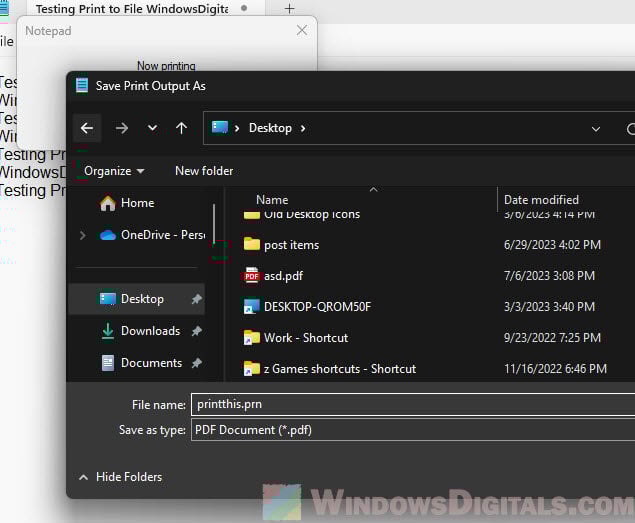
- Hit “Print” again, and pick where you want to save your .prn file.
- Save your .prn file to wherever you want to save it.
Depending on the app you’re using, these steps might vary. In some apps, you might need to go through “Print Setup” or “Page Setup” first in order to see the “Print to File” option.
Recommended guide: How to Clean Print Head in Windows 11
How to open or print a .prn file
To print a .prn file on a Windows PC that has the printer that can print it, follow the following steps:
- Move the .prn file to the computer with the right printer.
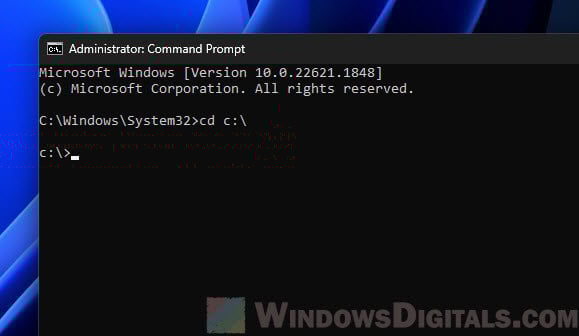
- Open the Command Prompt. Do this by hitting the “Start” button, typing “cmd”, and pressing Enter.

- Change the Command Prompt’s directory to where your .prn file is using the
cdcommand. For instance, if it’s on your C: drive, typecd C:\and hit Enter.
- To print the .prn file, use this command:
copy /b filename.prn \\computername\printername
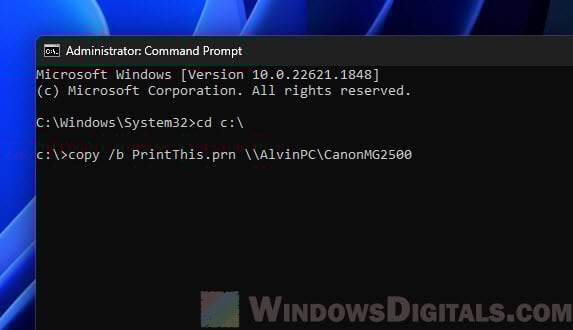 Replace “filename.prn” with your file’s name, “computername” with your printer-connected computer’s name, and “printername” with your printer’s name. Or use the local printer port with:
copy /b filename.prn LPT1:
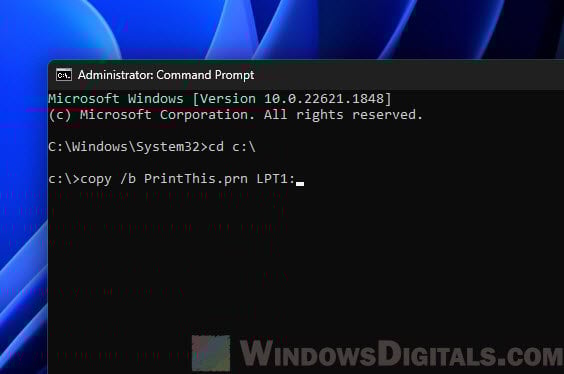
- Hit Enter. Your file will be sent to the printer to print.
Note: Make sure your printer is on, connected, and properly set up with the right drivers. You might also need the admin permissions to use the printer.
Adjust the commands as needed for your file, printer, and setup. This method lets you print your document on another system with the correct printer. But, both computers need the same printer driver, as a .prn file for one printer might not work with a different printer.
Related resource: Using a PowerShell Script to Add a Printer Driver by IP
Why a .prn file might not print properly
If you’re having any issues with printing a .prn file, it’s usually because of the printer driver. When you select “Print to File,” you create a .prn file specially for the printer you chose. This file has all the details about how your document should look, including colors and paper size.
The printer driver is the go-between for your computer and printer, turning those print instructions into something only the printer can understand. Since different printers do their job in their own ways, a .prn file meant for one printer might not play nice with another. This can mess up how your document looks or even stop it from printing altogether.
If you’re thinking about printing a document on another computer, you need to make sure both computers have the same printer driver.
How to print a .prn file on a different printer
If matching printer drivers on different PCs isn’t an option, there’s another way. Using a universal printer driver or going for a file format like PDF (you know, “Print to PDF”) can help your document keep its look no matter where you print it, without stressing over printer drivers.
Some final thoughts
The “Print to File” option is a pretty old feature that has existed on Windows for decades, but it still has its uses, especially when you can’t use cloud printing or email. As Windows improved over the years, this feature allows you to print your documents from any computer to any printer, no matter the location.
For example, you can save a .prn file at home, take it to work, and print it there. This way, your document stays looking like what it should, even when you’re printing it from different computers.