Printing a long and large image on multiple pages is often done using third-party photo editing software like Adobe Photoshop. However, if you don’t own the software or if using such software is beyond your skill level, you can just use Paint (that comes with Windows 11 or 10) to do it.
Let’s say you have a huge and long picture with a large resolution, such as a map, a poster, a banner, or any large publication. If you print it on just one sheet of A4 paper, you will definitely lose most of the details due to limited resolution.
To print a large image without losing too much detail, we can split the image and print it on multiple A4 pages instead, and then, optionally, combine them together. Microsoft Paint can, surprisingly, do the job amazingly well.

Print large image on multiple pages using Paint
Here’s a detailed instruction on how to use Paint to print large image onto multiple sheets of papers in Windows 10 or Windows 11.
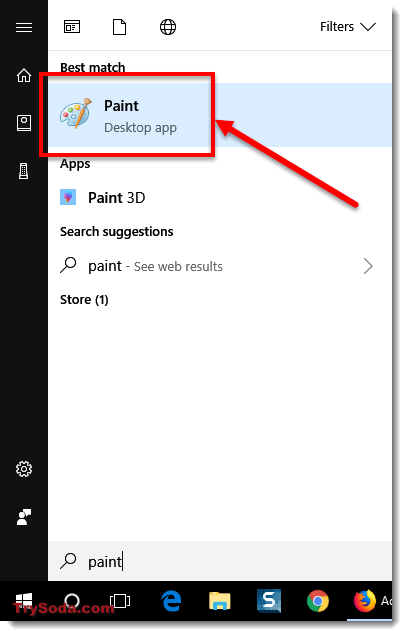
- Go to Start menu. Type Paint and open it.
Windows 11
Windows 10
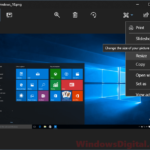
- In Paint, click File, then Open.
- Browse to the image you want to print and open it, or simply paste the image to Paint.
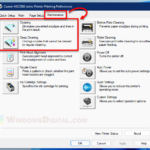
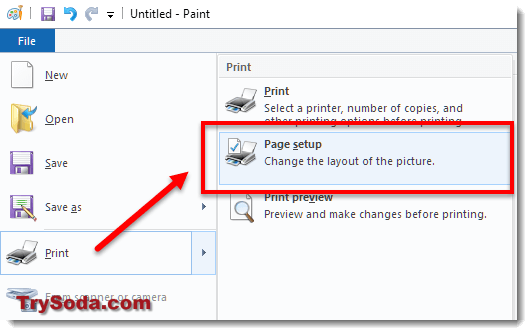
- Click File again. Hover to Print, then select Page Setup.
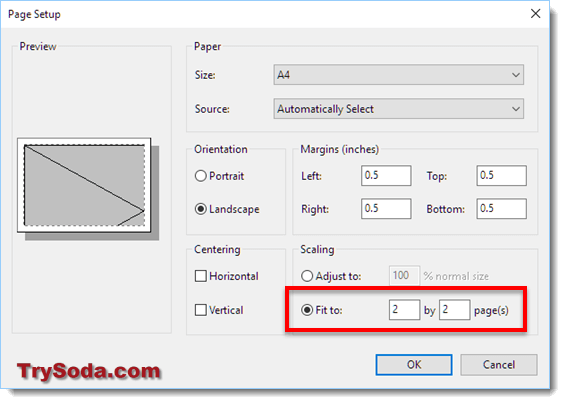
- Under Scaling, select Fit to. You can set how many pages you want the image to be split and printed on. For example, a 2×2 pages will have a total of 4 pages, while a 4×4 pages will have a total of 16 pages, for a single image.
- Click OK.
- Optionally, you can go to File > Print > Print Preview to have a look at how the pages will look like when they are printed.
- When you’re ready to print. Go to File > Print.
- Select your printer. Enter how many copies you want it to be printed (if you need more than one copy). Then, click Print.
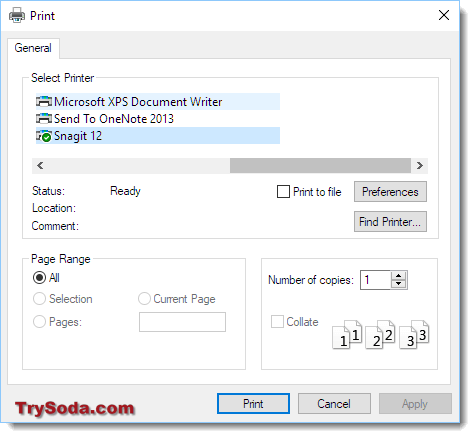
- Be ready to have sufficient sheets of A4 paper for your printer to print your image.
All that’s left to do after printing them is to trim the white borders and connect them by tape or however way you like. Alternatively, during step 4 in Page setup, you can also adjust the page margin to suit your needs. A lower margin will reduce the size of the white border for each page.
For scaling, it’s not always necessary to set for a square setup. You can also set it to be like 2×4 or 5×2, depending on how wide and tall your original image is. You can always experiment with the setup and go to Print Preview to see the result, until you are satisfied with your setup.
It’s also worth mentioning that we use Paint in this guide, not Paint 3D. If you search for Paint via the start menu, you will probably see Paint 3D first, as it’s meant to be the new Paint since the Windows 10 creators update. However, Paint didn’t get replaced. You can still open it in Windows 11 or 10.
Other things to consider when printing large images on Windows
If your picture is too big for your paper, you can make it smaller using Paint. Just go to Image > Resize and change the width and height. Make sure to check “Maintain aspect ratio” so your picture doesn’t look too weird.
After printing, if the edges don’t match up, use a ruler and a craft knife to cut the white edges straight. Then, stick the pages together with tape or glue. A straight edge can help line up the pages well before you join them.
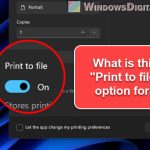
To share your image or keep a digital copy, you can save it as a PDF file. Just go to File > Print, choose “Microsoft Print to PDF” as your printer, and make the same changes as you would for printing. Then, click Print and choose where you want to save your PDF.
If you’re looking for a more advanced tool than Paint, maybe for a big and important project, you can consider trying Adobe Photoshop, Illustrator, or InDesign. They have many other professional features such as splitting, scaling, etc., to make your large images look even more perfect when printing them.
Also, when you print large images, consider using high-quality paper and ink to keep the colors and details as sharp as possible. You can adjust the printer settings to slightly improve image quality, like increasing the resolution or choosing the “Best” quality in the printing preferences. Always preview your image before printing to check if there are any mistakes to avoid wasting money on paper and ink printing the wrong images.