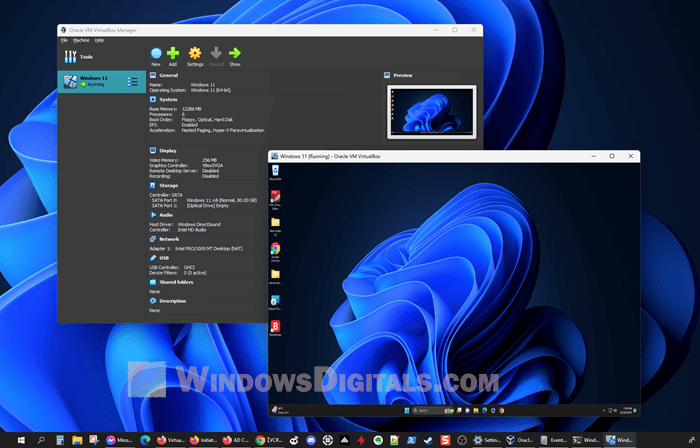
VirtualBox is a go-to option for many when they need to “virtually” run different operating systems on their computers. But, since Windows 11 came out, some users are having problem using it as a host or as a VM. We’re going to talk about the issues you might see while using VirtualBox on Windows 11, including an already known compatibility issue, and we’ll show you how to sort things out.
Also see: VirtualBox Windows 11 or 10 Stuck on Boot Logo
Page Contents
An already known issues with VirtualBox and Windows 11
Right after Windows 11 came out, people noticed a big issue when they tried to use VirtualBox and Hyper-V together. It just didn’t work. The two didn’t get along, and VirtualBox VMs wouldn’t start. This was mainly because both VirtualBox and Windows 11 had trouble when Hyper-V or Windows Hypervisor was installed.
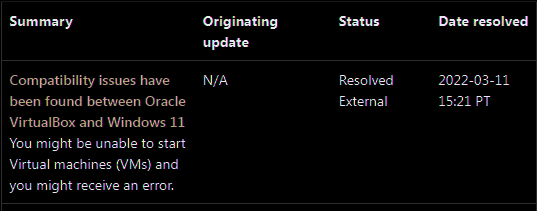
In March 2022, Microsoft and Oracle fixed this problem. Microsoft confirmed that the issues with Oracle VirtualBox and Windows 11 were sorted out starting with VirtualBox 6.1.28 and the versions that followed.
Even though this big problem was fixed, some people might still run into other smaller issues from time to time. Knowing how to troubleshoot these can really help.
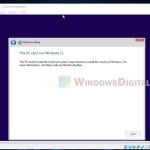
Linked issue: VirtualBox Windows 11 “This PC doesn’t meet the requirements”
Enable or disable Hyper-V
Hyper-V is a built-in feature in Windows that lets you run several operating systems on one computer. It’s a good default virtualization software, but sometimes it can cause problems with other software like VirtualBox.
How to check if you’ve enabled Hyper-V
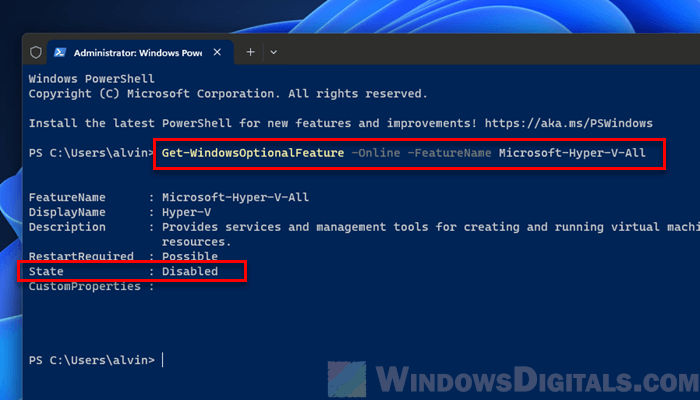
You can check if Hyper-V is enabled on your Windows 11 by running this command in Windows PowerShell (note: this doesn’t work in CMD):
Get-WindowsOptionalFeature -Online -FeatureName Microsoft-Hyper-V-All
How to disable Hyper-V
- Press the Windows key + X. Choose Windows PowerShell (Admin), Command Prompt (Admin), or Terminal (Admin) from the menu that pops up.
- Type the following command and hit Enter:
dism.exe /Online /Disable-Feature:Microsoft-Hyper-V
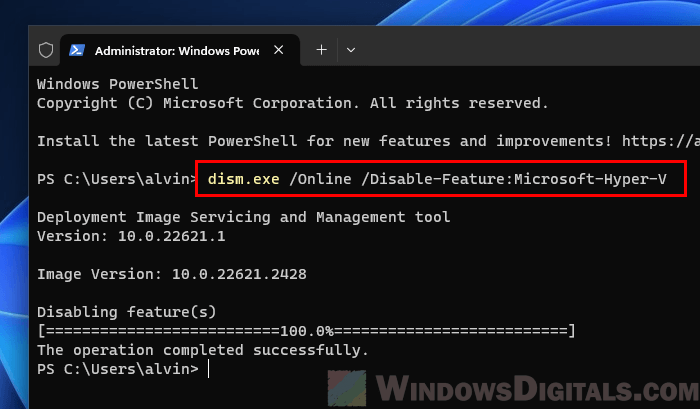
This tells your computer to turn off Hyper-V. - Restart your computer to make the change happen.
How to enable Hyper-V
If you want to turn Hyper-V back on later:
- Just like before, press Windows key + X and pick Windows PowerShell (Admin) or Command Prompt (Admin).
- Type this command:
dism.exe /Online /Enable-Feature:Microsoft-Hyper-V
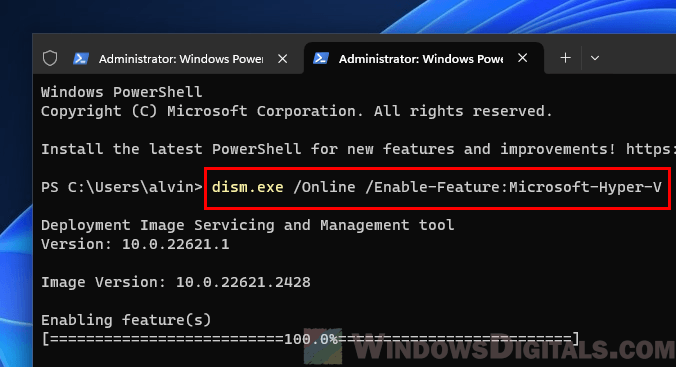
This turns Hyper-V on again. - Restart your computer to finish up.
Know that not all Windows versions have Hyper-V. Check if yours does before you try to switch it on or off. If you’re running several virtualization tools at once, they might not work together well. It’s usually better to stick to one main tool if you can.
Relevant problem: Sorry, this application cannot run under a Virtual Machine
Enable or disable hardware virtualization in BIOS/UEFI
Most modern CPUs have a feature that helps a lot with running virtual machines. This feature needs to be turned on in your computer’s BIOS or UEFI settings if it’s not already.
Related concern: This host supports Intel VT-x, but Intel VT-x is disabled
- Turn off your computer, then turn it back on. Immediately start pressing the BIOS/UEFI key, which might be F2, F10, F12, ESC, or Delete, depending on your computer.
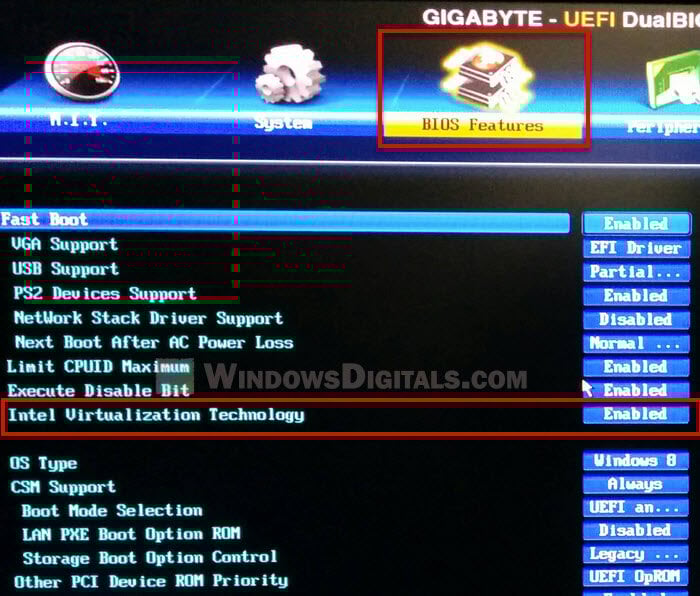
- In the BIOS/UEFI menu, find a section like Advanced or CPU Configuration.
- Look for Intel Virtualization Technology, Intel VT-x, or AMD-V. This is the setting you need.
- If you need to turn it on, choose Enabled. If you need it off for troubleshooting or other reasons, choose Disabled.
- Save your changes and exit. Usually, you press F10 or pick Save & Exit.
- Let your computer start up normally. The changes will take effect then.
Check if your CPU can do hardware-assisted virtualization before you look for this option. Also, some computers have extra security settings like Intel VT-d or I/O MMU Virtualization. You don’t usually need to change these unless you have a specific need.
Check event logs and error codes
VirtualBox keeps a log of what it does and any problems it runs into. By looking at these logs, you can often figure out what’s wrong and how to fix it.
What are event logs?
Event logs keep track of what your apps and system are doing, like any alerts, warnings, or errors. Windows puts these logs in the Event Viewer, which organizes them so they’re easier to look at.
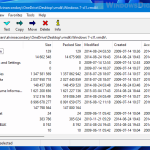
How to view VirtualBox logs in Event Viewer
- Press the Windows key + R. Type
eventvwr.mscand press Enter. - In the Event Viewer, go to Windows Logs > Application.
- Use the Find option to search for anything about VirtualBox.
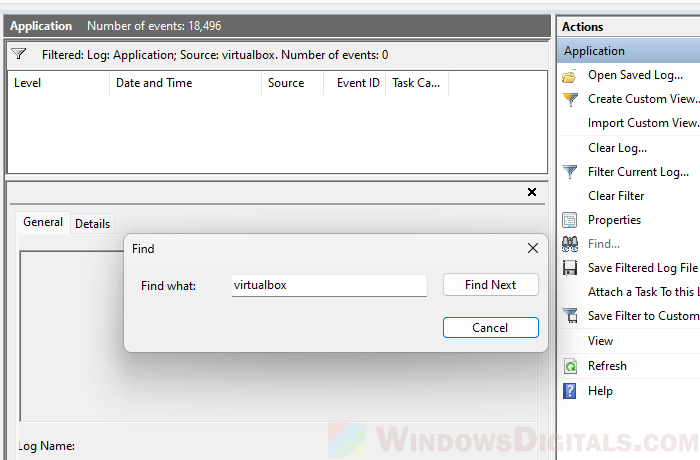
- Look for any error symbols (red exclamation marks) or warnings (yellow triangles). These will give you clues about what might be going wrong.
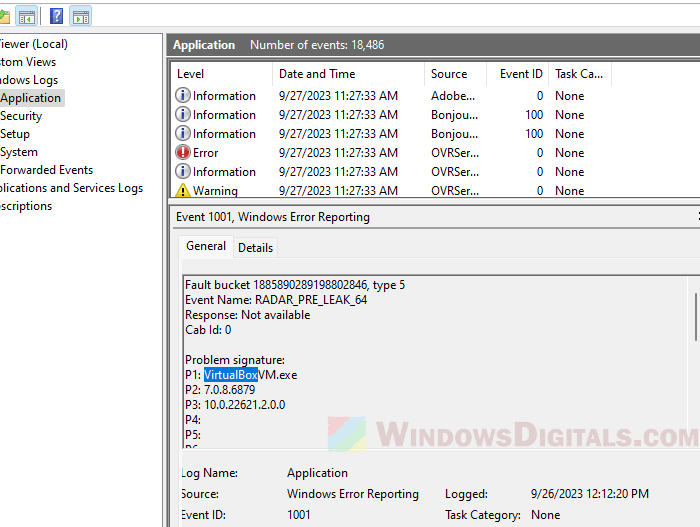
How to read the error codes
- If you see an error message in VirtualBox, note any error code that comes with it.
- VirtualBox has a lot of help docs. Use the search function to look up your error code.
- If you don’t find what you need there, try searching online. Forums like Reddit often have discussions that could help.
Event Viewer can be overwhelming with all its logs. Use filters to make your search easier. Always make sure your VirtualBox is up to date, as some errors might be fixed in the latest version.
Related resource: How to Show Missing VirtualBox Menu Bar in Windows 11/10
Adjust the VM settings in VirtualBox
Making sure your virtual machine settings are as they are supposed to be is very important to avoid problems. If settings aren’t right, you might have slow performance, crashes, or the VM might not start at all. The following are things you should look at.
Allocate enough RAM and CPU
The amount of RAM and CPU cores you give your VM makes a big difference in how well it runs. Not enough resources can make it slow or stop it from starting.
- Open VirtualBox and pick the VM you want to adjust.
- Click Settings > System.
- In the Motherboard tab, move the slider to set how much RAM you want to give it. Make sure you don’t use more than half of your total system memory to keep your main system running smoothly.
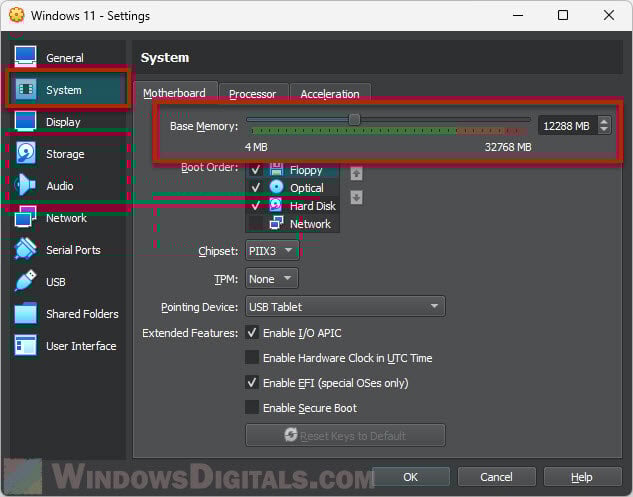
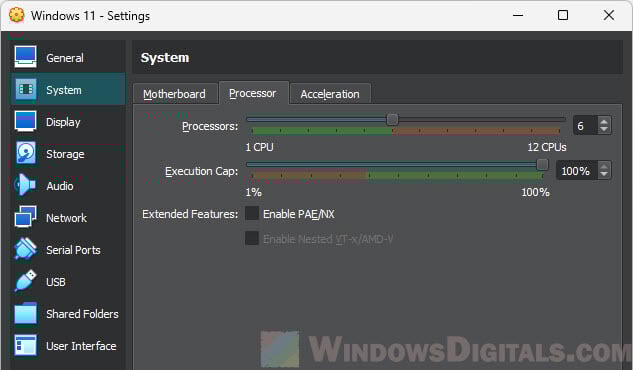
- Go to the Processor tab and decide how many CPU cores to use. Again, it’s best not to use more than half of what you have.
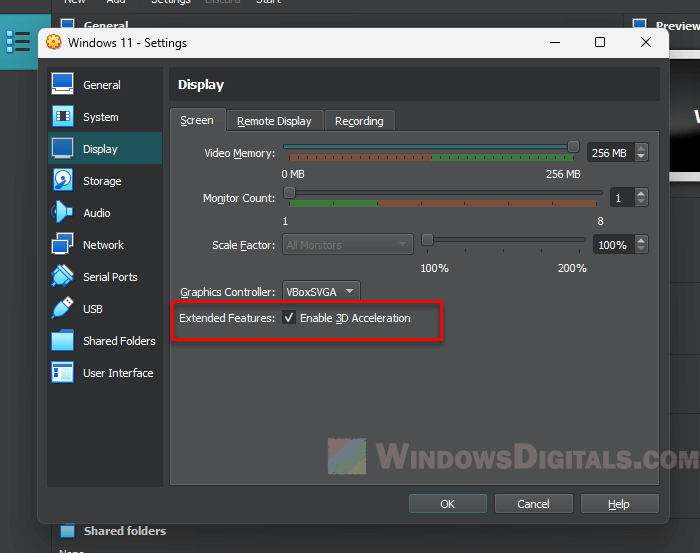
Enable 3D Acceleration
Turning on 3D acceleration can make graphics better in your VM, especially if you’re using apps or systems that need good graphics.
- Go to Settings > Display.
- Under the Screen tab, tick the box for Enable 3D Acceleration.
Adjust video memory
Adding more video memory can improve graphics performance, especially for high-demand apps.
In the Display settings, set the video memory amount using the slider. Putting it at the max usually works best.
Other general recommendations
- Make sure the VM’s virtual hard drive has enough space. If it runs out, you might see some odd behavior.
- Depending on what you need, you might want to turn on or off certain features like shared folders or drag-and-drop between your main system and the VM.
- Check that the network adapter settings are right for your network. If they’re not, you could have connection problems.
- Change settings one by one and test the VM each time to see how it affects things.
- If some settings are grayed out, it’s because the VM is running. Make sure to shut down the VM before making changes.
Try to reinstall VirtualBox
Sometimes starting over is the best way to fix software problems. If your VirtualBox installation is messed up or clashing with other software, try reinstalling it.
Uninstall VirtualBox
- Before you uninstall, make sure you back up your VMs. You can do this by copying the VM folder (usually in the default VirtualBox VMs directory) to another location.
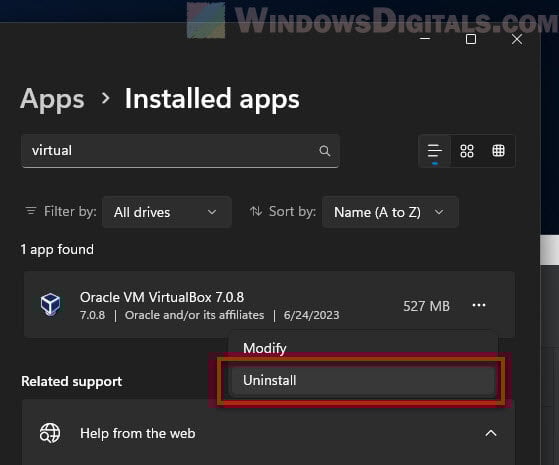
- On Windows 11, go to Start menu > Settings > Apps.
- Find Oracle VM VirtualBox in the list and click on it.
- Click Uninstall and follow the steps to remove the software.
Reinstall VirtualBox
- Download the latest version of VirtualBox from the official site.
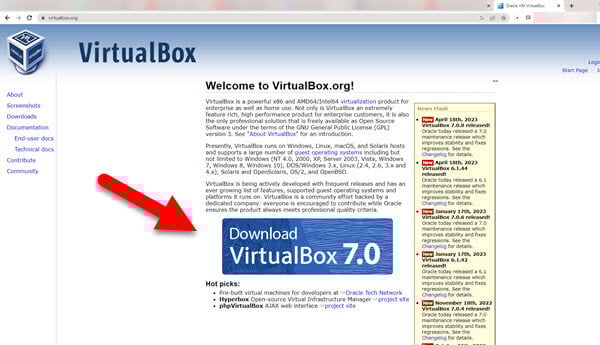
- Run the installer and follow the steps on the screen. Make sure to allow any necessary permissions if asked.
- Once installed, open VirtualBox and bring your VMs back by going to File > Import Appliance.
After reinstalling, you might need to tweak some VM settings again. Always use a version of VirtualBox that works well with Windows 11 to avoid new problems. If you had any extra tools or extensions for VirtualBox, don’t forget to put those back in, too.
Update VirtualBox and Windows 11
Keeping your software up to date is important because updates are usually to fix bugs, which might solve whatever problem you’re facing right now. Below is how you update VirtualBox and Windows 11.
Update VirtualBox
- Open VirtualBox and go to File > Check for Updates. If there’s a new version, you’ll see a prompt to download and install it.
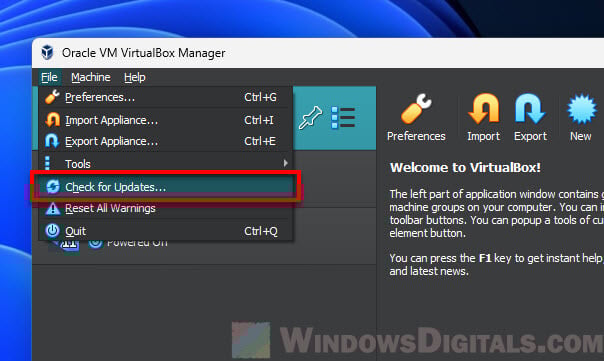
- You can also go to the VirtualBox website to download the latest version yourself.
Update Windows 11
- Click the Start button and go to Settings.
- Go to Windows Update > Check for updates.
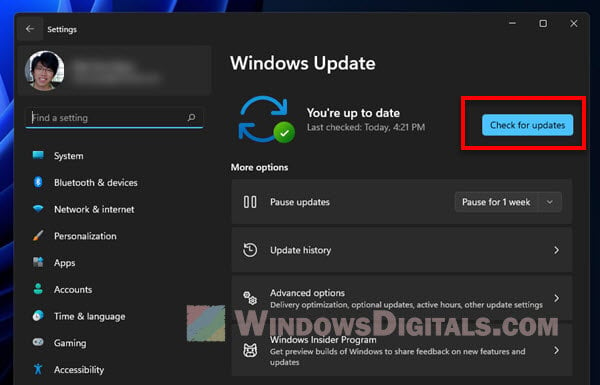
- If there are updates, follow the steps to download and install them. It’s a good idea to restart your PC after updating.
Try to back up important data, like your VM, before updating. While it’s rare, updates can sometimes cause VM to be unstable. If an update causes new problems, try to ask for help in VirtualBox official forums or community groups like Reddit.
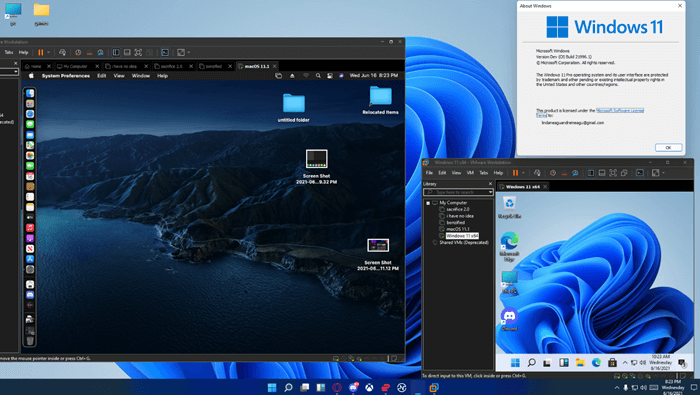
Try an alternative virtual machine solution
If you keep having trouble with VirtualBox on Windows 11, you might want to look at other virtual machine options. VMware is one of the top alternatives.
Learn more: How to Open VMDK File in Windows 11
VMware Workstation Player
VMware Workstation Player is free for personal use and lets you run multiple operating systems on one Windows or Linux PC. It’s known for being really stable and compatible.
- Download VMware Workstation Player from the official VMware website.
- Install the software by following the steps on the screen.
- Open VMware Workstation Player and pick Create a New Virtual Machine.
- Use the setup wizard to install the operating system you want.
Before moving from VirtualBox to VMware, make sure to back up any VMs you want to keep. VMware uses a different file format (.vmx) than VirtualBox (.vbox), so you might need some tools or converters to move your VMs over. You can also think about other options like Parallels Desktop (for Mac users) and Microsoft’s Hyper-V.