When talking about saving energy, making sure your computer doesn’t waste unnecessary power is quite important. If you’re using Windows, there is a handy option called “Turn off hard disk after” that you can use to tell your PC to turn off your hard disk after a set period of time if your PC is in idle state. This only saves you some energy and battery life, it also prolongs the lifespan of your hard disk drives. This guide will talk about this particular setting and how to configure it in Windows 11.
Also see: How to Stop Windows 11 From Turning Off Screen or Sleeping
Page Contents
What’s the “Turn off hard disk after” setting?
The “Turn off hard disk after” setting lets you choose how long your computer waits during a period of inactivity before it puts the hard disk to sleep. This little adjustment is all about cutting down on power use, making your hard disk last longer, and maybe even keeping your computer cooler.
Linked issue: Second Monitor Keeps Going to Sleep (Fix)
Why should you care?
There are a bunch of reasons this setting is worth a look:
- It’s good for the planet and your wallet because it saves energy.
- Your hard disk might last longer since it’s not working non-stop.
- A quieter computer, because a sleeping hard disk doesn’t make noise.
- It might help keep your computer running cooler.
Useful tip: How to Turn On/Off or Change Screen Saver in Windows 11
Changing the setting in Windows 11
Want to adjust this setting? Here’s how you do it:
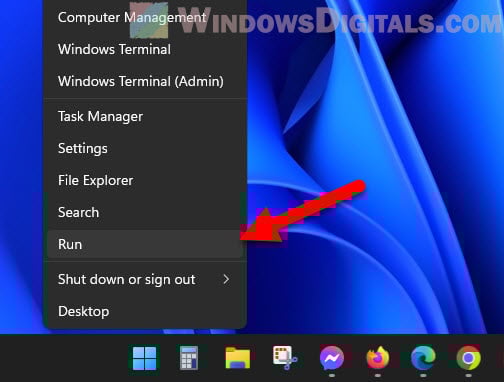
- Give the Start button a right-click and choose Run.
- Type
control panelin the Run box and press Enter.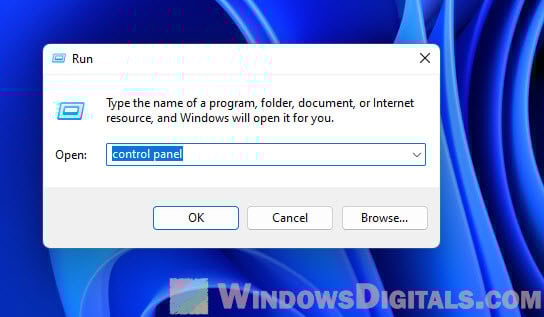
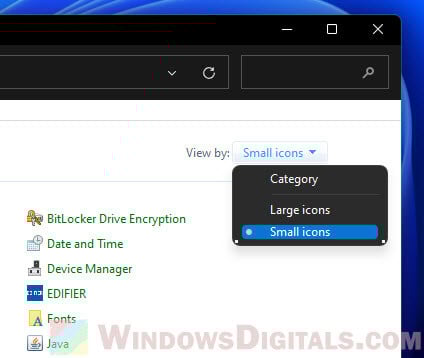
- Switch the Control Panel view to either Large icons or Small icons.
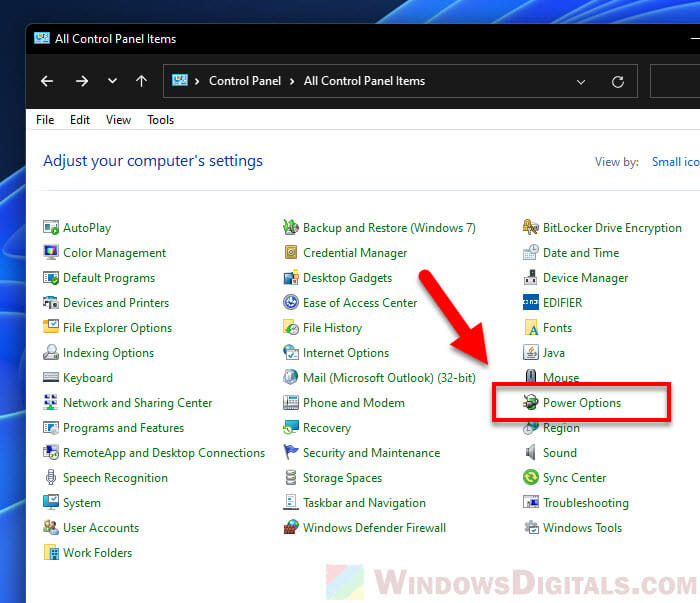
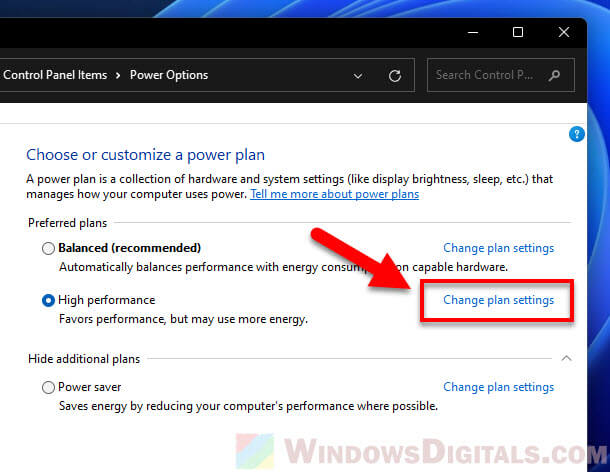
- Hit Power Options.
- Click on Change plan settings next to your active plan.
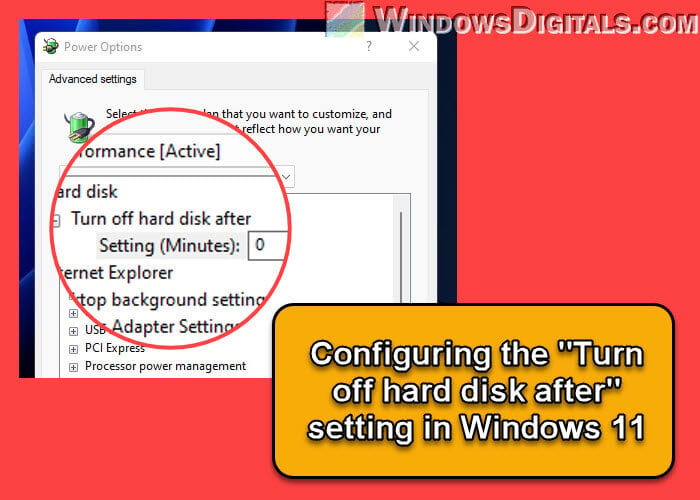
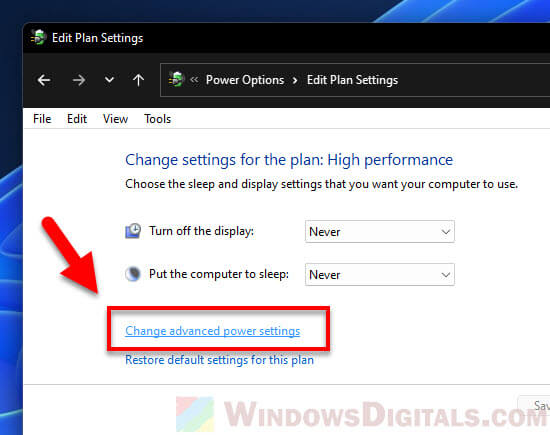
- Open Change advanced power settings.
- Find the Hard disk section, then the Turn off hard disk after option.
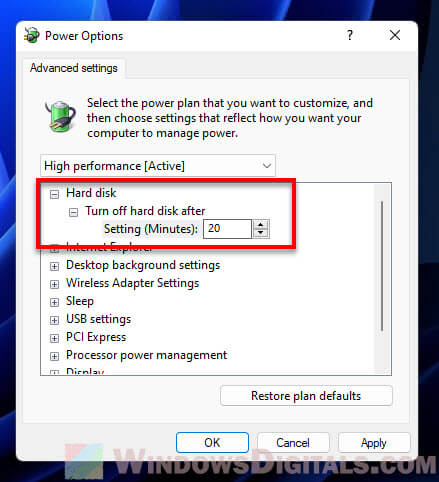
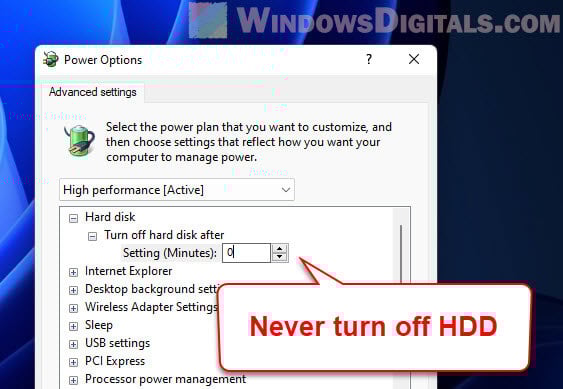
- Adjust the minutes for when you’re on battery and when plugged in, or type “0” to never turn it off.
- Hit Apply and then OK to save your settings.
Related resource: How to Add Hibernate Option in Windows 11
How many minutes is the best setting for “Turn off hard disk after”?
Finding the best time to set your hard disk to turn off really depends on how you use your computer and what’s actually important to you, like saving power, having a quick-to-respond PC, or making your hardware last longer. But, let me give you a few tips to start with.
If you’re like most casual users, setting it to turn off after 15 to 20 minutes is probably the nicest middle ground. It saves energy and still keeps your computer ready to jump back into action without waiting too long. With this setting, if you step away for a coffee break, your disk gets a little rest, too.
Now, if you’re someone who’s always using their PC restlessly or using apps that need to access the disk a lot, you might want to change that time to 30 minutes or more. This makes sure your disk is always ready to go, though it does use a bit more power.
And if your main concern is about saving energy or you really can’t stand the sound of your hard disk spinning non-stop, you might want to go for a quicker snooze time of 5 to 10 minutes. This means it’ll shut down sooner when you’re not using it, saving energy and giving you some peace and quiet.
At the end of the day, the “best” setting is whatever fits your needs and how you use your PC. Don’t be afraid to experiment to find that sweet spot for yourself.
Suggested read: Allow Keyboard or Mouse to Wake Computer in Windows 11
What if you set it to 0 minutes (Never)?
If you don’t want your hard disk to ever take a break, you can set this to 0 minutes. It means your disk will keep spinning no matter what. Just know that this might use more electricity and wear out your disk faster, so it’s not the best idea for everyday use.
See also: How to Keep Laptop On When Closed in Windows 11
Any downsides?
Yes, there are a few things to watch out for:
- If your hard disk goes to sleep, it’ll need a moment to wake up again. This means waiting a bit longer when you want to open files or apps.
- Some programs might not like it if the hard disk takes a nap while they’re running. Make sure everything works okay after you change this setting.
- On the off chance your computer crashes or loses power as the disk is shutting down, you might lose data. It’s rare, but it can happen.
Some final advice
The “Turn off hard disk after” setting in Windows 11 can really help manage how much power your computer uses and might even keep it running healthier and for longer (lifespan). But it’s not all sunshine and rainbows. You’ve got to think about the possible downsides like longer wait times and making sure your apps are okay with it.
Consider how you use your computer, how often you need to access your hard disk, and what you value most—like saving power or having a quick, responsive system. If you’re not sure, play around with the settings to see what feels right. Also, if you’ve moved on to using a Solid State Drive (SSD), this setting might not make as much of a difference, but it’s still worth trying out.