Windows 11 brought a lot of new stuff, including an updated Notepad app. But if you’re someone who likes the old Notepad from Windows 10, you’re actually not alone. This guide will show you how to get the old Notepad back on Windows 11, so you can stick with what you’re comfortable with.
Also see: How to Add Notepad to Desktop in Windows 11
Page Contents
Why do some users prefer the old classic Notepad?
The old Notepad is simple, doesn’t use much computer power, and is super easy to use for typing and editing text files. It’s been around for a long time, and a lot of people just like how straightforward it is.
How to get back the old version of Notepad on Windows 11
Getting the old Notepad back on Windows 11 is a bit techy and can be tricky, so be careful if you decide to try it.
Related issue: How to Recover Unsaved Notepad in Windows 11
Approach 1: Disabling the new Notepad app execution alias
Windows 11 has a new Notepad that takes over when you try to open Notepad.exe. You can switch back to the old Notepad by turning off this new feature. Here’s how:
- Hit the Start button and open Settings.
- Go to Apps.
- Under “More settings”, find and click App execution aliases.
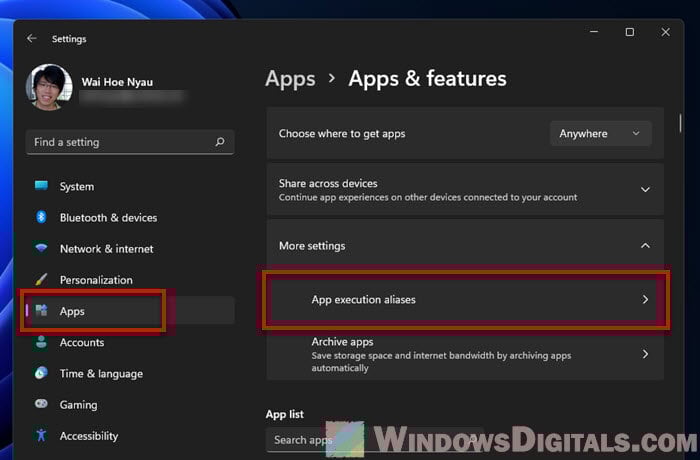
- Look for “Notepad” and turn off the button next to it.
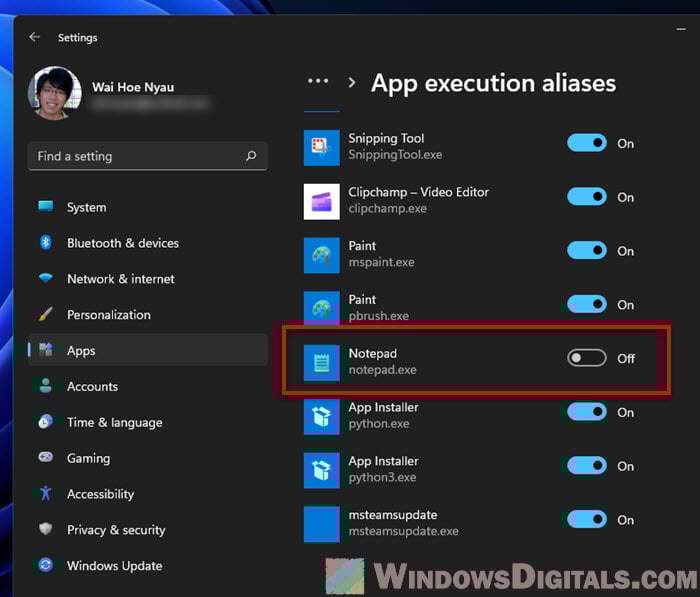
Now, whenever you open a text file or run Notepad.exe, the old Notepad will start. You can still use the new Notepad from the Start menu or its shortcut.
Useful tip: How to Change Windows 11 Start Menu Search to Google
The classic Notepad.exe is missing
If you can’t find the old Notepad.exe file, it might be missing. In that case, you can add it back using Windows 11’s Optional Features. Here’s how:
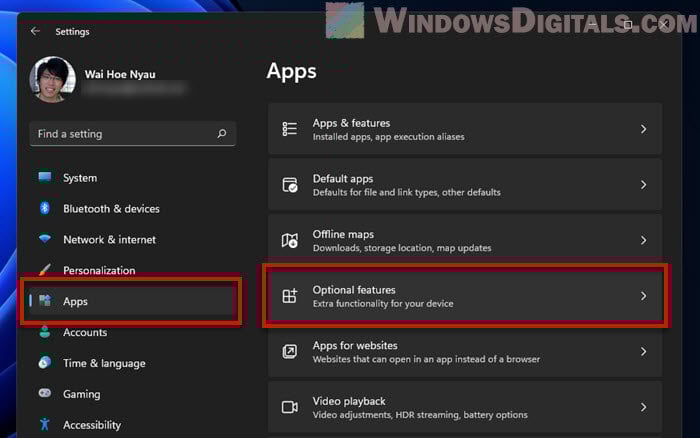
- Open Settings on your computer.
- Go to Apps and then Optional features.
- Click View features and look for “notepad”.
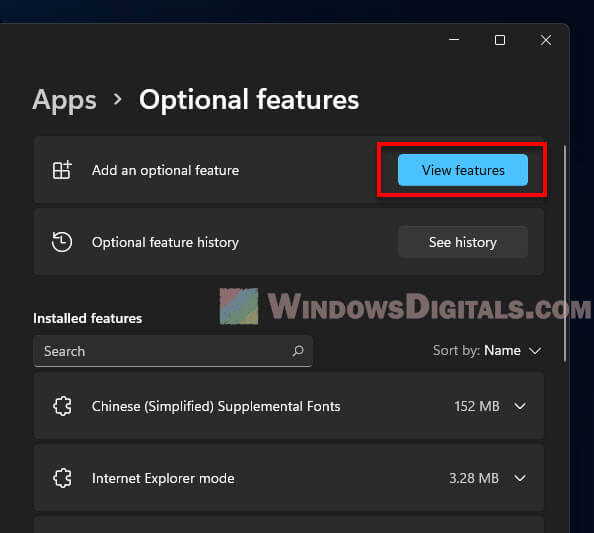
- Pick Notepad (system) and hit Next.
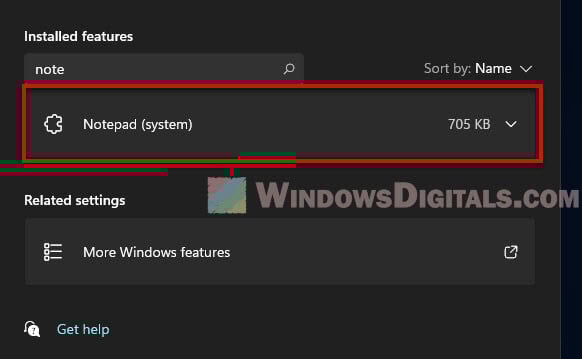
- Click Install to get the old Notepad back.
After this, you should have the old Notepad ready to go. Just make sure to also turn off the new Notepad’s alias as mentioned earlier.
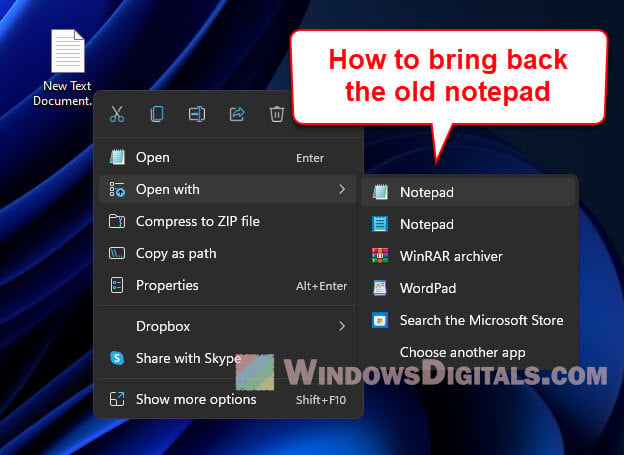
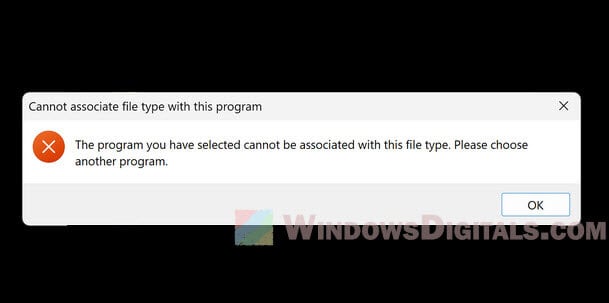
Old Notepad not appearing in the “Open with” menu
If you’ve switched back to the old Notepad but can’t see it in the “Open with” options, it’s probably because of some registry settings. This means the computer doesn’t know to show the old Notepad there.
To fix this, you can change the registry settings, but be super careful because messing up could cause problems. Always make a backup first!
Recommended resource: Show Classic Start menu in Windows 11
Approach 2: Restoring old Notepad using registry
To completely bring back the old Notepad, including fixing any issues and making it appear in the “Open with” menu, follow these steps. Remember, editing the registry can be risky, so be sure to make a backup first:
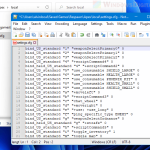
- Download a registry script here.
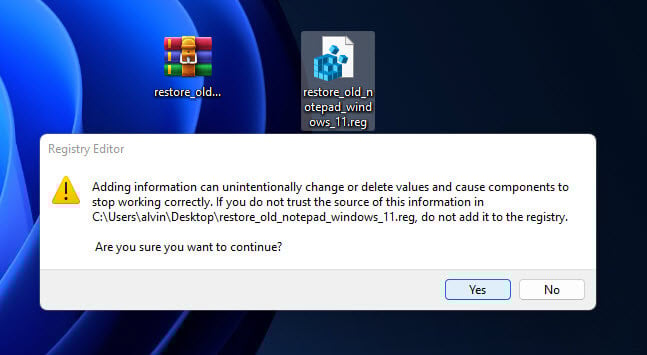
- Unzip and run the restore_old_notepad_Windows_11.reg file.
- Click “Yes” when asked for confirmation.
- If you need to undo the changes, run the undo_restore_old_notepad.reg file.
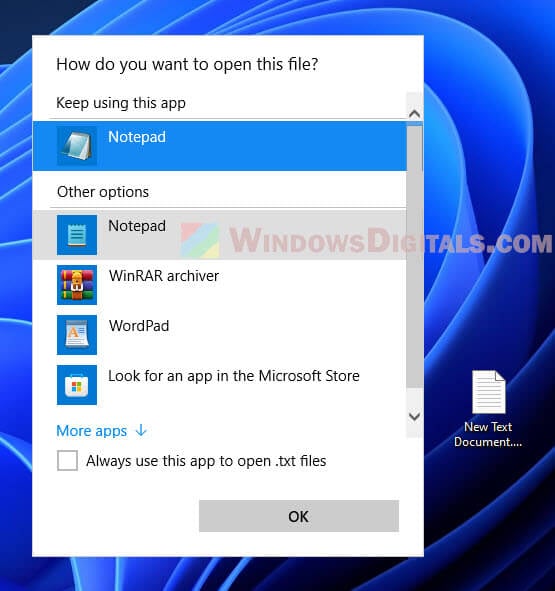
After doing this, the old Notepad should pop up in the “Open with” choices, letting you use it just like before.
Approach 3: Copying Notepad.exe from an earlier build of Windows 10
If Microsoft ever stops including the old Notepad in new updates, you might have to get creative and copy the Notepad.exe file from an older version of Windows 10. Here’s how to do that:
- Find a computer with an old version of Windows 10 or get your hands on the installation media for one.
- Look for the Notepad files in:
- Notepad.exe:
C:\Windows\System32\ - Notepad.exe.mui (the language file):
C:\Windows\System32\en-US\(or whichever language folder you need)

- Notepad.exe:
- Copy both files to a USB drive or online storage.
- On your Windows 11 PC, back up any current Notepad files by renaming them or moving them to a different folder.
- Paste the old Notepad.exe and Notepad.exe.mui files into the correct folders on your Windows 11 system.
- Then, make sure to disable the new Notepad alias and adjust the registry as mentioned before to get the old Notepad working again.
Some final words
Following these steps will help you get back and enjoy the old Windows 10 Notepad on your Windows 11 computer. This lets you use the Notepad you know and love, while still having the option to check out the new version.