If you want to make your Google Docs document look more interesting, you can add some images within the text. But sometimes, you might want those images to be on top of the text or behind it. Fortunately, Google Docs lets you easily decide which goes where with something called “Text Wrapping”. This guide will show you how to use this feature.
Also see: How to Print Front and Back on Google Docs (Double-Sided)
Google Docs is more than just for typing up text. It’s a powerful tool that lets you add and play around with images too. Changing how images and text fit together is one part of this, using the “Text Wrapping” setting.
Useful tip: How to Google Reverse Image Search on Windows 11
Page Contents
Preparing your document
First off, you need a Google Docs document with some text and at least one image. If you’re starting fresh, follow these steps:
- Go to https://docs.google.com and log in.
- Click the “+” button or go to “File” > “New Document” to make a new document.
- Click anywhere and start typing to add some text.
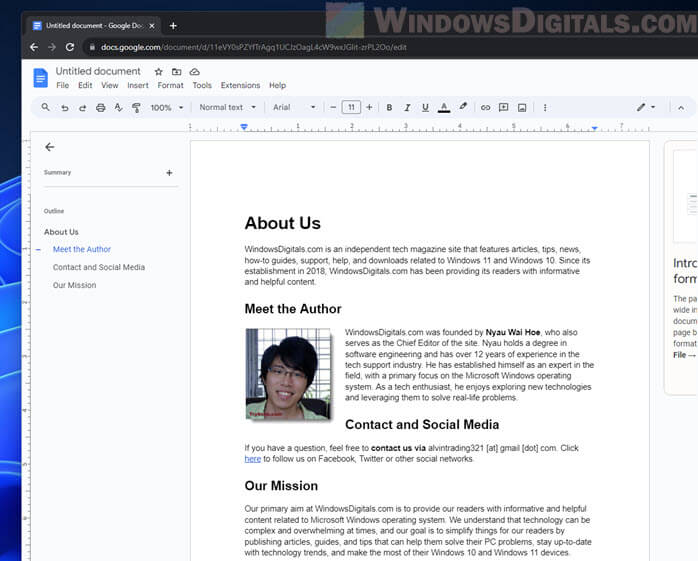
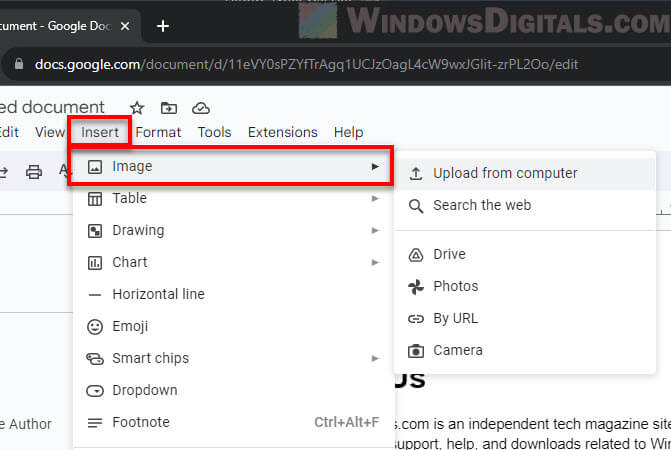
- To insert an image, choose “Insert” > “Image” and pick how you want to add your image.
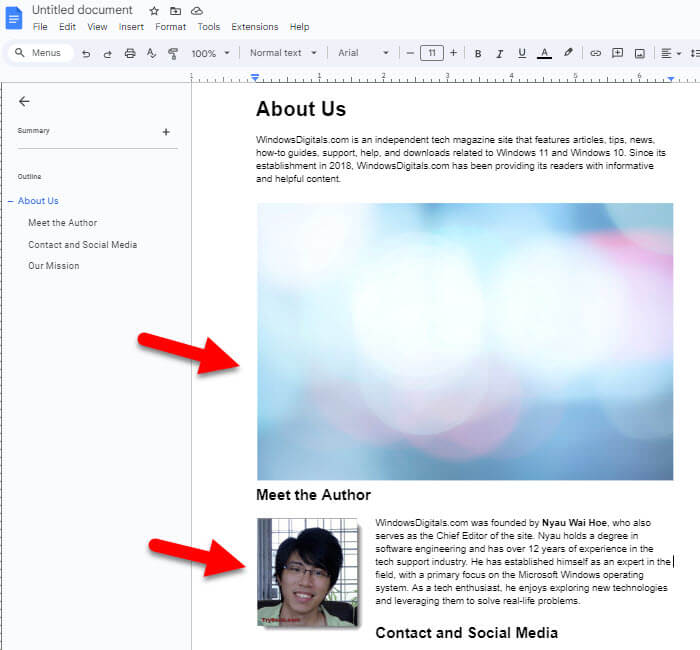
For practicing this feature, consider adding more than one image or make sure your image overlaps some text.
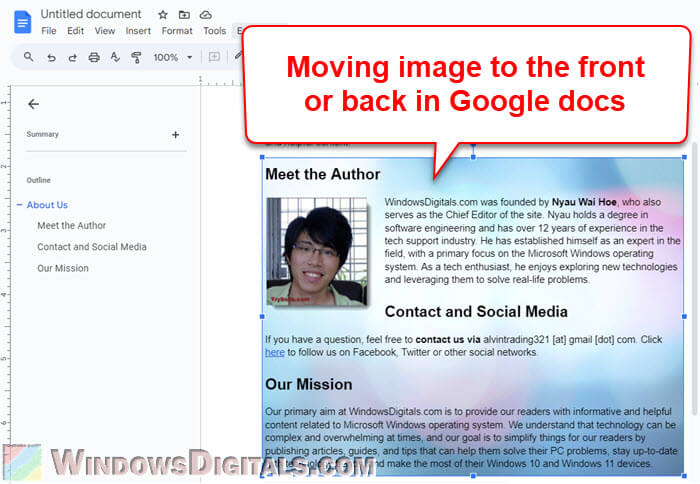
Moving an image to the front in Google Docs
To have an image sit on top of text or other images, follow the steps below:
- Click the image you want to move to the front.

- Head to “Format” > “Image” > “Image options”.
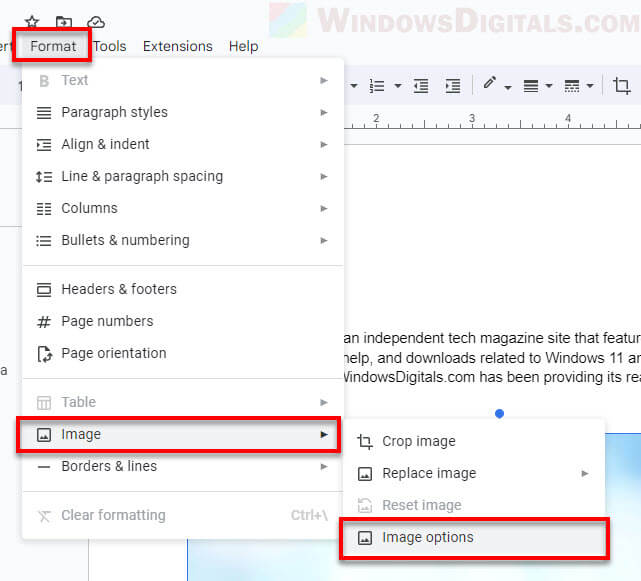
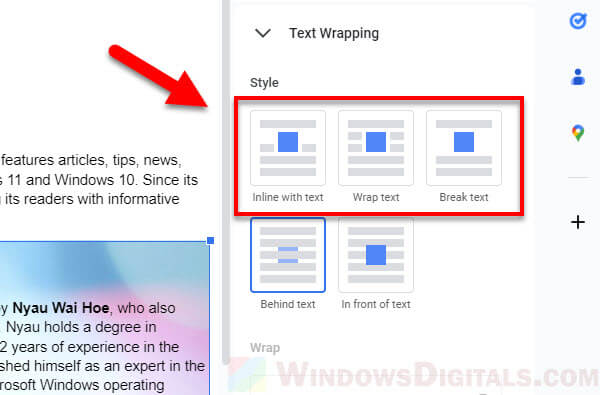
- In the “Image options” pane, go to “Text Wrapping”.
- Choose “In front of text”.
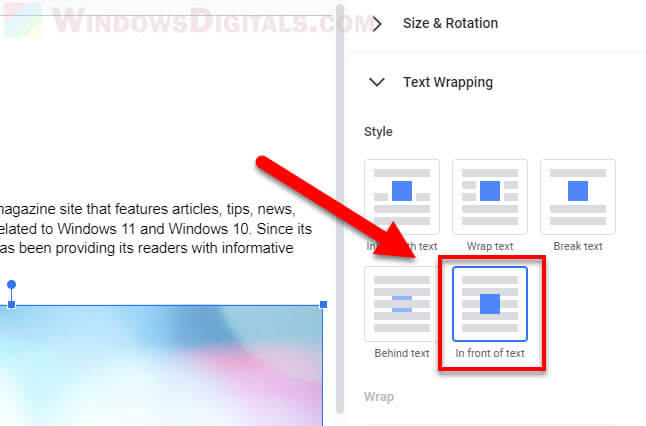
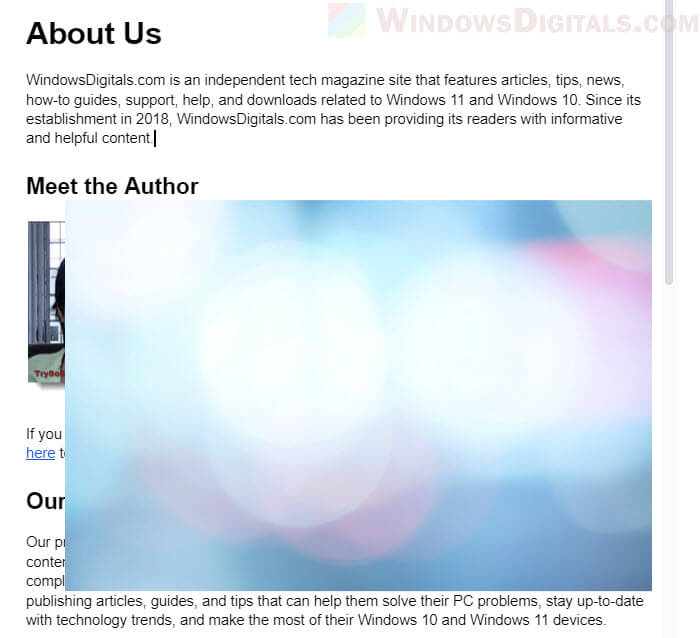
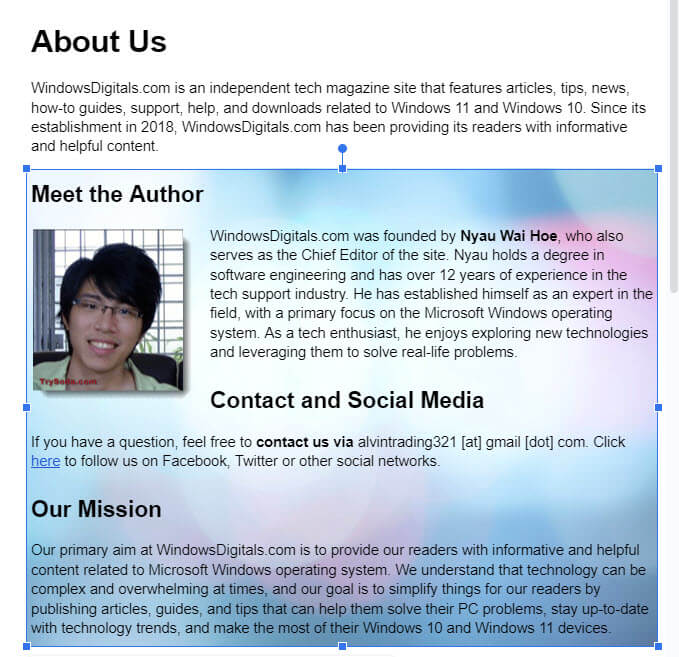
This will put your image over the text or other images. Just note that it might block some stuff behind it, so you might need to adjust it.
Moving an image to the back in Google Docs
If you want an image behind the text or other images, like for a background, follow these steps instead:
- Click the image you want to move to the back.
- Go to “Format” > “Image” > “Image options”.
- Find “Text Wrapping” in the pane.
- Pick “Behind text”.
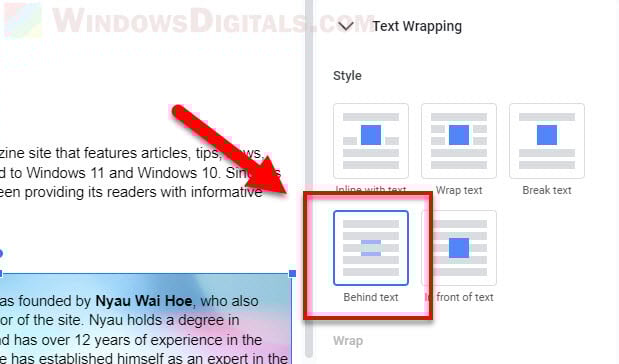
Now, your image will be underneath the text. This is great for when you want to make sure your words stand out over the image, or if you just want to use the image as the background.
Trying out other text wrapping options
There are more ways to set up your images and text in Google Docs:
- “Inline with text“: Your image will act like part of your text, moving with it. Great for keeping images tied closely to your words.
- “Wrap text“: Text will flow around your image, which is nice for smoothly including images without breaking up your text too much.
- “Break text“: This puts your image on its own line, splitting the text around it. It’s a good way to make an image stand out or to separate sections.
My two cents
With the “Text Wrapping” setting in Google Docs, you can now place images exactly where you want them, whether in the front, center, or behind the text, or blend them in between your words. It might seem a bit confusing at first, but once you get the hang of it, you’ll see how much it can do to make your documents look better and more engaging.