Sometimes, you might wonder when a photo was taken. This could be for a project, to remember a special moment, or just to keep your digital album tidy. This guide will show you different ways to find out when a photo was taken on a Windows 11 PC.
Also see: 3 Free Photo Viewer Apps for Windows 11 or 10

Page Contents
Why isn’t the photo taken date always available?
Before we get into how to check when a photo was taken, it’s good to know that not every photo has this information. When a photo is taken by a digital camera or smartphone, it usually saves some details like when it was taken, what camera was used, and the settings. This info is stored in something called EXIF data.
But sometimes, a photo might not have this EXIF data. This could be because the device that took the photo doesn’t save this info, or because the photo was edited or shared in a way that removed it. Also, screenshots, internet downloads, or scans of physical photos won’t have a photo taken date because this data wasn’t created then.
If there’s no EXIF data, sadly, there’s no sure way to find out when the photo was really taken. You might have to guess based on what’s in the photo, when the file was made, or any other hints you have. Now, let’s look at how to find a photo’s taken date in Windows 11.
Useful tip: How to change a file’s date & timestamp via CMD or PowerShell
Checking photo taken date using File Explorer
Windows File Explorer makes it easy to see when a photo was taken. Just do this:
- Open File Explorer by clicking on the folder icon on the taskbar or pressing Windows Key + E.
- Find the folder with the photo you’re curious about.
- Right-click the photo file and choose Properties from the menu.
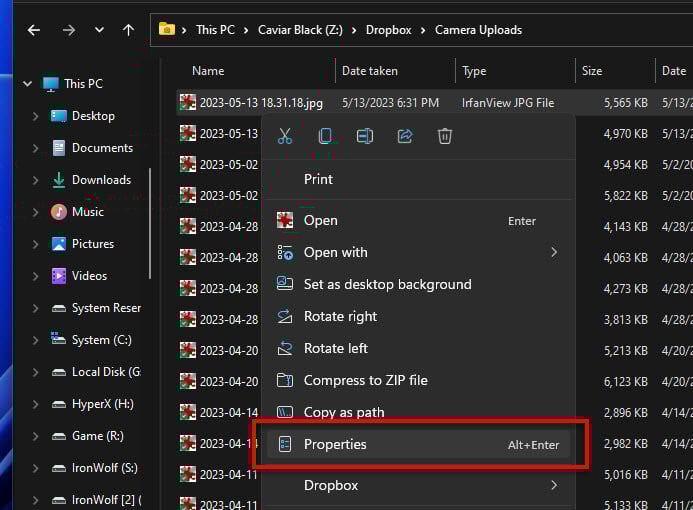
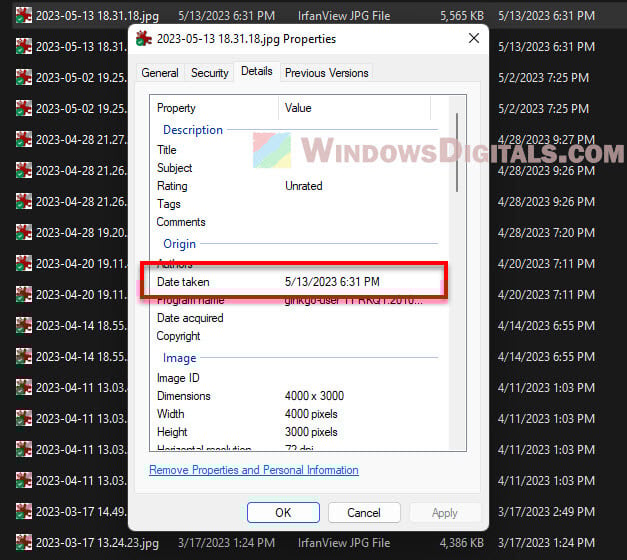
- Go to the Details tab in the Properties window.
- Look under the Origin section for the Date taken field, which shows when the photo was taken.
Enabling the “Date taken” or “Date picture taken” column in File Explorer
If you want to see the taken date for lots of photos at once, you can add a special column in File Explorer. Here’s how:
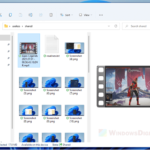
- Open File Explorer and go to your photo folder.
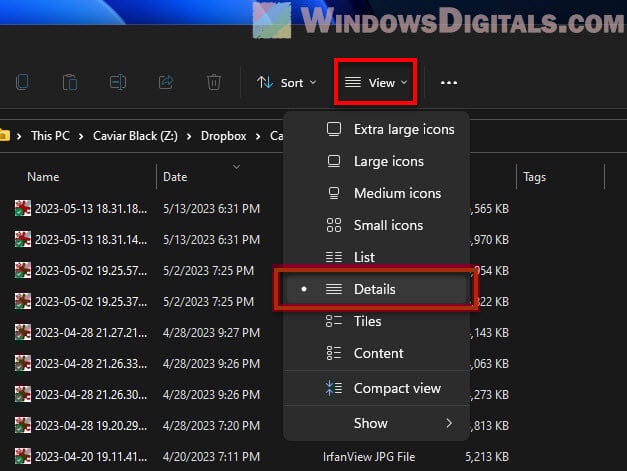
- Click on the View dropdown at the top and choose Details to see everything in detail.
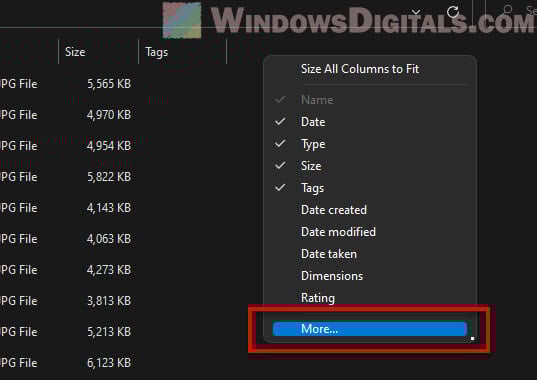
- Right-click on the column headers and pick More to add more info columns.
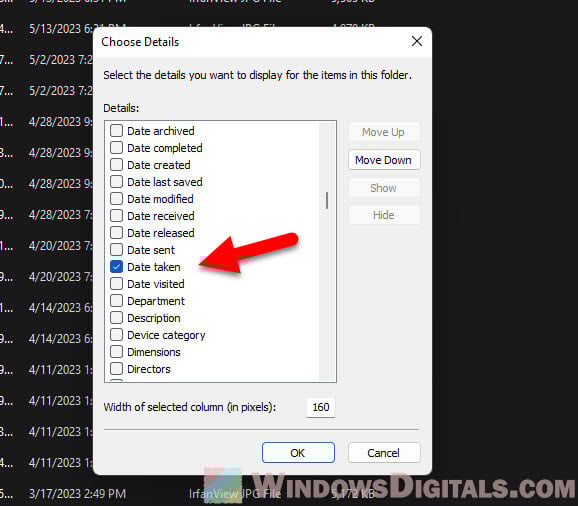
- Find and tick Date taken or Date Picture Taken, then hit OK.
- You’ll now see the Date taken column with all the dates.
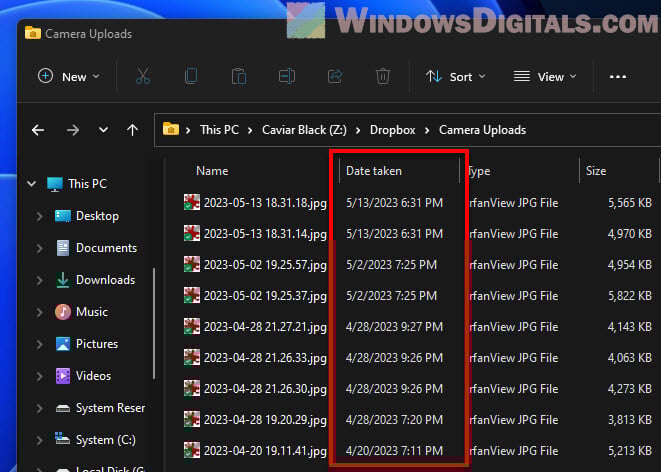
- You can move the Date taken column wherever you like by dragging it.
Linked issue: Windows 11 File Explorer Not Refreshing Automatically
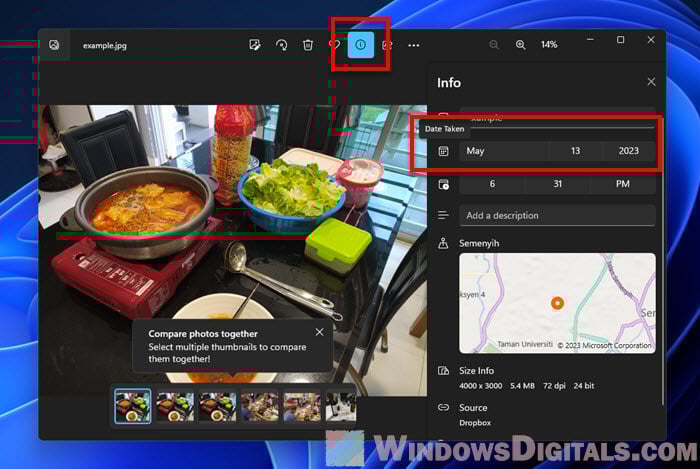
Using Photos App to find when a photo was taken
The Windows 11 Photos app is another way to see a photo’s taken date. Follow these steps:
- Open the Photos app by clicking Start and searching for “Photos.”
- Find the photo you want to check.
- Double-click the photo to open it.
- Click the Info icon (i) at the top right to see more about the photo, including when it was taken.
Related problem: Windows 11 Photos App Not Working or Crashing
Using PowerShell to show photo taken date
For those who are more tech-savvy, PowerShell can be used to find when a photo was taken. Here’s what you do:
- Hit Windows Key + X and choose Windows PowerShell (Admin).
- Copy and paste this script into PowerShell, replacing
C:\folder\photo.jpgwith your photo’s path:$photoPath = "C:\folder\photo.jpg" $shellApp = New-Object -ComObject Shell.Application $photoFolder = Split-Path -Parent $photoPath $photoFileName = Split-Path -Leaf $photoPath $folder = $shellApp.NameSpace($photoFolder) $file = $folder.ParseName($photoFileName) $dateTakenPropertyIndex = 12 # Date Taken index $dateTaken = $folder.GetDetailsOf($file, $dateTakenPropertyIndex) $shellApp = $null # Release object if ([string]::IsNullOrEmpty($dateTaken)) { Write-Host "Failed to get date taken info." } else { Write-Host "Date Taken: $dateTaken" }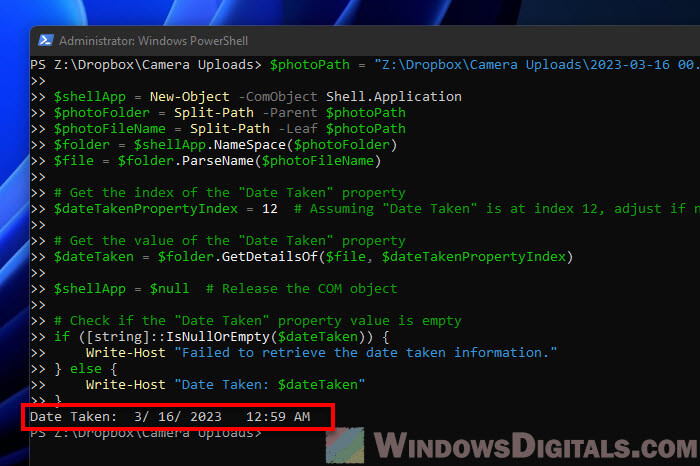
- Press Enter and you’ll see the date the photo was taken.
Recommended resource: How to Reduce Photo File Size in Windows 11
Some final advice
Now that you know how to check when a photo was taken in Windows 11 and understand why some photos might not have this info, you can have better clues when organizing your photos.
Just know that EXIF data, like the photo taken date, might not always be there, especially if the photo came from certain devices or was edited on certain platforms. If you can’t find this data, you might need to guess the date based on other clues.
Also, consider using photo management software that lets you see and edit this kind of info. Apps like Adobe Lightroom are pretty good for sorting your photos by date, place, or anything else you like. And don’t forget, when sharing photos anywhere online, always think about your privacy first (like the location info of the photo, etc.). Some tools like Lightroom can remove these personal info from your photos.