If you fresh install or upgrade to Windows 11 on a PC, Skype may come pre-installed with it. It is also one of the default apps that will be set to run on Startup in Windows 11. If you don’t use Skype, you can uninstall it or disable it from running on Startup in Windows 11.
Skype is a communication software that allows you to voice call, video call or send instant messages to your friends or anyone on your contact list. It is an effective and efficient app used by millions from all around the world to call each other or do a group/conference call.
Skype does not consume many resources running in the background or even when you’re actively using it. It also doesn’t take up much space that worth your attention. It is totally fine to leave it alone even if you’re not using it at all.
If you decide to uninstall Skype anyway, below is an instruction on how to do so. If you don’t want to uninstall it, but want to stop it from running on Windows startup instead, follow the second part of this guide.
Page Contents
How to uninstall Skype on Windows 11
It is totally fine to remove Skype from Windows 11 as you can always re-install it if you ever feel like using it again. To uninstall Skype on Windows 11, follow the steps below.
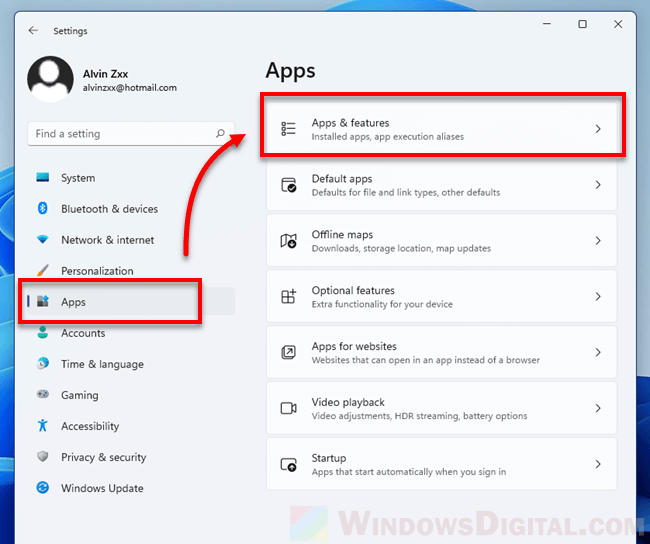
- Press Win + i keys to open Settings on Windows 11.
- On the left pane, select Apps.
- Then, on the right, select Apps & features.
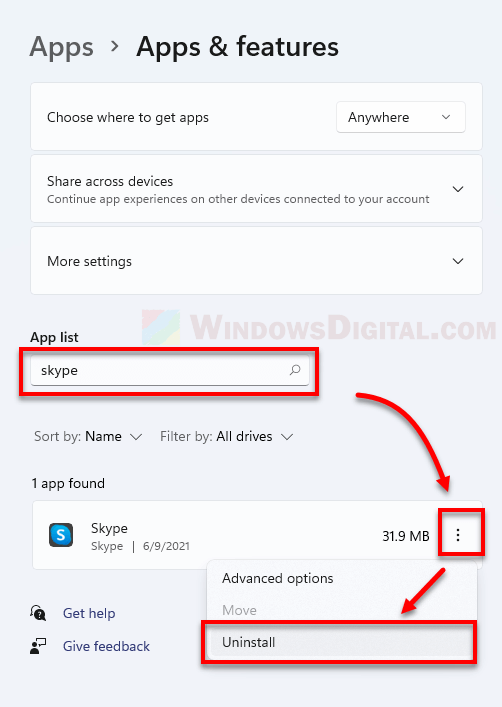
- Under App list, type and search for Skype using the search bar.
- Next, click on the triple dotted option button next to Skype and select Uninstall.
- When asked for confirmation to uninstall Skype – “This app and its related info will be uninstalled“, click on Uninstall.
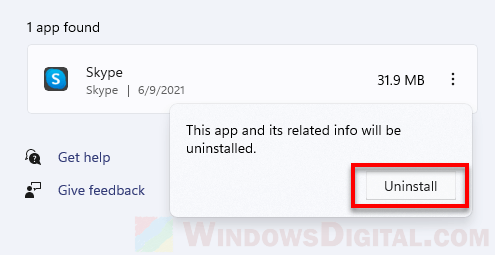
After a short while after clicking the Uninstall button, Skype will be completely removed from your Windows 11 PC.
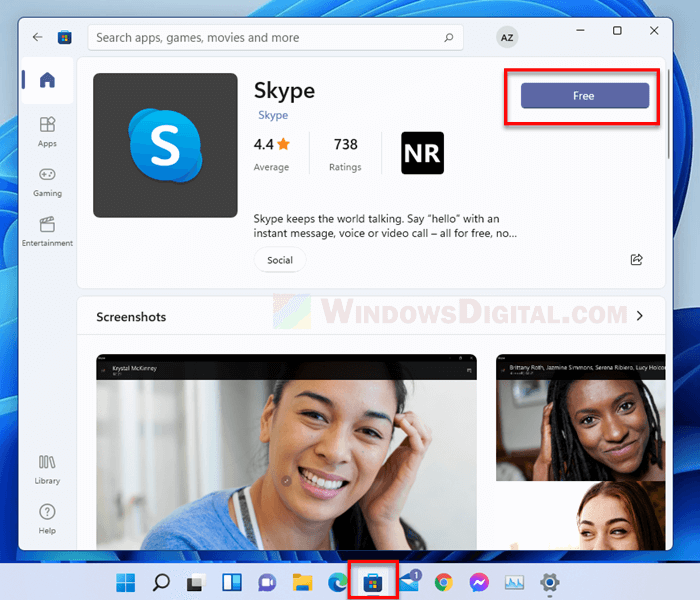
To reinstall Skype app again, open Microsoft Store by launching from the taskbar or by searching and opening it on the Start menu. Search for Skype using the search bar in the store window and click on the blue “Free” button to install the app.
How to disable Skype from running on startup in Windows 11
One thing that users may concern about Skype app is that it is by default set as one of the startup programs that runs on Windows 11 startup. If you’re worrying that it may slow down your PC startup or that you’re tired of having to close it every time you start your computer, here’s how to disable it from running on startup without uninstalling it.
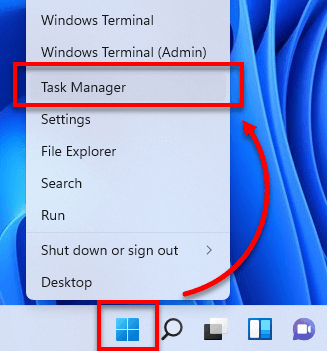
- Press CTRL + SHIFT + ESC keys to open Task Manager. Alternatively, you can right-click on the Start (Windows icon) on the taskbar and then select Task Manager from the context menu.
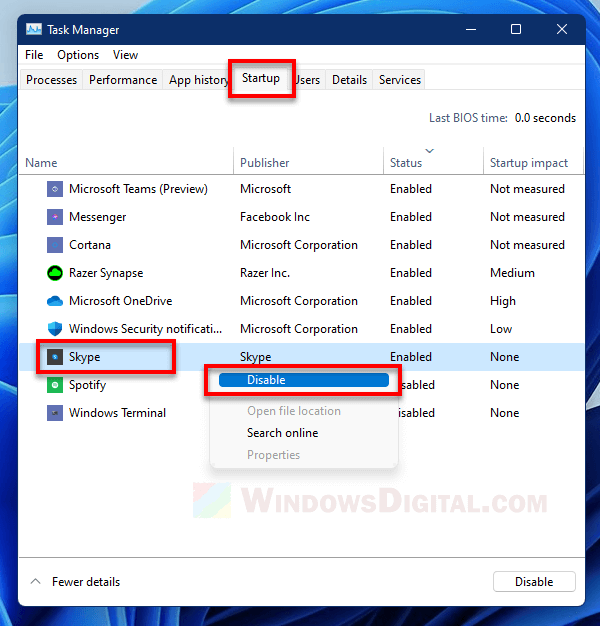
- In the Task Manager window, click on Startup tab.
- From here, you can enable or disable any app that is set to run on Windows startup.
- Right-click on Skype and select Disable to disable it from running on startup in Windows 11.
Restart your PC and see that Skype will no longer run on Windows startup again. If you change your mind and want to set Skype to run on startup again, follow the same steps above, but this time right-click on Skype and select Enabled instead to enable it as a startup program.