Windows 11 and Windows 10 encourage you to use a Microsoft account to get the best experience. But, you don’t actually have to. You can use a local account instead.
This guide will show you how to remove your unwanted Microsoft account from your Windows 11 or 10 laptop or desktop PC, so you can use a local account or another Microsoft account instead.
Also see: How to Login Windows 11 Without Microsoft Account
Before we start, remember that all Windows computers need at least one user account, whether it’s a local or a Microsoft account, for you to log in. So, before you can remove your current Microsoft account from your Windows computer, you need to set up a new local account or a new Microsoft account. This tutorial is split into three parts:
Page Contents
Part 1: Create a local account on Windows 11 or 10
To create a local user account with or without a password, follow these steps:
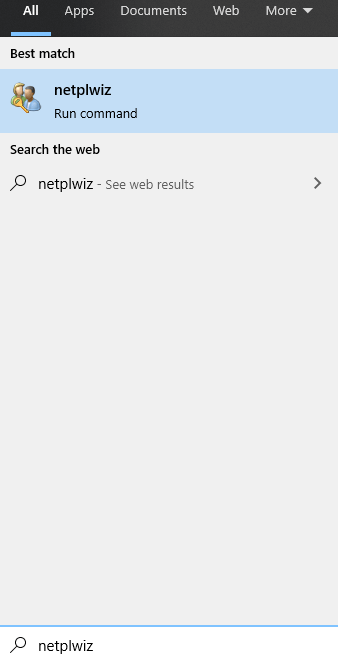
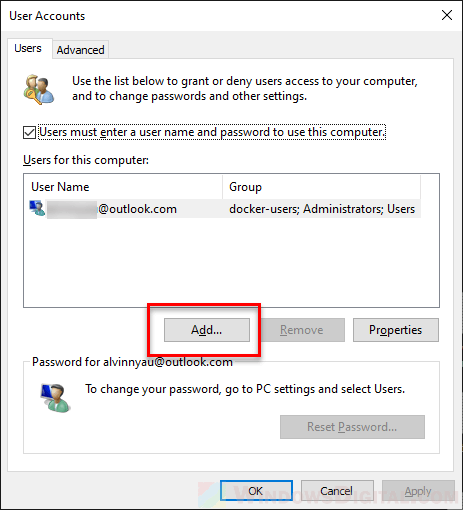
- On the start menu, search and open netplwiz.
- In the User Accounts control panel window, click on the Add button.
- When asked “How will this person sign in”, click on the “Sign in without a Microsoft account” link at the bottom of the window.
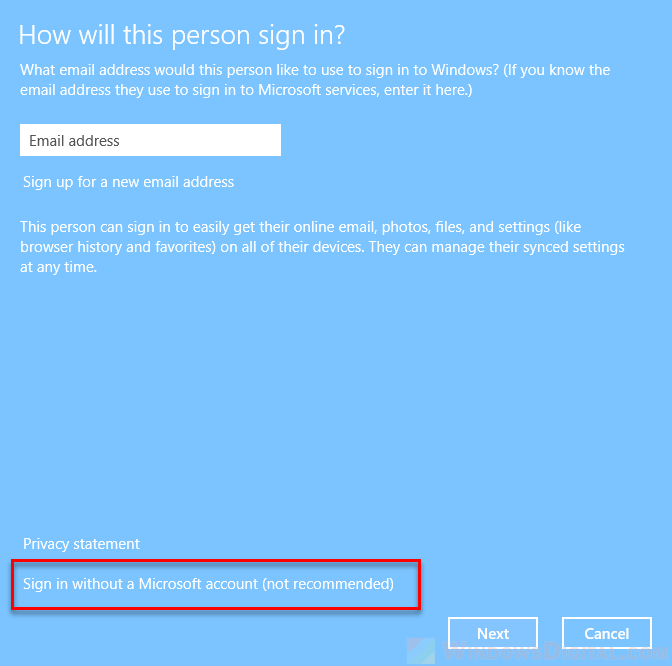
- On the next screen, click on Local account.

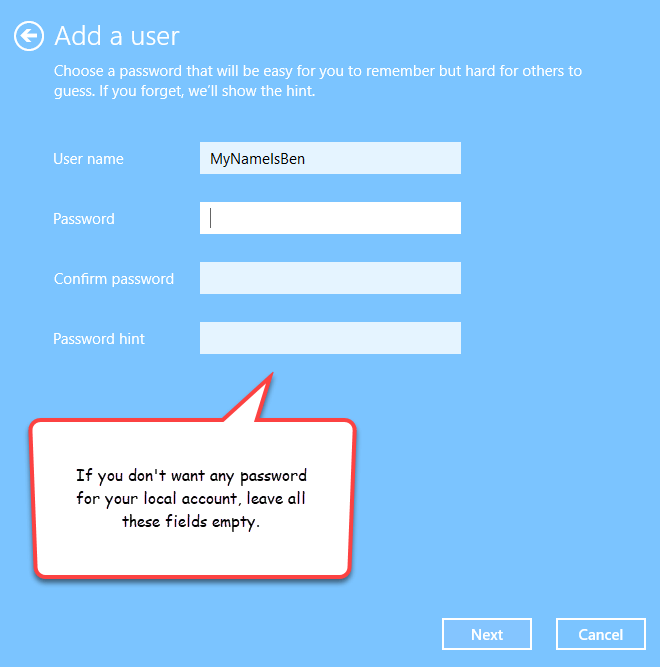
- When asked to input your new username and password, you have two choices here:
- If you don’t want any password for your local account, leave the password fields empty and click Next.
- If you want to set up a password for your local account, fill all the fields and then click Next.
- Click Finish, and your new local account will then be created and shown on the list of user accounts.

Now that you’ve successfully created your new local account, you can log in to your Windows with this new account and then remove the unwanted Microsoft account from your Windows.
If you want to change your local account to an administrator account, refer to this guide: How to create a local admin account without password on Windows 11/10.
Part 2: Sign into Windows with another Microsoft Account
To sign into Windows 11 or 10 with a different Microsoft account, follow the steps below:
- Go to the start menu. Search and open netplwiz.
- In the User Accounts window, click on Add.
- Now, you have two choices here:
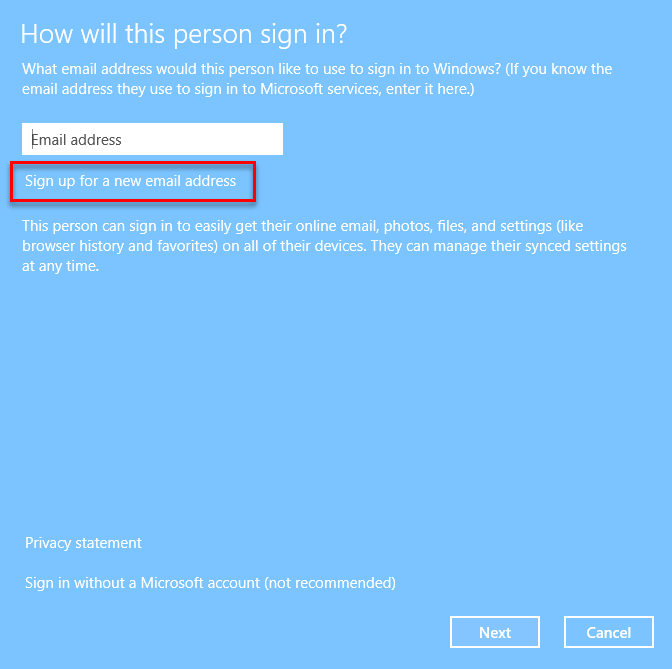
- If you already have an existing Microsoft account (@outlook.com or @hotmail.com), enter your account’s email address and then click Next. Then, click Finish to add the Microsoft account to the list of user accounts.

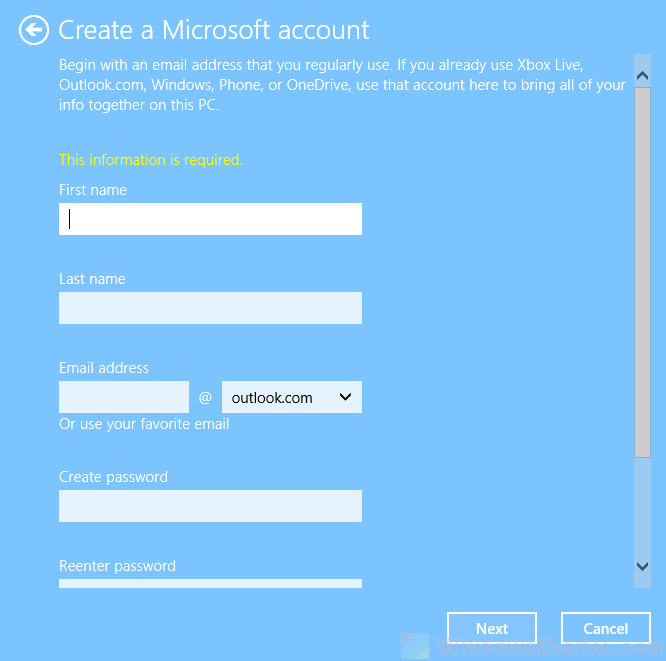
- If you want to sign up for a new Microsoft account instead, click on the “Sign Up for a new email address” link.
- If you already have an existing Microsoft account (@outlook.com or @hotmail.com), enter your account’s email address and then click Next. Then, click Finish to add the Microsoft account to the list of user accounts.
- Follow the on-screen instructions to finish setting up or creating your new Microsoft account.
After you’ve completed the steps above, the newly entered account will then show up on the list of user accounts, which you can use to sign into your Windows afterward.
Part 3: Remove Microsoft account from Windows
If you haven’t already created a local account or a Microsoft account ready to be used to sign in to your PC, refer to the previous section to do so. You will need a new user account before you can remove the old Microsoft Account you no longer want. Come back here after you’ve done so.
If you already have a local account created or a different Microsoft account ready to be signed into your Windows 11 or 10 PC, follow the steps below to remove the Microsoft Account you no longer need:
- First, sign in to Windows with your newly created local account or another Microsoft account that you wish to use.
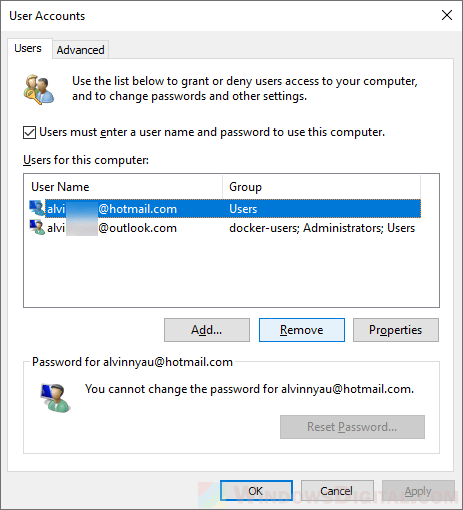
- Next, in the start menu, search and open netplwiz.
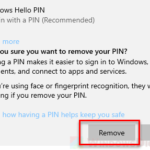
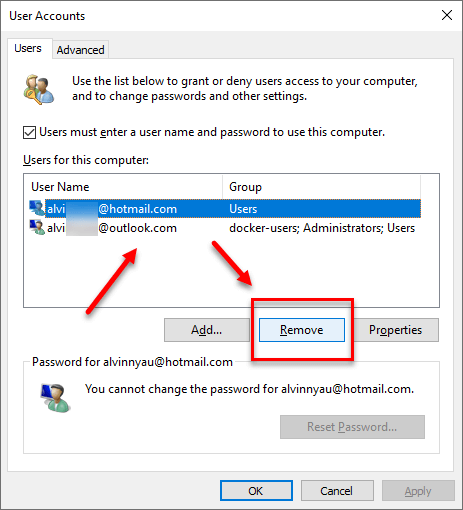
- In the User Accounts window, select the Microsoft account you wish to remove, then click on the Remove button while it’s highlighted.
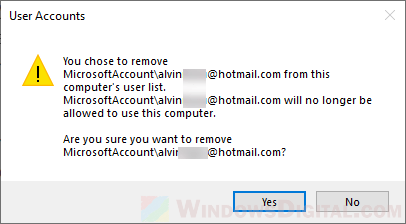
- When a warning window pops up that says “the Microsoft account will no longer be allowed to use this computer”, click Yes to confirm the removal.
That’s it! You’ve successfully removed the unwanted Microsoft account from your PC. You can now continue using your local account or your new Microsoft account to log in to your computer.
It’s worth noting that removing a Microsoft account from your Windows PC will not delete the account itself. Your Microsoft account will still exist, and you can still use it to sign in to other Microsoft services such as OneDrive, Office 365, or Xbox Live. It just means that you won’t be able to use it to log in to your Windows PC anymore.