The Windows Font Cache Service is an important part of Windows, helping your computer show text faster in apps by keeping a copy of commonly used fonts ready to go. Sometimes, though, it might not work correctly — maybe it won’t start, uses too much of your computer’s brain power (CPU), or causes other issues. We’re going to talk about what this service does, the troubles you might run into, and how to sort them out, whether you’re using Windows 11 or Windows 10.
Also see: How to Limit CPU Usage of a Process in Windows 11
Page Contents
What does Windows Font Cache Service actually do?
The Windows Font Cache Service basically stores font caches so that the OS and apps can show fonts quicker by using the stored caches. It’s especially helpful when an app has a huge amount of text that needs to be shown on the screen.
This service usually shows up as svchost.exe in your Task Manager’s Details tab because it shares a space with other system services.
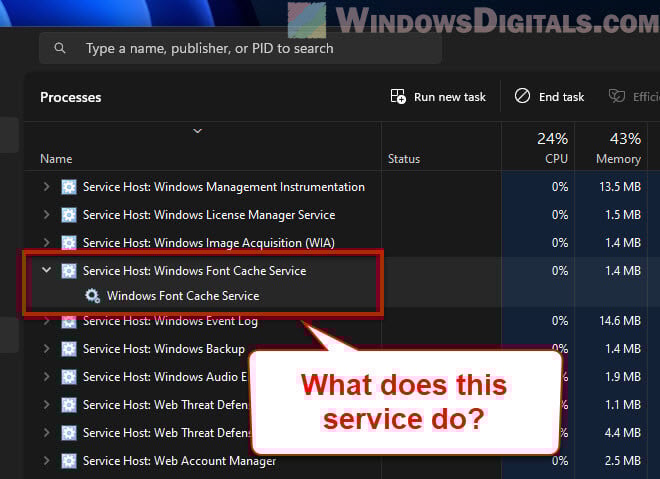
Every time an app needs to show text, it asks Windows for the font data. With the Font Cache service working, this data is pulled from the cache and makes displaying the font more efficient. Even though it’s usually helpful, sometimes it can cause issues.
Linked issue: Service Host Local System High CPU, Disk or Memory Usage
What if Windows Font Cache Service won’t start?
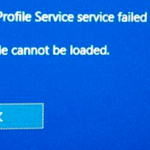
If you get an “Error 1920 or 1921: Windows Font Cache Service failed to start” message, you might need to manually start the service yourself. This usually pops up when you’re installing something and the installer can’t get the service working. Here’s how to manually start the service:
- Hit Windows + R to open the Run box.
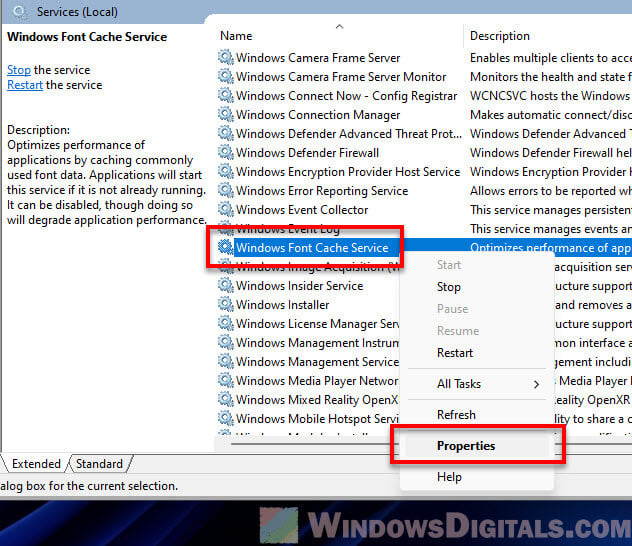
- Type “services.msc” and hit Enter to bring up the Services window.

- Look for “Windows Font Cache Service”, right-click it, and choose “Properties”.
- Pick “Automatic” from the “Startup type” menu.
- Hit the “Start” button under the Service status area.
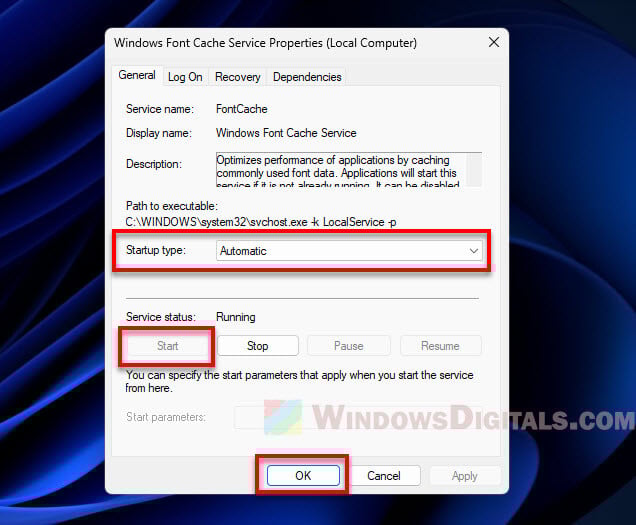
- Click “Apply” then “OK” to save your changes.
If it still won’t start after trying these steps, you might need to repair or reinstall the service.
Related concern: Why is My Memory Usage So High When Nothing is Running?
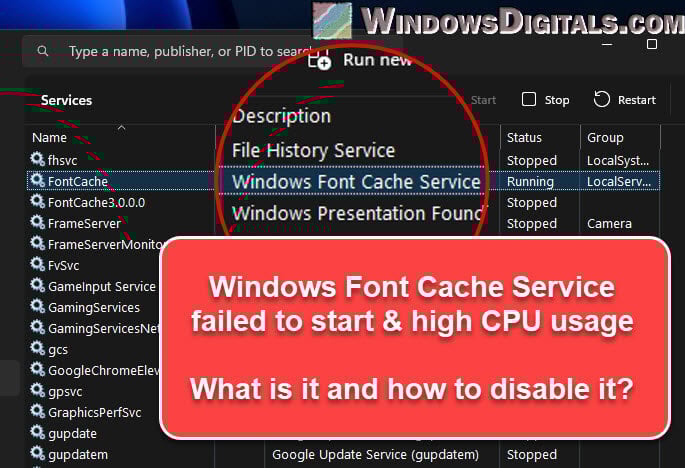
Fixing high CPU use by Windows Font Cache Service
Sometimes, the Windows Font Cache Service might unexpectedly make your CPU work harder than it should, which can slow your computer down. This could mean there’s something up with the service or the font cache.
If that’s the case, you can try clearing the font cache. Follow the steps below to do so:
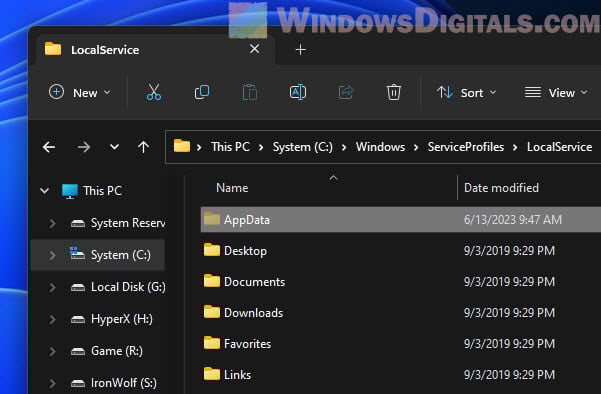
- Open “Windows Explorer”.
- Go to “C:\Windows\ServiceProfiles\LocalService\AppData\Local”. You’ll have to click through the folders since typing the path won’t work due to permissions. If you can’t see the “AppData” folder, you might need to turn on the “Show hidden files, folders, and drives” option.
- Find a folder called “FontCache”. Open it and delete everything inside.
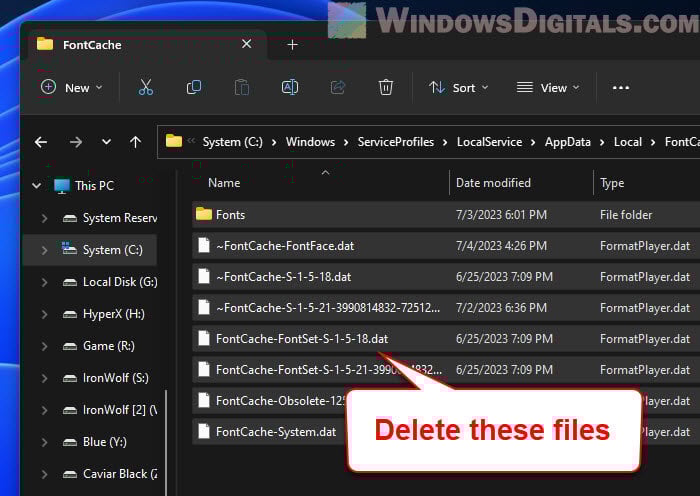
- Restart your computer.
After restarting, Windows will make a new font cache, which should fix the CPU hogging issue for most people.
Useful tip: 30+ Windows 11 Services to Disable for Gaming Performance
Disabling Windows Font Cache Service
The Windows Font Cache Service doesn’t normally cause too many issues. But if it’s consistently causing high CPU usage or creating other problems, you might consider turning it off. Note that this might make fonts load more slowly in your apps. Follow the steps below to disable the service:
- Press “Windows + R” to bring up the Run box.
- Type “services.msc” and hit enter. This opens the Services window.
- Find the “Windows Font Cache Service” in the list, right-click on it, and choose “Properties”.
- Change the “Startup type” to “Disabled”.
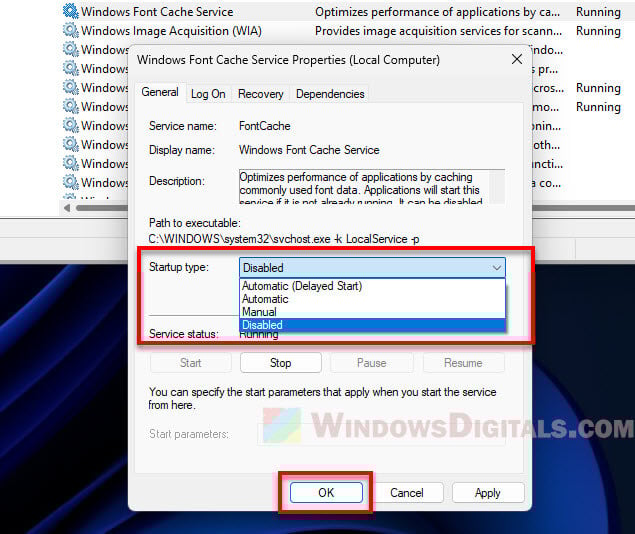
- Click “Stop” to stop the service if it’s running.
- Hit “Apply” and then “OK” for the changes to take effect.
Relevant guide: How to Delete a Service in Windows 11 or 10 Using CMD
Windows Font Cache Service starts then stops
Sometimes, the Windows Font Cache Service might start up but then stop all of a sudden. This can mess with apps that need to show text. It usually means there’s an error with reading the cached font data.
Fixing these issues can often be as simple as clearing the font cache, like we talked about earlier, or reinstalling the program that’s causing problems.
How to reinstall the FontCache service (FntCache.dll)
Reinstalling the Windows Font Cache Service is a bit more complicated and should only be your last resort. You’ll need to re-register the service DLL file and restart the service.
- Hit the Windows Start button, type “cmd”, right-click on “Command Prompt” from the results, and choose “Run as administrator”.

- In the Command Prompt, type these commands one after the other, hitting Enter after each one:
net stop fontcache
cd /d %windir%\system32
regsvr32 FntCache.dll
net start fontcache
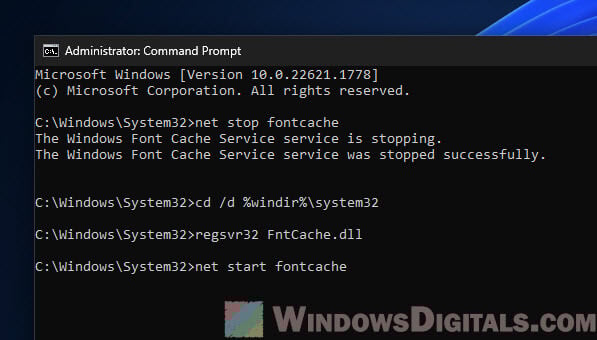
This stops the font cache service, re-registers the DLL file for the service, and then starting it up again.
Please note that these are advanced steps. Only try them if you’re sure about what you’re doing. If you’re not comfortable, it’s a good idea to ask for help from a pro. And, always make a system restore point before you start changing things, just in case something goes wrong.