Windows 11 introduces many user interface changes, especially the settings part. The old Windows sound settings that used to be easily accessible from the taskbar back in older versions of Windows is now lying quite deep within the Windows 11 sound settings. Here’s how to open the old sound settings via the new Windows 11 settings.
Also see: How to Change Default Audio Output Device on Windows 11
How to open old Sound Settings on Windows 11
Windows 11 introduces an entirely new UI and experience in Windows settings, including the sound settings. By default, when you open “Sound settings” from the taskbar, it will open the sound settings in new UI. To access to the old Windows sound settings, follow the steps below.
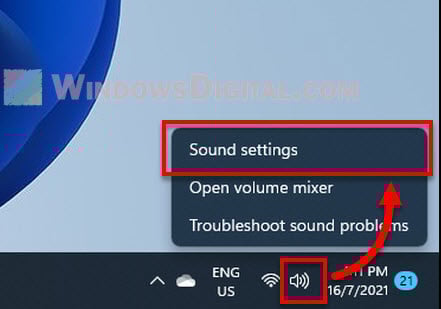
- Right-click on the volume icon from the taskbar corner on Windows 11.
- Select Sound settings.
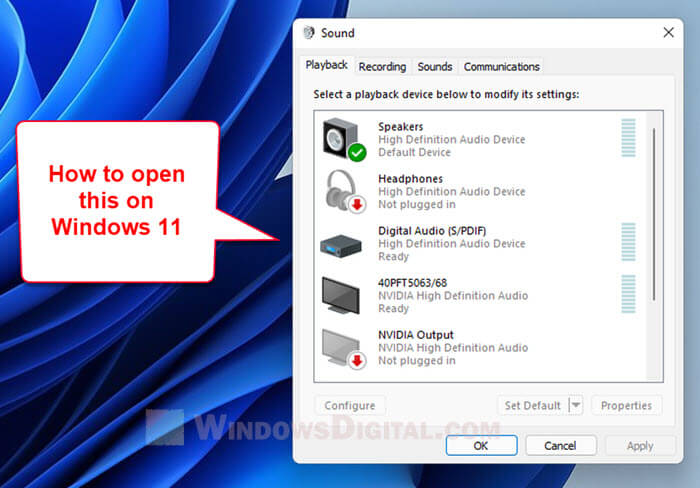
- In the Windows 11 Sound settings window, scroll all the way down and click on “More sound settings” under Advanced.
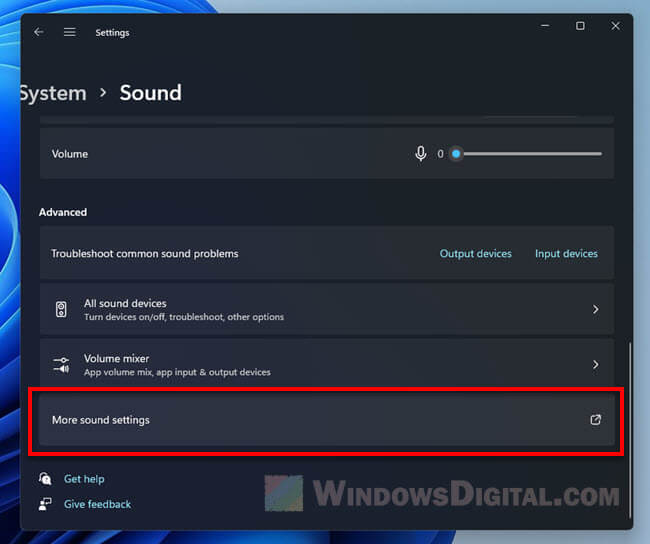
Note: During step 1, you have to right-click exactly on the volume icon. The network icon and volume icon may seem to be fused together as one clickable item (for left click to open quick settings), but they still act as different item when you right-click each of them.
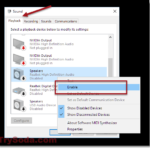
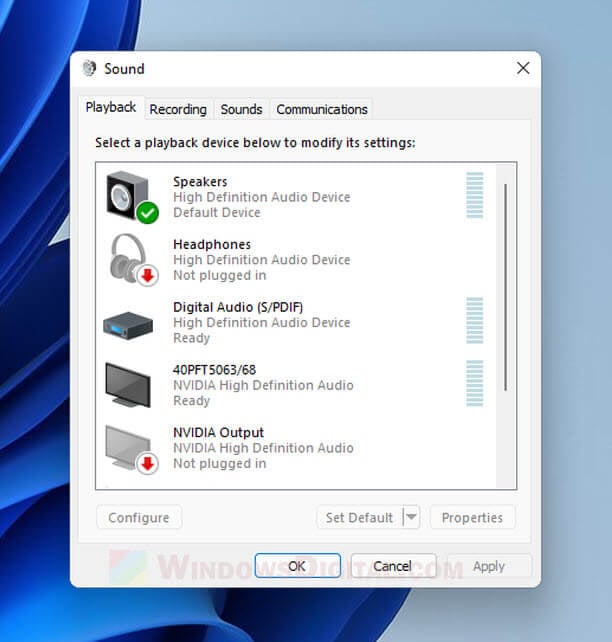 You can enable or disable playback or recording audio devices, and configure various sound settings here like how we used to back in Windows 10 or older.
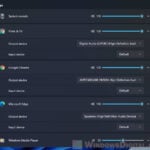
The new sound settings on Windows 11
Though some of us may still prefer the old sound settings window instead of the new one on Windows 11, we should really look into the new simplified sound settings as it’s actually now much simpler to configure and manage. It may take time to get used to something new but it will worth the effort once we got familiar with the new UI.
The default sound settings on Windows 11 can be accessed by just right-clicking on the volume icon from the taskbar corner and selecting “Sound settings“. Alternatively, you can open it through Start menu > Settings > Sound.
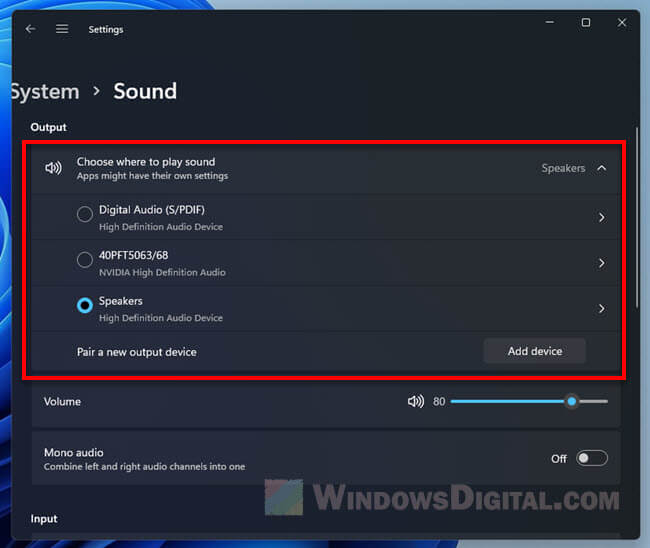
From here you can configure pretty much everything about sound on Windows. For example, if you want enable, disable or switch to a different output or input device, you can easily do that from the first page of sound settings, right under “Output” or “Input” respectively.
You can also easily add or pair new output or input devices, commonly Bluetooth audio devices, from the sound settings by clicking on the “Add device” button.
If you would like to configure in-depth settings for a certain audio device, you can click directly on the audio device from the sound settings.
All properties and settings such as volume, left and right channel volume balancing, enhance audio, spatial sound type, etc of the selected audio device will be shown and can be configured right away from there.
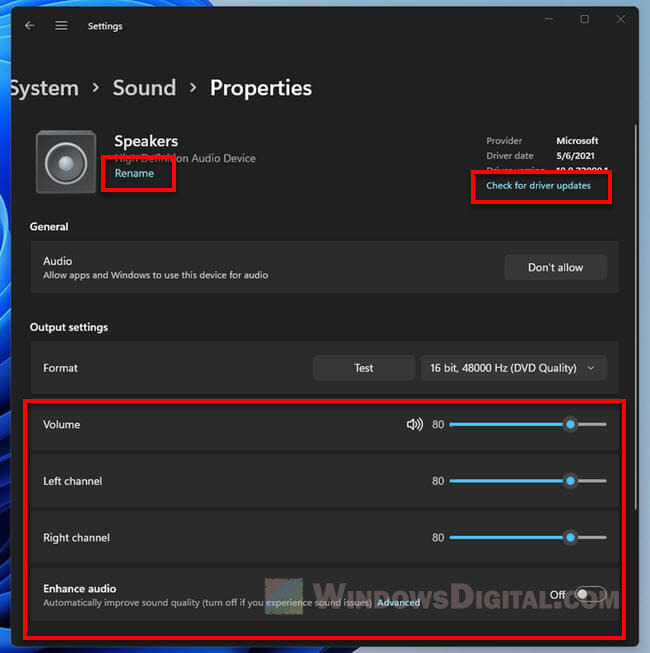
Additionally, you can check for and update driver for an audio device by simply clicking on the “Check for driver updates” link after clicking into an audio device via the sound settings.
Windows 11 also introduces a new feature in sound settings that allows you to rename your audio device to any name of your preference. This feature may come in handy when you have too many audio devices and especially when their default names are difficult to distinguish from each other.