Depending on what state your SSD is currently in, whether it’s already been initialized and have partitions on it, or is still entirely brand new and not initialized yet, the steps to properly format a new SSD to make it usable may vary.
You do not need pay for and install any third party software to format a SSD drive. You can format or manage your disk drives easily using Disk Management – a built-in tool that comes with Windows 11 or Windows 10.
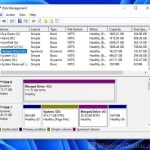
To check whether your SSD is initialized, search for and open Disk Management from the Start menu in Windows. In the Disk Management, check on the bottom part to see if there is any Disk that shows “Not Initialized“.
- If your SSD shows “not initialized”, follow the 2 simple steps below to initialize and format your new SSD to make it visible and usable in Windows 11 or Windows 10.
- If your SSD already have partitions on it, you can skip to this section to learn how to quickly format an existing SSD partition.
Page Contents
Step 1: Initialize new SSD
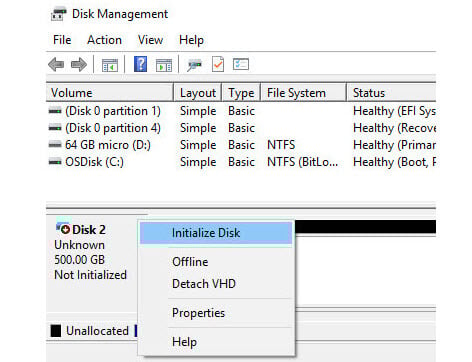
For a brand new SSD you’ve freshly unboxed, it will usually be in a state called “not initialized” where it’s still not visible and usable in Windows. You need to initialize the SSD first before you can create new volume on it and format it. To initialize a SSD, follow the steps below.
Click Start, search for and open Disk Management. Right-click on the Disk that shows “Unknown” and “Not Initialized“, then select “Initialize Disk“.
On the next prompt, you will be asked to select a partition style for the selected disks.
- GPT (GUID Partition Table) is the modern standard for partition tables. It is required for disk larger than 2TB.
- MBR (Master Boot Record) is the older partition style that has been in use since the days of DOS. It cannot be used on disk that have space larger than 2TB.
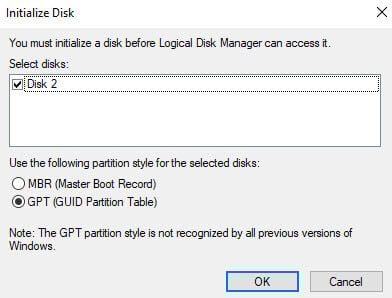
Generally, you would want to use GPT for any new SSD or HDD. GPT is a better design than MBR overall, and is more resilient to corruption. The only reason to use MBR is if you are going to use the disk on ancient versions of OS such as Windows XP or older, because older OS cannot read GPT disks. The later versions of OS, however, can read MBR disks.
You cannot change the partition style once you’ve start using the SSD. To convert the partition style of a SSD from one style to another, you first have to delete all volumes and erasing all the data on the disk.
Once you’ve decided a partition style for your SSD, click OK to initialize the disk. When the initialize process is completed, the disk status will change to “Online” and the disk will now show “Unallocated” disk space. Proceed to next step to create and format partition on the SSD.
Step 2: Create and format new partition on SSD
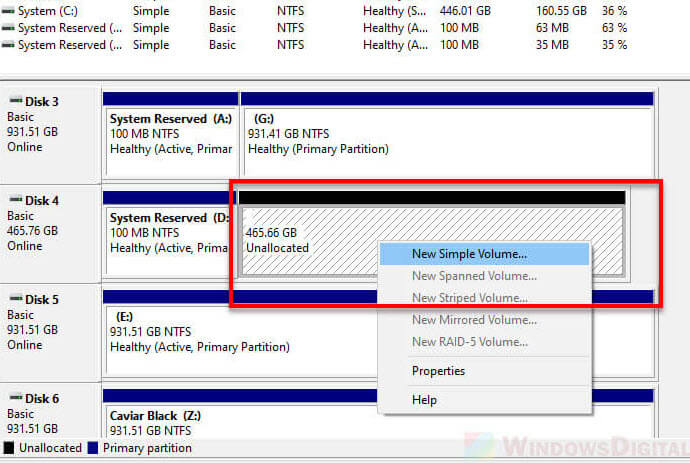
To create partition from the unallocated disk space, right-click the “Unallocated” space and select “New Simple Volume“.
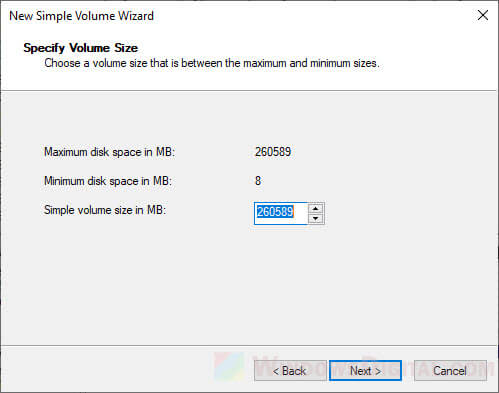
In the new simple volume wizard window, specify a volume size for the new partition. Leave the size as default (maximum) if you are going to use the entire SSD as one partition. Otherwise, specify a volume size you want to allocate for the partition.
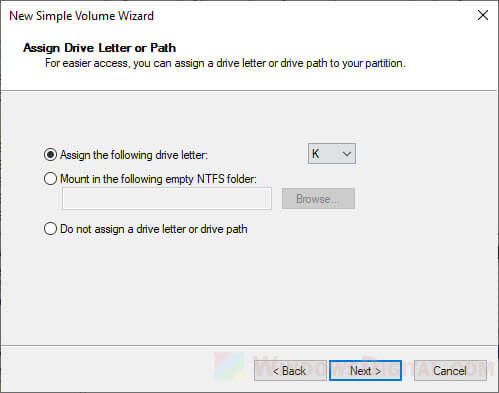
On the next window, assign a drive letter to the partition, and then click Next.
When you are on the “Format Partition” step in the wizard, this is where you select the format settings for the SSD partition – file system, allocation unit size and volume label.
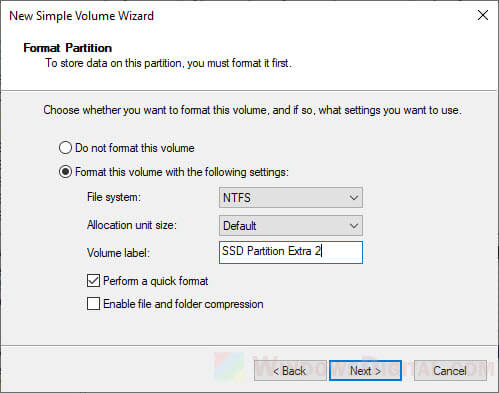
In most cases, you would want to use “NTFS” as the file system, and “default” as the allocation unit size. The volume label will be the name / label for the new volume you are about to create. This is the name that you will see on “This PC” when the partition is ready to be used.
Click Next to proceed formatting the partition.

When the format process is completed, you can access to the newly created partition from “This PC” explorer window and start using it.
How to format existing SSD in Windows 11/10
Warning: Formatting a partition (or deleting a volume) on a SSD will erase all data on that partition. Please make sure you have nothing important stored on the drive before formatting it. Or make sure you have already backup all important data on the drive prior to formatting the SSD.
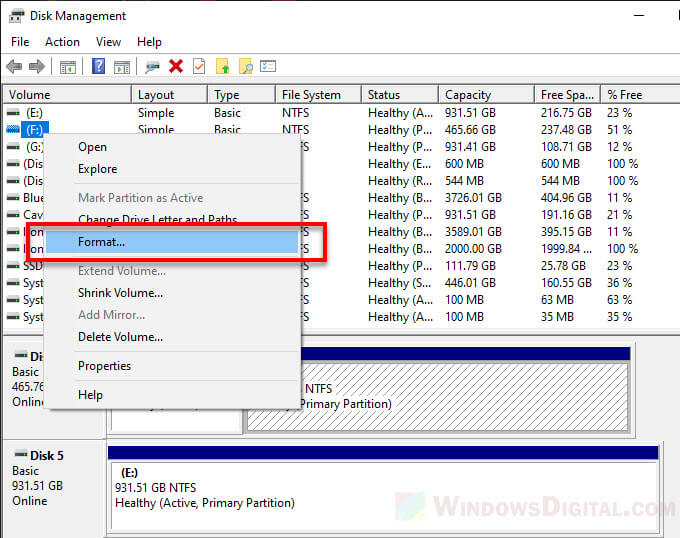
To format an existing SSD partition, right-click on the partition (drive letter) u want to format, and select Format.
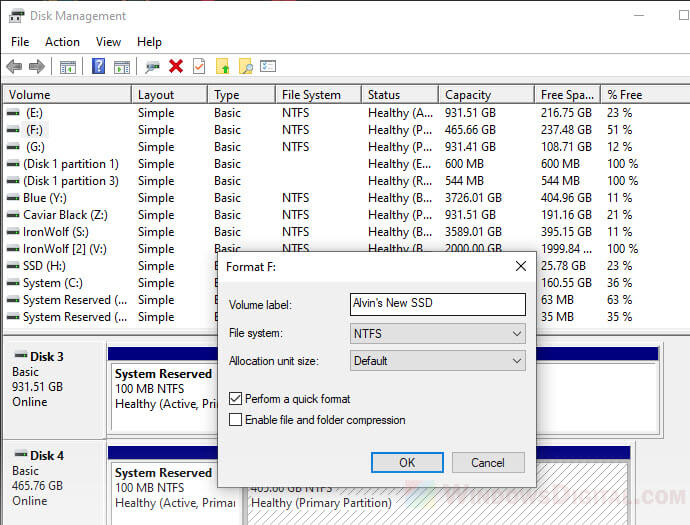
On the “Format” pop up window, enter a new volume label for the disk, select the file system (NTFS is recommended) and allocation unit size (default is recommended) to be used, then click OK to begin the format process.
How to format SSD with multiple partitions
If you have multiple partitions on a single SSD drive which you want to format all and start afresh, you can delete the volumes first by right-clicking each of the SSD partitions and select “Delete Volume“.
Doing so will delete the selected volume (along with all data on the volume) entirely and change the disk space status to “unallocated”. You can then create and format new partition from the “unallocated” disk space by following the “Step 2” above.