This guide will show you how to get the old right-click context menu back (skipping the “Show more options”), and how to add or remove context menu items in Windows 11 (customize what can or cannot appear in the right-click menu).
Also see: How to Remove Items from Right-Click Menu in Windows 11
Page Contents
Get the old right-click menu back in Windows 11
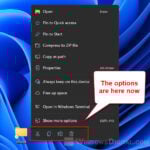
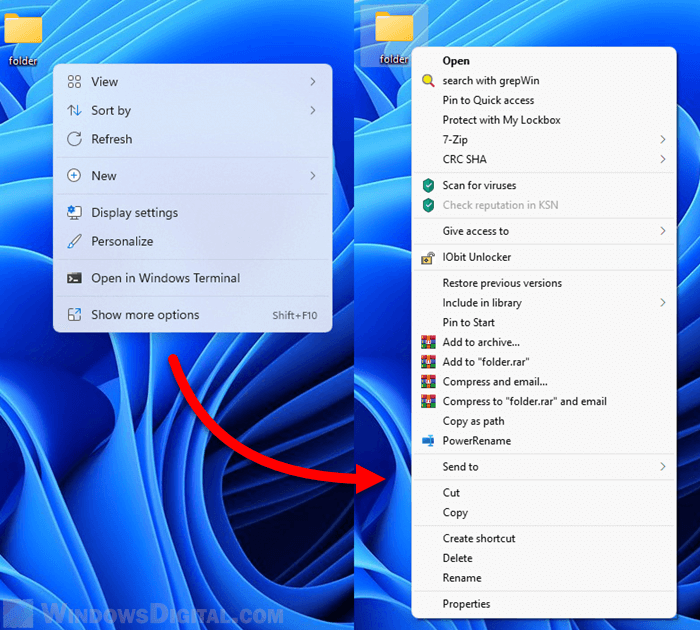
In Windows 11, one of the major changes is that there is now an additional layer of context menu on top of the old context menu. To open the old context menu, users will need to click on the Show more options in the new context menu, adding one additional step to the process of accessing items that can only be accessed via the old context menu.
However, there is a workaround to remove the new context menu and get the old right-click menu back in Windows 11. This can be done by adding a registry key in Windows. Here’s how to do it.
Caution: Editing registry can cause serious problem and may potentially corrupt your operating system if done incorrectly. It’s highly recommended that you make a full backup of your Registry before making any changes. Please proceed at your own risk.
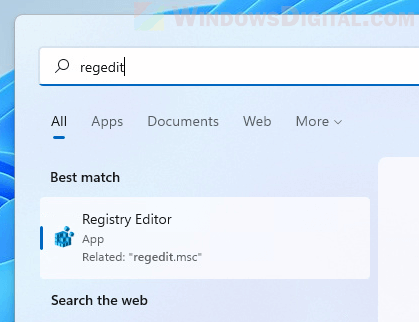
1. Go to the Start menu. Search for and open regedit or Registry Editor.
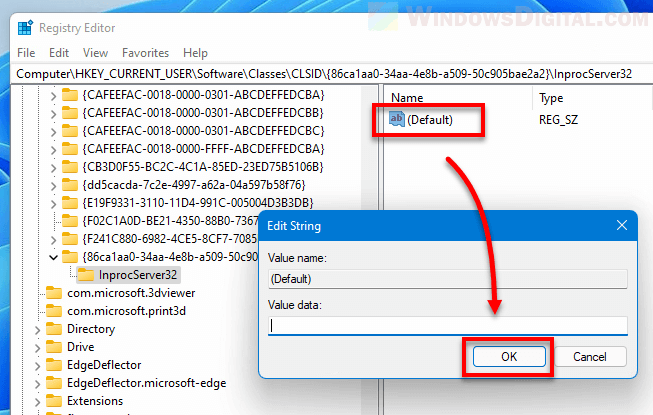
2. Navigate to the following key. Alternatively, you can copy and paste the following path in the Registry Editor to go directly to the key.
Computer\HKEY_CURRENT_USER\Software\Classes\CLSID
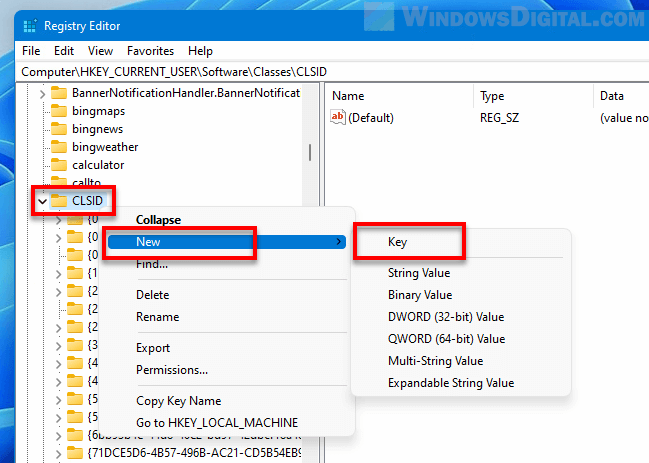
3. On the left pane, right-click on the CLSID key, select New, then Key.
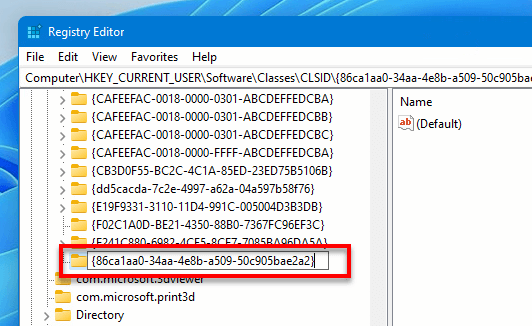
4. Rename the new key to the following name.
{86ca1aa0-34aa-4e8b-a509-50c905bae2a2}
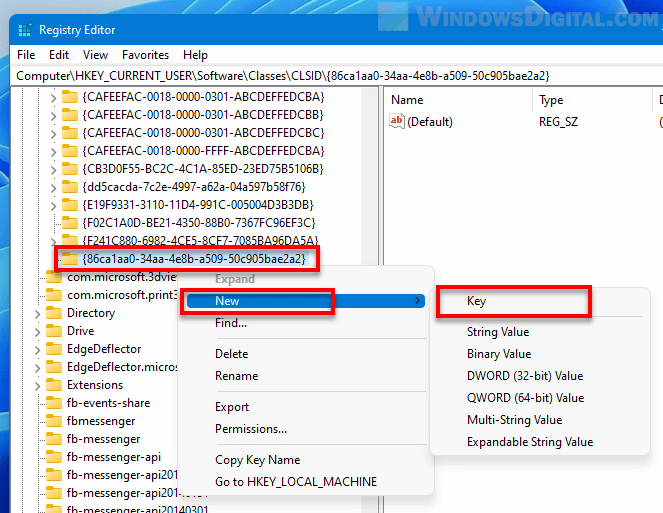
5. Right-click the new key, select New > Key to create a new key under it.
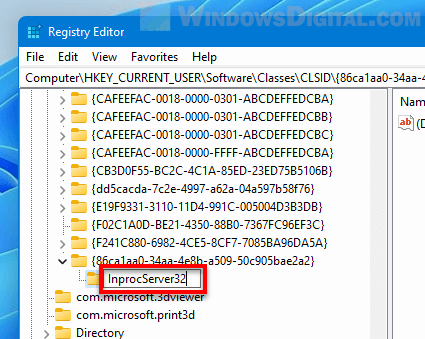
6. Rename the new key to InprocServer32.
7. Select the InprocServer32 key you’ve just created. On the right pane, double-click on “Default“. In the Edit string window, without changing any value, click on OK.
8. Close Registry Editor and restart your PC to see the changes take effect.
Alternatively, you can sign out your account and sign in again without doing a full restart for the changes to take effect. You can also force kill explorer.exe and run it again via Task Manager if you don’t want to sign out nor restart.
To undo the change and restore the new context menu, simply remove the {86ca1aa0-34aa-4e8b-a509-50c905bae2a2} key and reboot.
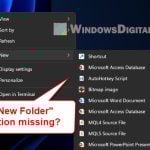
Add or remove right-click menu items in Windows 11
To customize what can or cannot appear on the right-click context menu in Windows 11, you can use a software that provides the interface for you to do so. There are plenty of software that let you to quickly add or remove right-click menu items in Windows. We recommend using Easy Context Menu or CCleaner.
Easy Context Menu
Easy context menu, as the name implies, have an extremely easy to use interface that not only allow users to remove existing context menu items, but also allow users to add a variety of useful items and tweaks such as:
- Shortcuts to switch user, log off, shutdown or restart your PC
- Shortcuts to Snipping Tool, Sticky Notes, Task Manager, Command Prompt, etc.
- Useful actions such as take ownership of file or folder, permanently delete, add to or delete from Firewall, and more.
You can download Easy Context menu from the following URL.
https://www.sordum.org/downloads/?easy-context-menu
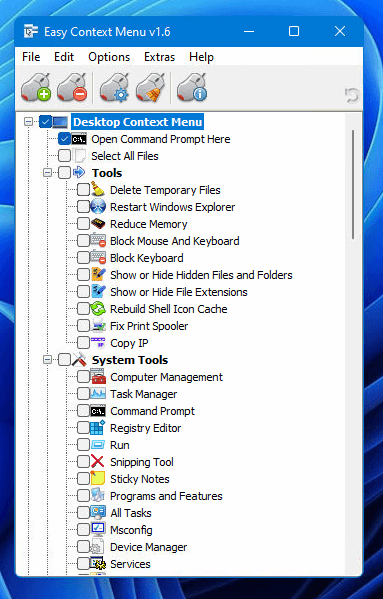
Once downloaded, extract the zip file and run the EcMenu_x64.exe if you’re running 64-bit of Windows 11, or EcMenu.exe if you’re running 32-bit.
In the Easy Context Menu window, you can add as many items as you want by simply enabling the checkbox for the items you want to add to the right-click context menu in Windows 11.
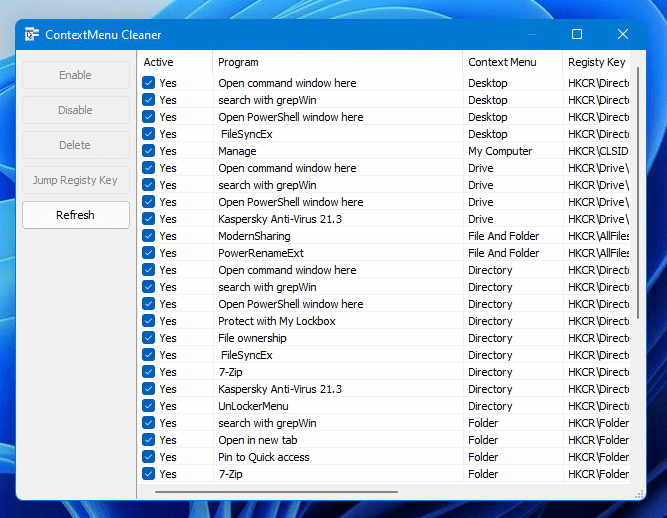
To remove existing items from the right-click menu, select Context Menu Cleaner.
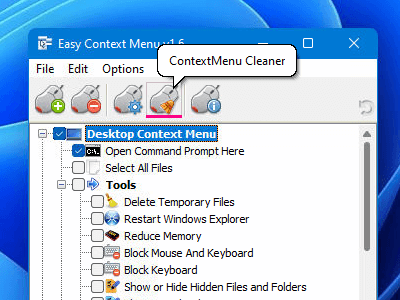
From there, you can remove any existing option from the right-click menu by unchecking the checkbox for the items you want to disable.
CCleaner
CCleaner is an all-in-one cleaning utility tool that provides users the ability to clean registry, disable unwanted startup programs, remove temporary files and cache, etc. It also has a feature that allows users to manage and customize the right-click context menu items. It works perfectly on Windows 11 as well.
You can download CCleaner from the following URL. We recommend to download the CCleaner Portable build (scroll down on the download page) if you don’t want to install it.
https://www.ccleaner.com/ccleaner/builds
Once downloaded, extract the zip file and run the program. Select Tools from the sidebar, then select Startup > Context Menu.
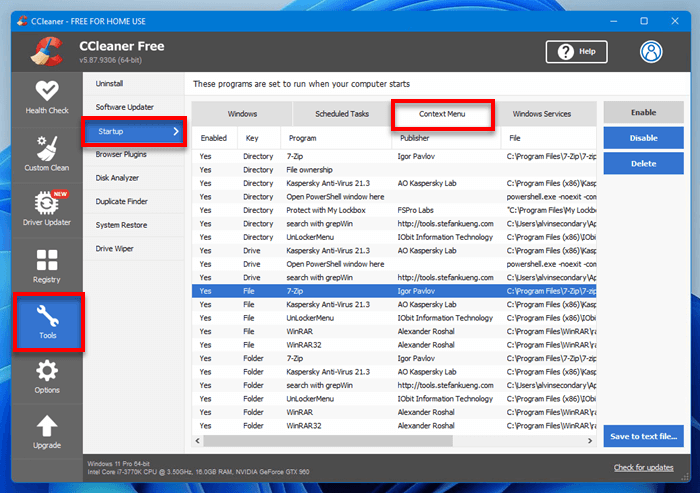
From there, you can remove any existing context menu item by selecting the item you want to remove and select Disable. To re-enable a disabled right-click menu item, select the item and then select Enable.
Restart your computer for the changes to take effect.